
You're driving home in the rain, low beams on, and the lane markings seem to vanish about one car length too early. The bulbs work. Nothing's cracked. Your lenses have just gone the colour of weak tea, and they're scattering the light you paid for all over the neighbourhood. That's the right moment for headlight restoration, provided the problem really is on the outside of the plastic. Treat it as a light-output problem, not a shine contest, and you'll know when to sand, when to stop, and when to hand the job to someone else.
Table of Contents
- Gather the Right Kit and Sandpaper Grits
- When Restoration Cannot Fix Your Headlights
- How to Restore a Headlight Step by Step
- Check Beam Output, Aim and Coating Rules
- Keep the Clarity From Fading Again
- Decide Between DIY and a Professional Shop
Gather the Right Kit and Sandpaper Grits
Don't start with whatever's rattling around in a drawer. Half-used dry sandpaper and a mystery polish will leave you with a lens that looks worse and an afternoon you can't get back.
What goes on the bench
- Wet and dry sandpaper: Sheets in 800, 1000, 1500, 2000 and 3000 grit, plus a flat sanding block or firm foam pad.
- Spray bottle: Water with a few drops of dish soap to keep the surface lubricated.
- Painter's tape: At least 1 cm wide for masking paint and trim around each lamp.
- Cleaning basics: Car soap, microfibre towels and isopropyl alcohol for degreasing.
- Protection for you: Nitrile gloves and eye protection, because slurry in the eye ends the fun quickly.
- Finishing products: A plastic-safe polish compound and a UV-resistant clear coat made for polycarbonate.
Plan two to three hours for a pair of lamps, then add the coating's cure time on top. Pick a dry day and work in shade, since hot plastic and direct sun make polish grab and coatings cure unevenly.
Sandpaper grit sequence for cloudy lenses
| Stage | Move on when |
|---|---|
| Coarse leveling, 800 grit to remove the oxidized outer film and deep scratches | Lens is evenly frosted all over |
| Intermediate, 1000 then 1500 grit to replace the coarse marks with finer ones | No 800-grit lines remain and the haze looks uniform |
| Fine sanding, 2000 grit to refine the surface | Surface looks uniform and matte |
| Finest pre-polish, 3000 grit to prepare for compound | Lens feels smooth and no sanding lines show at an angle |
Each grit has one job, which is erasing the scratches left by the grit before it. 800 grit does the heavy removal, 1000 and 1500 trade deep marks for shallow ones, 2000 evens things out, and 3000 leaves a consistent matte finish that polish can clear.
Skipping a grit doesn't save time. It hides coarse scratches under polish for about a day, then they reappear in sunlight like they were never touched.
Keep every sheet wet, rinse often, and let the paper do the cutting. Pressing harder only digs grooves you'll have to sand out later.
When Restoration Cannot Fix Your Headlights
A hazy lens isn't just ugly. According to CAA-Quebec's guidance on clouded headlights, clear headlights may let a driver see an obstacle about 60 metres sooner, equivalent to roughly six additional seconds of reaction time at 40 km/h. That's the difference between a calm stop and a very interesting insurance conversation.
So before you sand anything, work through a short diagnosis. Confirm both low beams work, then look for condensation or droplets inside the lens. Check for cracks, inspect the bulb for darkening or a burned filament, and look at the beam pattern and aim on a wall. Polishing the outside can't repair a failed reflector, moisture intrusion, a misaligned lamp or a badly degraded housing, and pretending otherwise just gives you a shiny lamp that still performs badly.
Headlight symptoms, causes and whether restoration helps
| Symptom | Likely cause | Restoration fixes it? |
|---|---|---|
| Yellow or hazy outer lens | Oxidized, UV-damaged polycarbonate | Yes, usually |
| Fogging or water droplets inside the lens | Failed seal, moisture intrusion | No, reseal or replace the lamp |
| Dim beam after cleaning | Worn reflector or burned bulb | No, replace bulb or assembly |
| Crack in the lens | Impact or heat damage | No, replace the lens or lamp |
| Uneven or shifted beam cutoff | Misaligned lamp | No, re-aim after restoring |
| Haze returns within months | Polish done without UV coating | Partly, re-coat with UV protection |
Ontario's inspection approach lines up with that logic, since clouded or damaged lenses count as defects when they materially impair the beam pattern or create excessive scatter. A lens can pass your driveway eyeball test and still scatter light badly at night.
Practical rule: If the lens is hazy but the beam is sharp and symmetrical, restore it. If there's moisture, cracking or a dim beam after cleaning, sort the bulb or lamp assembly first.
I would always run this check before buying a kit. Sanding a lamp with water inside it is like waxing a boat with a hole in the hull. It looks productive right up until it doesn't.
How to Restore a Headlight Step by Step
Work one lamp at a time and keep your sequence boring. Boring is good here. Improvisation is how you end up polishing through masking tape and into perfectly innocent bumper paint.
Clean, mask and inspect
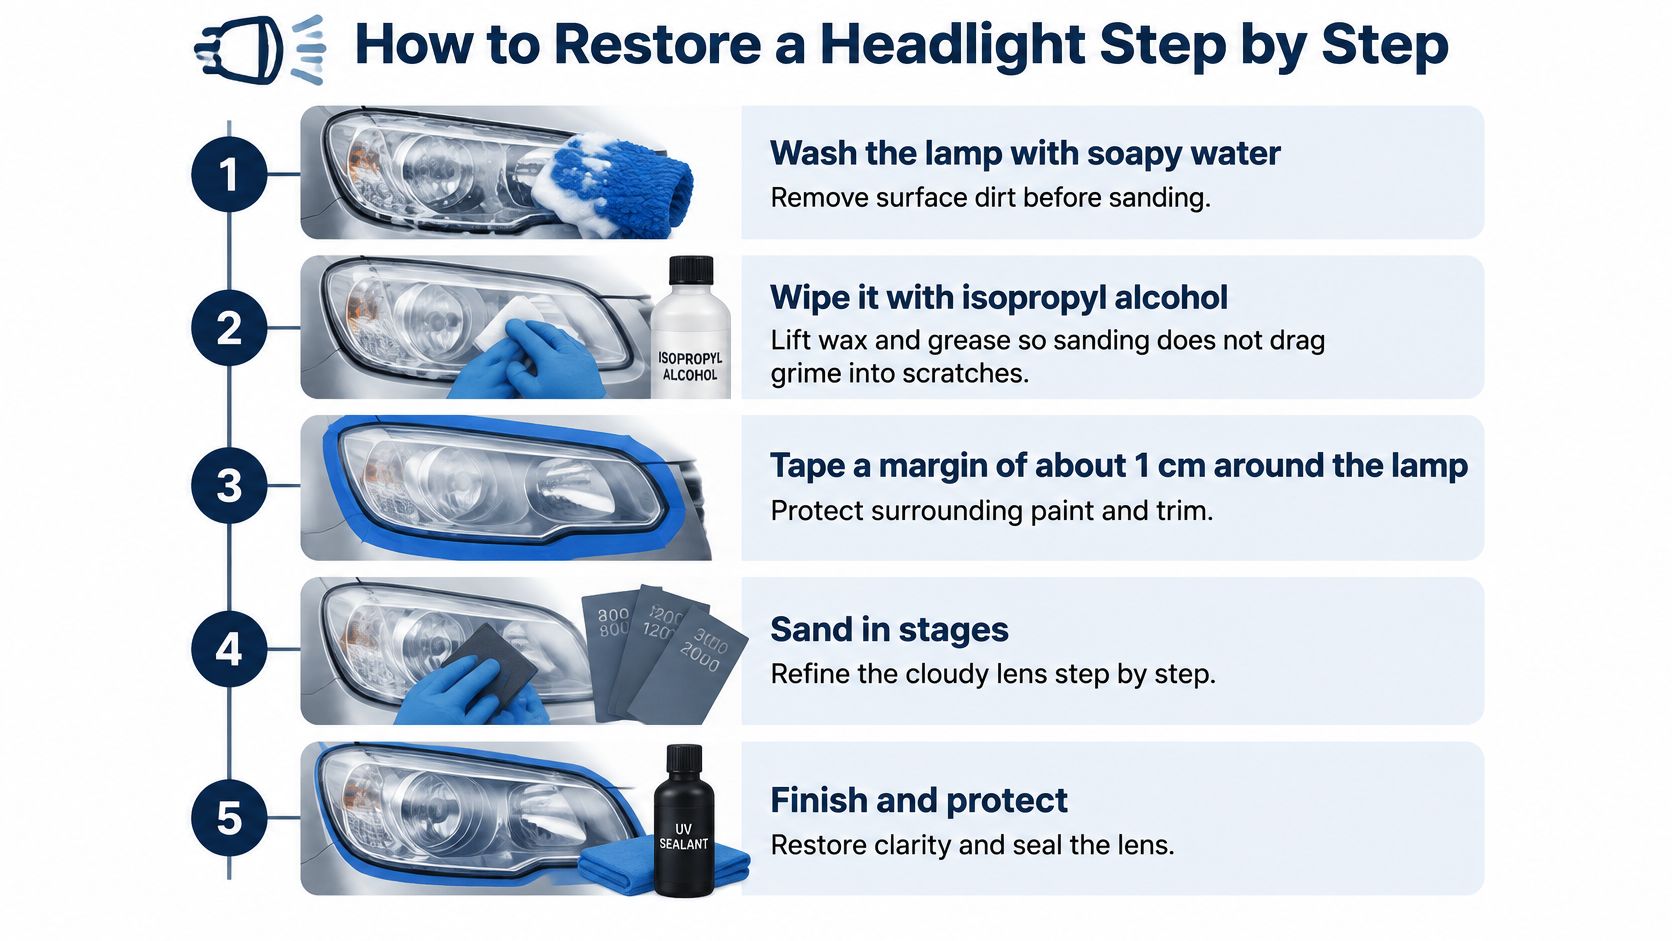
- Wash and degrease the lamp. Wash with soapy water, dry it, then wipe with isopropyl alcohol to lift wax and grease. Sanding over grime drags that grit into fresh scratches, which is the opposite of progress.
- Mask a margin of about 1 cm. Tape around the lamp to protect paint, chrome and bumper trim. Add a second layer at tight corners where your sanding block is most likely to wander.
- Inspect before you commit. Look for cracks, moisture inside the lens and burned or darkened bulbs. If you find any of those, stop and deal with that fault instead of sanding around it.
Sand through every grit
- Start wet-sanding with 800 grit. Use straight horizontal passes, keep the surface wet, and continue until the oxidized factory film is gone and the lens is an even frosted white. Patchy gloss means old coating is still hanging on.
- Move through 1000, 1500, 2000 and 3000 grit. Switch to vertical passes so each stage's marks stand out against the previous one, making it obvious when they're gone. Rinse and wipe between grits, because leftover coarse particles will happily sabotage the finer paper.
That progressive removal and refinishing matters more than elbow grease. In AAA testing of headlamp lens deterioration, average low-beam output in the tested deteriorated lamps was only 22.43% of the OEM baseline, and restoration raised it to 70.40%. That's a big recovery, but it's not a promise of brand-new performance, which is why judgement matters more than optimism.
Polish, coat and match the pair
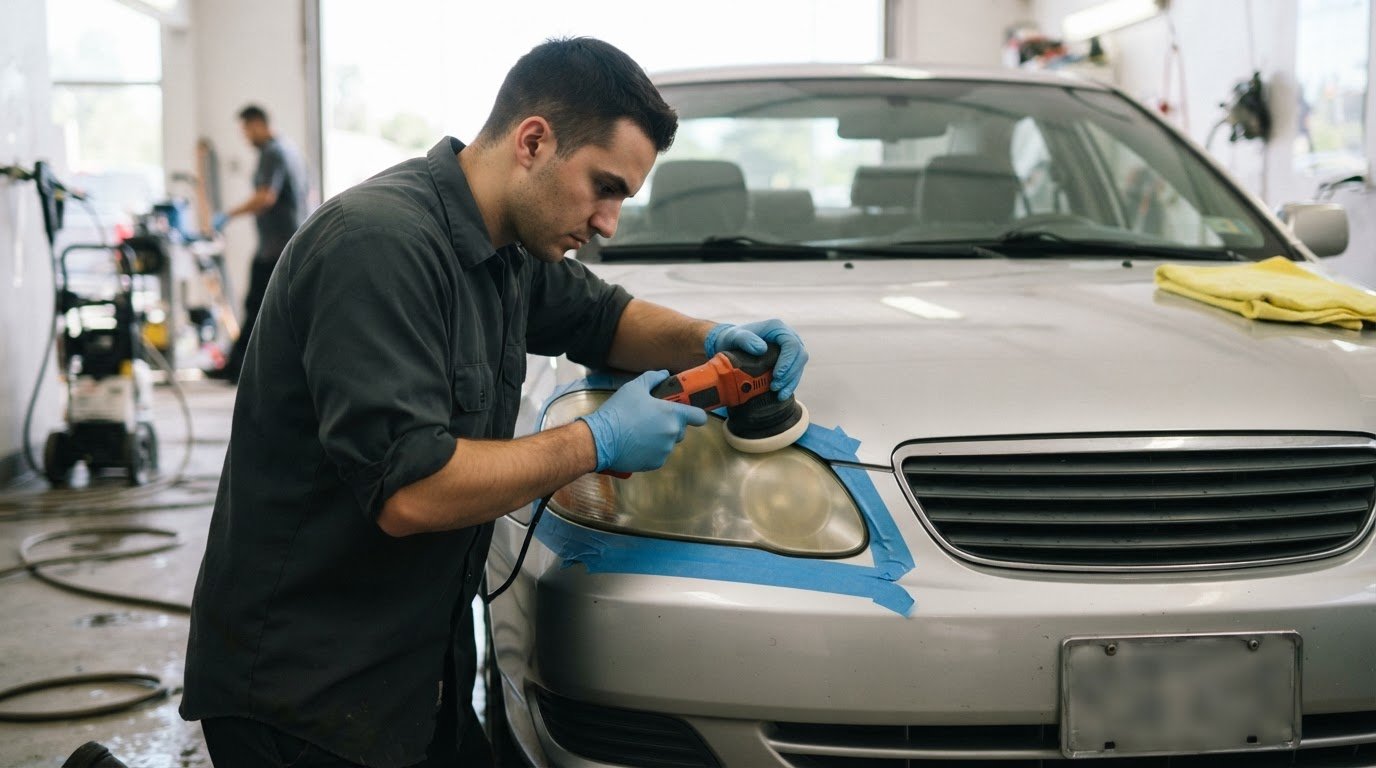
- Buff with plastic polish compound. Work in small circles with a foam pad or microfibre applicator until the haze lifts evenly. The lens should look clear at an angle, not merely shiny when you stand directly in front of it.
- Apply the UV-resistant clear coat. Dry the lamp fully, wipe away polish residue, then apply one even layer made for polycarbonate. Let it cure for the time on the label, because touching or washing it early can leave marks you'll stare at for months.
- Repeat on the second lamp. Restore both sides in the same session so clarity and output match. One crystal lamp beside one yellow one doesn't just look odd, it gives you an uneven view of the road.
Leaving out the UV layer is the classic false economy. The lens looks brilliant on Saturday and starts yellowing again within months.
A good result is easy to recognise in daylight. The plastic looks clear rather than milky, there are no swirl marks or leftover frosted patches, and details inside the lamp look crisp instead of blurred. If clarity still looks patchy after polishing, go back one grit and redo that stage properly instead of piling on more compound.
Check Beam Output, Aim and Coating Rules
Polish can fool you. A lens can look glossy under garage light while the beam still lands high, weak, or uneven, so judge the job by light on a wall rather than by shine.
Do the wall test
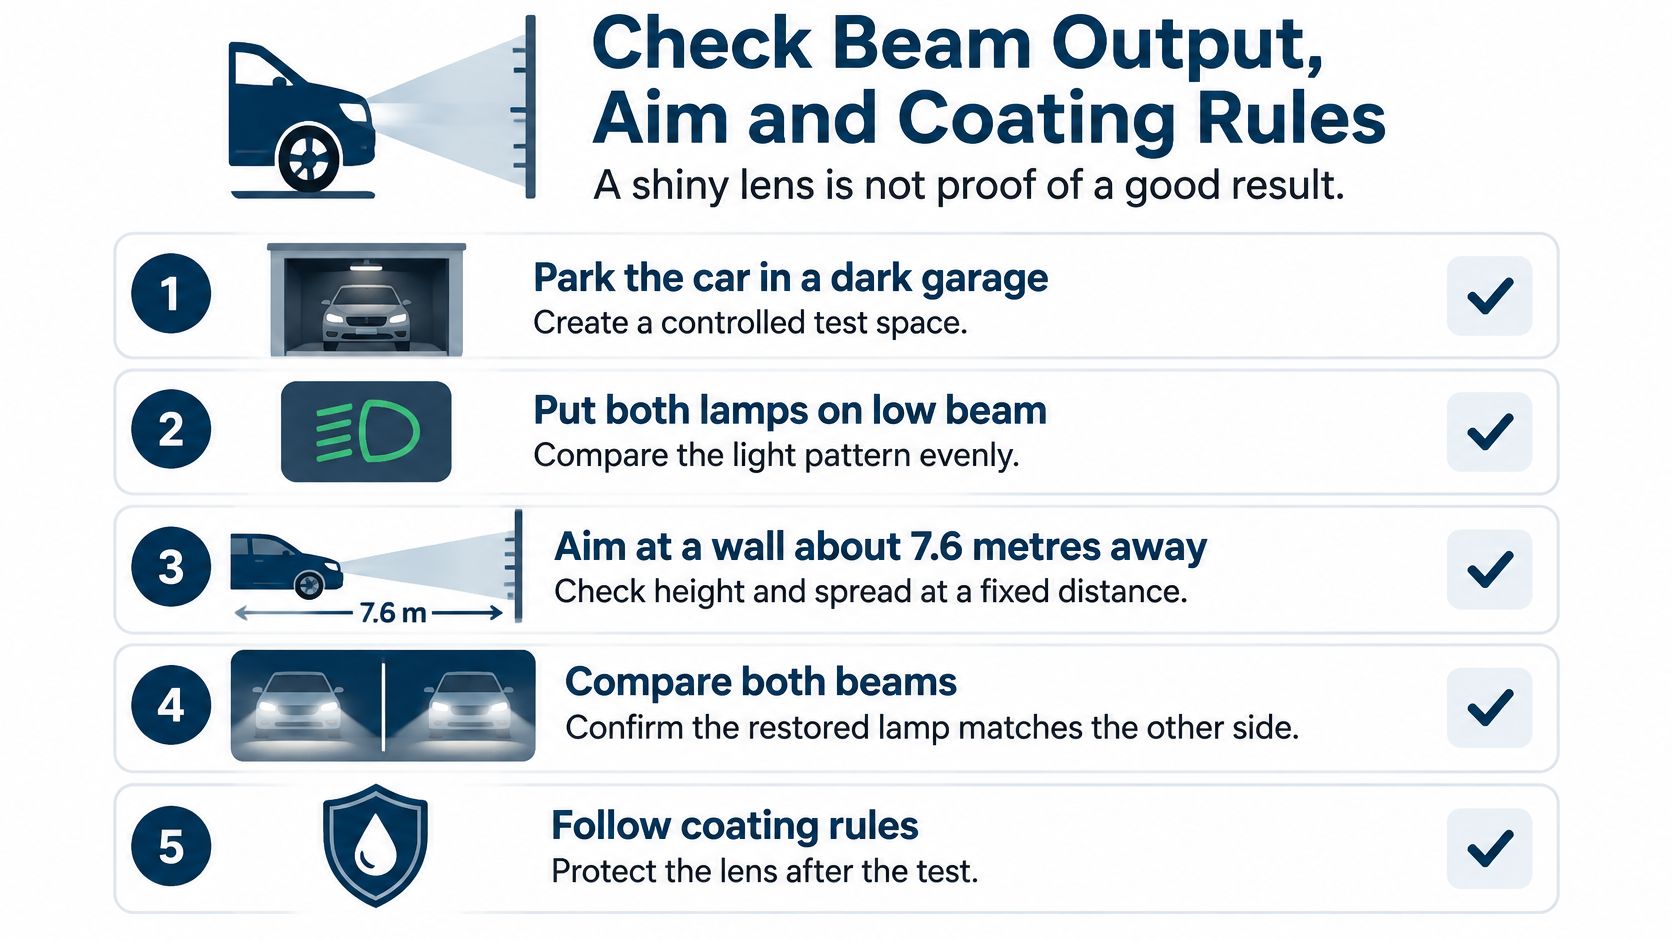
Park on level ground in a dark garage, switch both lamps to low beam, and aim at a wall at the distance your owner's manual specifies. Compare brightness, spread and the cutoff line side by side, and photograph the pattern before and after so you have a record. If the cutoff has shifted or one side sits higher, re-aim with the lamp's adjustment screws according to the manual.
Cover one lamp at a time with a towel if the patterns overlap. You are looking for comparable output and a clean, even cutoff; a single stronger beam or a high cutoff means the pair still needs work. If the pattern is brighter but ragged, the lens may be clear while the reflector or bulb is still the weak link.
Know what coating is allowed
Under Ontario's passenger and light-duty vehicle inspection standard, a headlamp is defective when lens clouding materially impairs the beam pattern or causes excessive scatter, and coloured coverings are prohibited except in narrow legally permitted cases. The Highway Traffic Act also prohibits lighting modifications that reduce effective lens area or brightness. In plain terms, a clear, optically neutral UV finish is the right end to a restoration, while tints, coloured films and dark covers work against both output and compliance.
That distinction matters beyond Ontario too, especially for imported vehicles. Check the lighting rules for the country where the car is registered before modifying anything, and read borderline conversion cases such as UNECE lighting standards for imported cars as a prompt to verify the destination market, not as permission to tint or swap parts.
Finish with three checks before calling the job done. The finish is optically clear only, both lamps produce comparable output, and aim is verified on the wall. Clearer does not automatically mean compliant, so let the beam pattern, not the reflection, have the final word.
Keep the Clarity From Fading Again
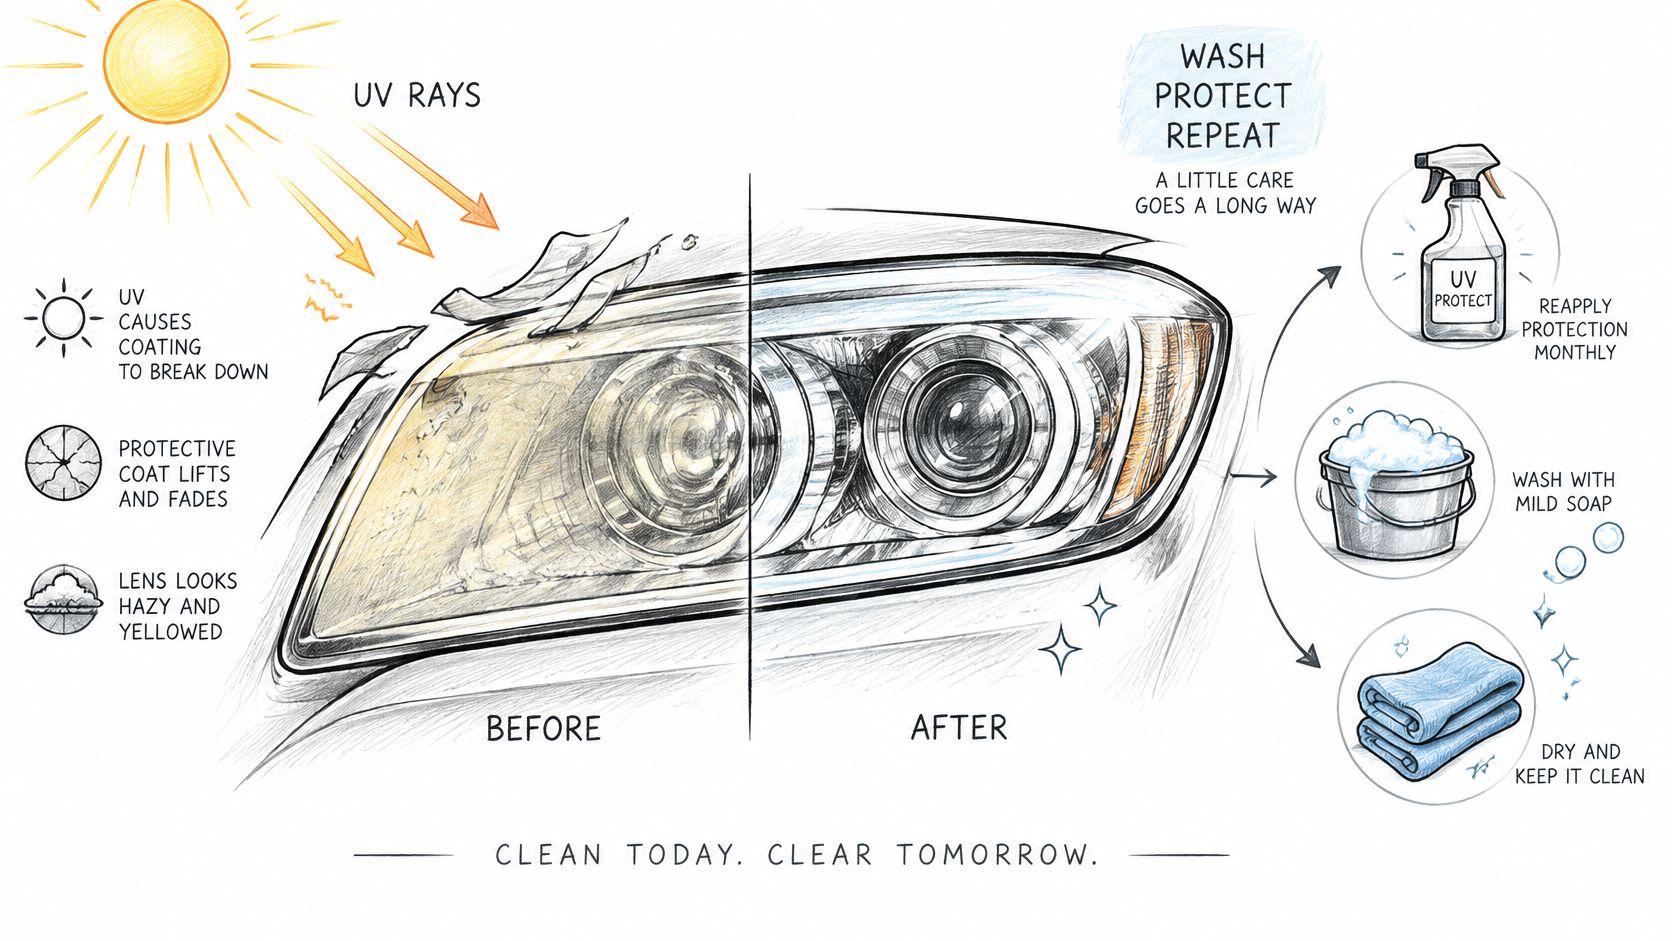
The UV coat is the maintenance story here. Sunlight breaks down that protective layer over time, and once it's gone, bare polycarbonate oxidizes again. Everything below is just you slowing that process down.
A routine that fits on a calendar
- Wash monthly with mild car soap: Use water and a soft microfibre, and skip abrasive brushes or strong degreasers that dull plastic.
- Rinse off winter road salt: After slushy GTA driving, rinse the lamps so salt and grit don't sit on the coating.
- Park in shade or a garage when you can: Less direct sun means slower coating breakdown.
- Repeat the beam check once a year: Compare both lamps side by side at the same wall and distance.
Watch for the early signs the coat is failing. Fine haze creeps back, a yellow tint starts at the edges, or one lamp looks dimmer than the other. Re-coat when those signs appear rather than on a fixed schedule, since lifespan depends heavily on sun exposure and parking habits.
Timing matters when you do re-coat. A coating applied in heat, humidity or direct sun can cure poorly, so pick mild, dry conditions and give it the full cure time.
Put three reminders on repeat: a monthly wash, a yearly beam check, and a haze check each spring. That's the whole system, and it works because you'll actually do it.
Decide Between DIY and a Professional Shop
Two questions settle most of this decision. Is the damage only on the outer lens, and do you have two to three hours plus a dry day? Two yeses point to DIY, and the kit list earlier in this guide shows what you'll spend on materials.
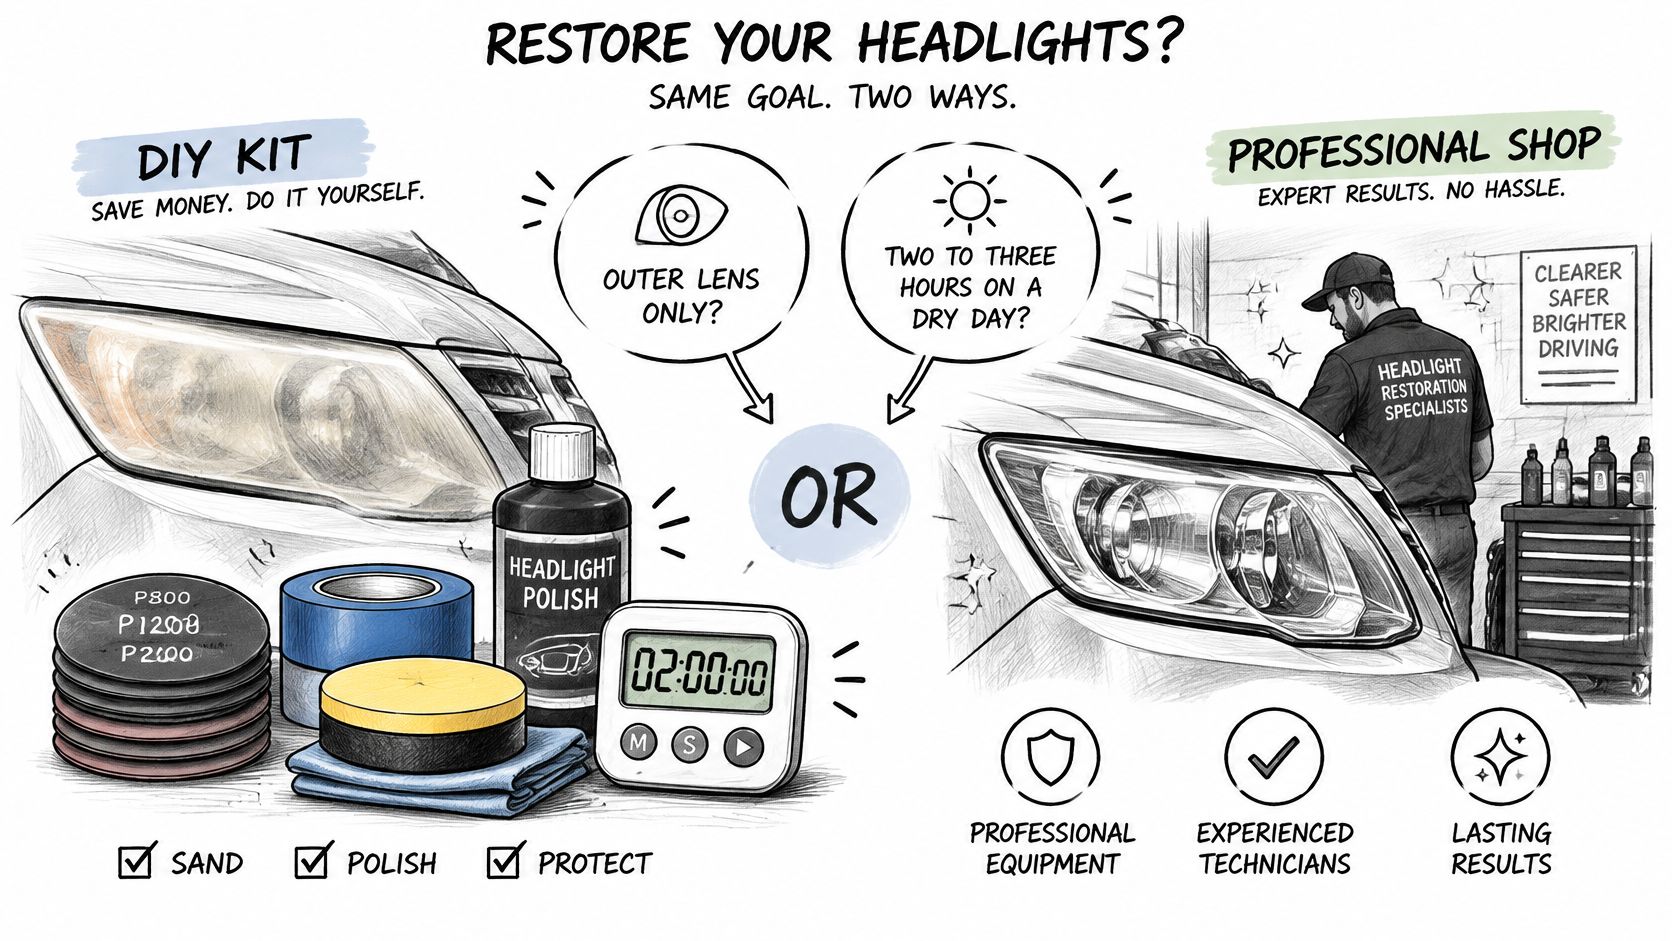
For shop pricing, PreferredMechanic.ca's headlight restoration marketplace listings listed 677 professionals across 53 Canadian cities in 2026 and estimated restoration at CA$80 to CA$150 per pair. Set that range against your kit cost and the afternoon you'd spend sanding, polishing and keeping overspray off the surrounding paint. DIY wins on cash. A shop wins on time and on accountability if the finish goes wrong.
Choose the shop when you find moisture, cracks or a dim beam after cleaning, or when you want output and aim verified afterward for an inspection or a sale. Ask whether the shop checks the beam pattern once the work is done, and whether it finishes with a clear UV-protective coating rather than any tint. If the diagnosis points to internal damage, a replacement lamp assembly is the honest answer, and no amount of sanding changes that.
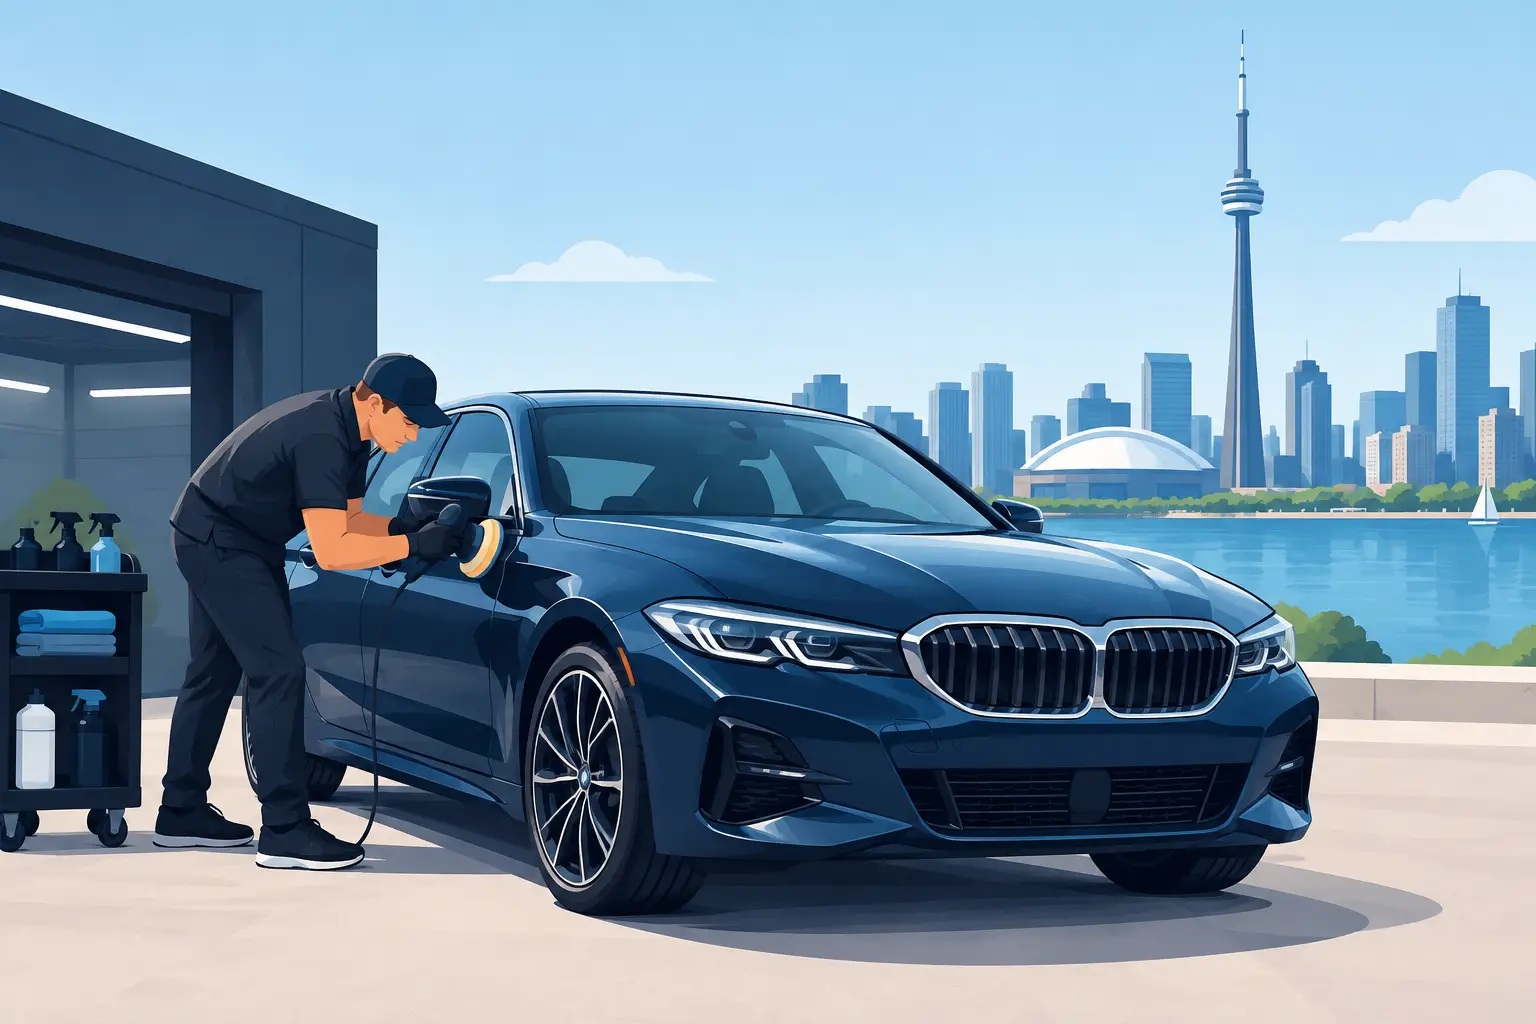
Nanak Car Wash does its car detailing by hand, and its Shine & Protect detailing package includes buffing and polishing by machine. Detailing appointments can be booked online or by calling 416-749-0202, which is handy if you'd rather pair lens work with a broader clean in one visit.
Here's your weekend plan. Run the wall check tonight, sort your car into DIY or shop using those two questions, then act on the answer instead of admiring the problem for another season.
If your lenses have crossed from mildly hazy to hard to see through, book a visit with Nanak Car Wash and let the team handle the polishing while you keep your weekend. You can pair the appointment with the right wash or detailing package for your vehicle, so you leave seeing the road properly again.

 6600 Finch Ave W, Etobicoke, ON M9V 3Z6

 647-703-8515
 MON – SUN 8 AM to 7 PM