
The most popular advice for swirl marks is to grab a cutting compound and polish until the paint looks better. That's also a good way to remove more clear coat than you need to. Before you choose a product, decide whether the marks are safe to correct and whether the paint has enough clear coat to spare.
A swirl mark is usually fine marring in the clear coat, often caused by dirty wash mitts, towels or brushes. Polishing can reduce that damage, but it can't safely fix every scratch. The smart approach is to inspect first, test the mildest method, and stop when the paint says stop.
Table of Contents
- Check Whether Your Swirls Are Removable
- Wash and Decontaminate Before Polishing
- Clear Coat Limits and Paint Thickness Checks
- Choose the Right Pad and Compound
- How to Polish Swirls Out Step by Step
- Protect Your Paint Between Polishes
- Confirm the Finish and Book the Work
Check Whether Your Swirls Are Removable
Most swirls look more alarming than they are. Wash and dry the car, then inspect the paint in direct sunlight or with a bright torch held at a low angle. That directional light reveals fine circular marks that disappear in flat lighting. Dark paint tends to show swirls more clearly than white, so check dark panels from more than one angle.
Sort what you see with this lookup before you touch a pad. A light mark that doesn't catch your fingernail is a polishing candidate. A scratch that catches, exposes colour or sits beside peeling clear coat is a different job entirely.
| Mark type | Fingernail test | What it usually means | Next step |
|---|---|---|---|
| Light swirls, visible only in direct light | Doesn't catch | Surface marring in the clear coat | Decontaminate, then test a polish |
| Dense circular swirls across a panel | Doesn't catch | Wash-induced marring | Test spot with polish, compound only if needed |
| Deep isolated scratch | Catches | Cut through much of the clear coat | Stop and get a professional assessment |
| Scratch showing colour coat or primer | Catches | Clear coat breached | Refinish, don't polish |
| Chips, peeling clear or failed repair | May catch or feel uneven | Structural paint damage | Professional repair |
The fingernail test is a warning, not permission to attack every mark your nail glides over. Work test-first: wash and dry before inspecting, try the least aggressive method on a small area, and stop when a mark catches or doesn't change after a test pass. Keep high-pressure water away from lifting film edges and damaged trim, since a lifted edge under pressure becomes a peeled edge.
Every panel gives you a go or stop verdict. Go means the mark lives in the clear coat and responds to a mild test. Stop means you preserve paint instead of grinding into damage a machine can't fix.
Before you start, note which panels show marks, how many are affected, and whether they appeared after winter driving. That quick record tells you whether you're looking at a small weekend test or a larger correction job.
Wash and Decontaminate Before Polishing
A polisher isn't a wash tool. If salt, sand or road film is still on the paint, the pad can move that grit around and create fresh marring while you're trying to remove old marks. In Ontario, road crews use more than 1,000 snowplows and salt/sand spreaders on provincial highways, and the government says salt remains effective until temperatures fall below -12°C, when sand is used for traction, according to the Ontario winter driving guidance.
Use this order before any polishing:
Rinse the dirtiest areas first. Flush wheel arches, rockers and the underbody to loosen salt and grit. Don't wipe dry, salt-loaded paint; that's a shortcut to adding more scratches.
Wash from the roof down. Use a clean microfiber mitt and lubricating car soap, rinsing the mitt often and working toward the dirtier lower panels. Keep the mitt clean rather than carrying grit from one panel to the next.
Decontaminate if the paint still feels gritty. A suitable iron remover can help with bonded particles; clay can lift above-surface contamination when used with plenty of lubricant. Clay doesn't remove swirls. Polishing does the work of refining the clear coat.
Dry gently. Use a clean towel to blot or make a light, controlled drag across the surface. Scrubbing is unnecessary friction, and a dirty towel can undo the care you took during washing.
Inspect again. Look at the clean, dry paint under the same strong light. If it still feels gritty, stop and decontaminate before going further.
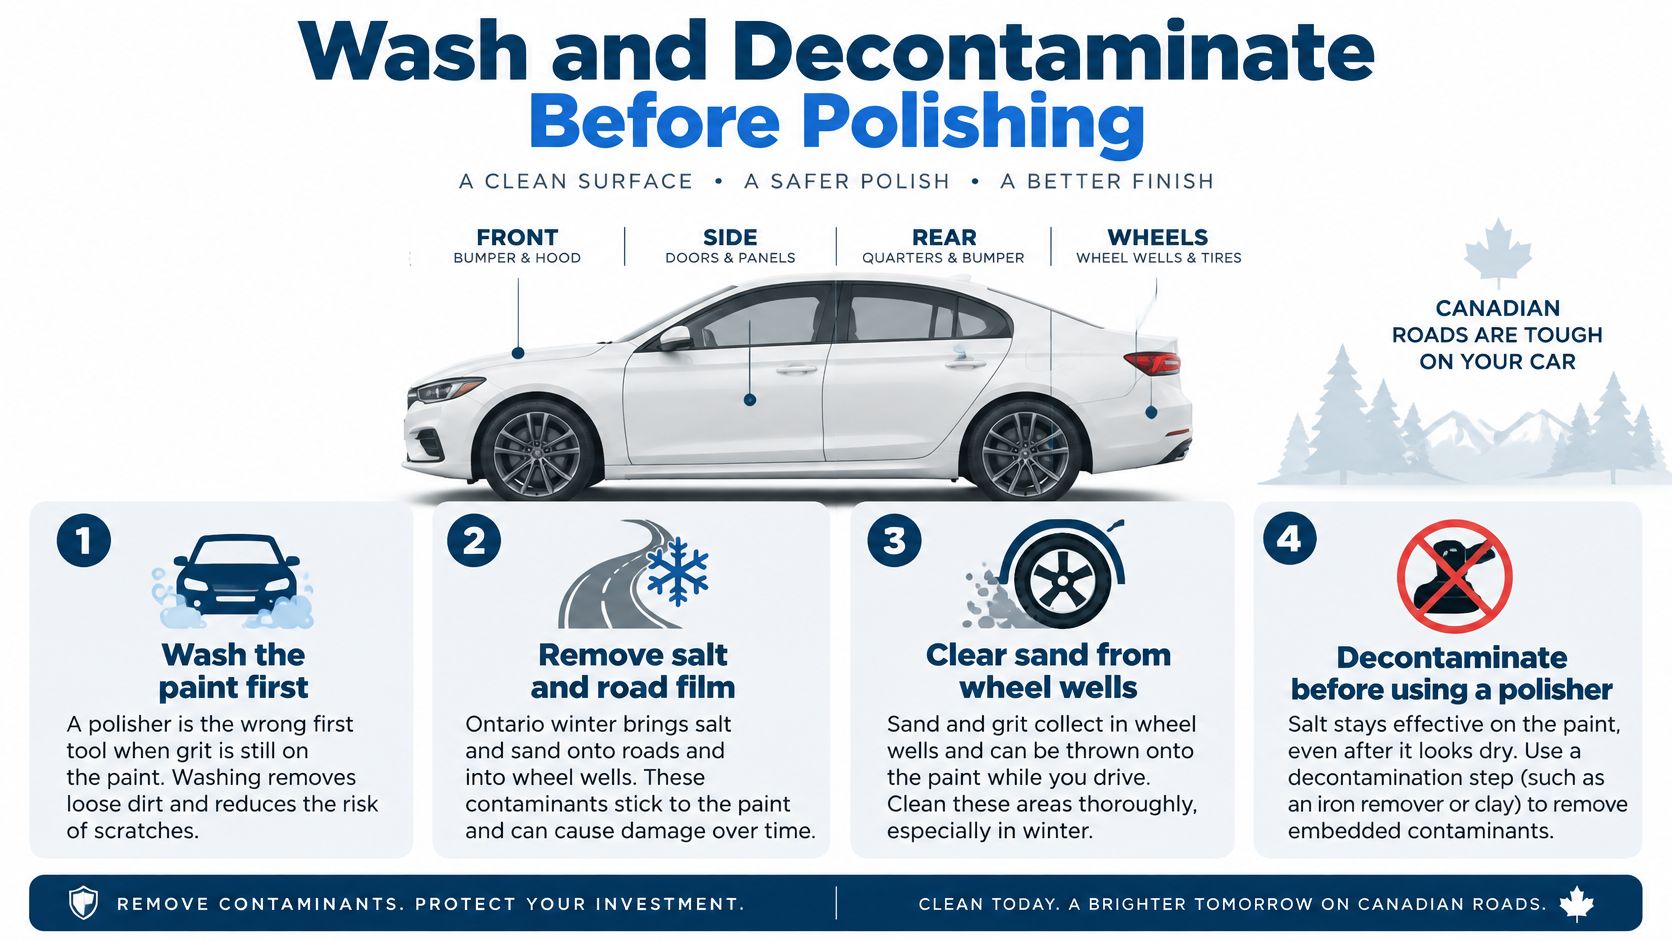
The rule is straightforward: gritty paint means no polishing yet. A clean, lubricated wash and proper decontamination prepare the surface; they don't replace the correction itself.
Clear Coat Limits and Paint Thickness Checks
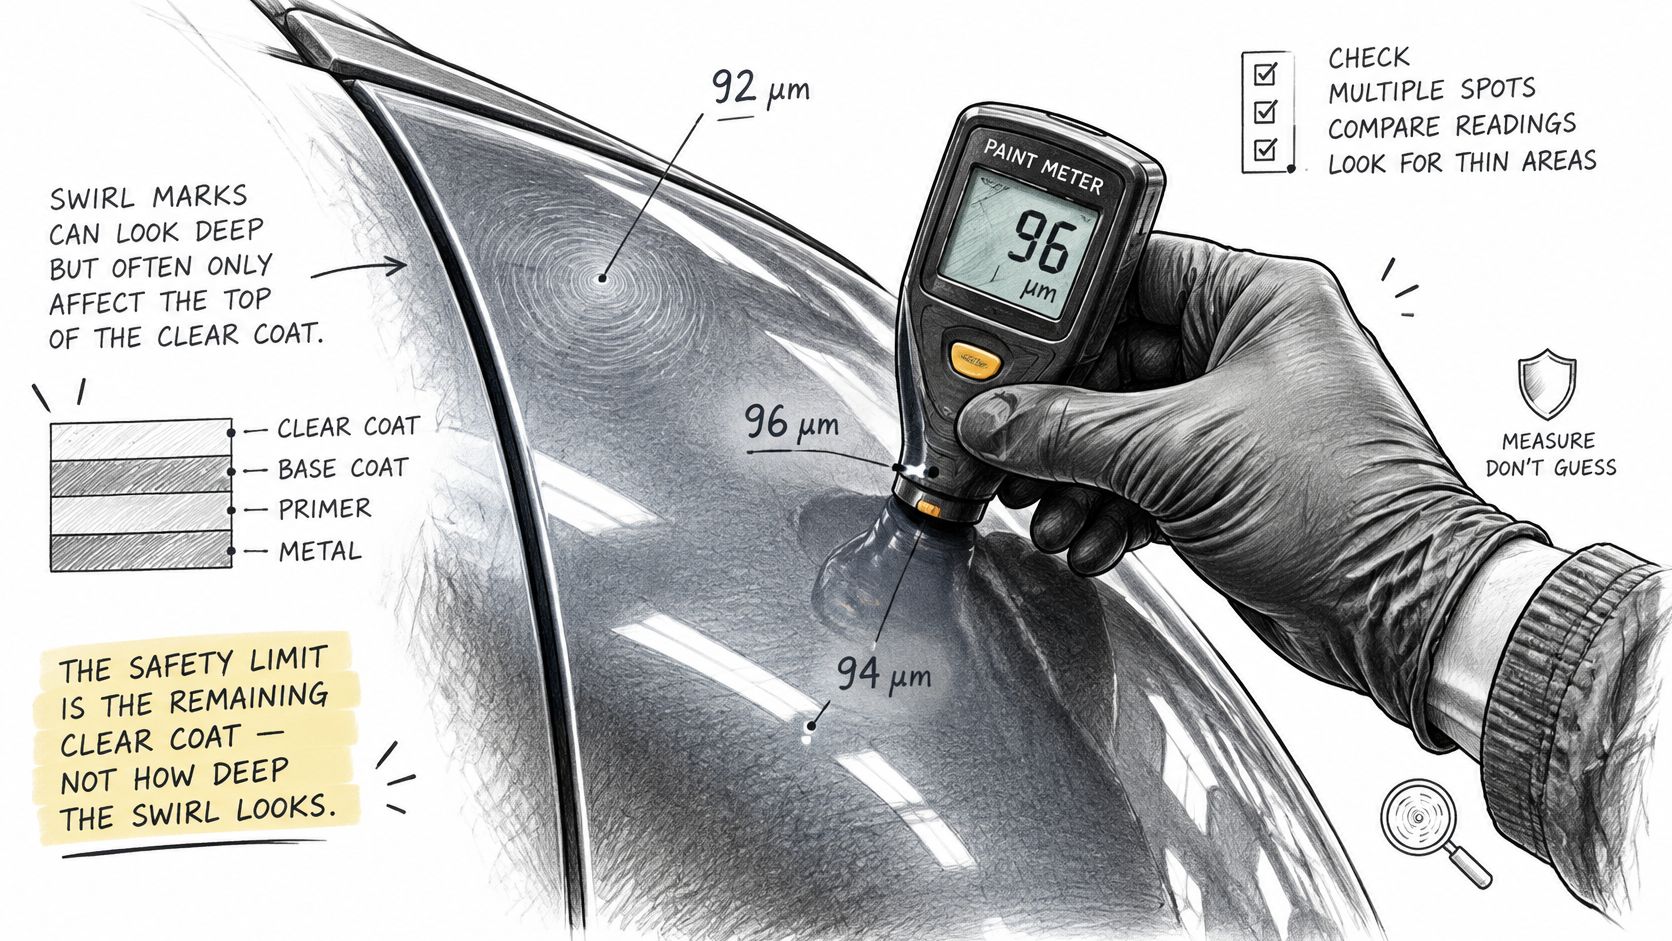
The safety limit is the clear coat left on the panel, not how dramatic a scratch looks under a torch. A paint-thickness gauge can help identify panels that need extra caution. Take readings at several points on each panel and compare them with neighbouring panels. A thin or inconsistent reading, especially on a previously repaired panel, is a reason to polish very conservatively or leave it alone.
The GTA-area paint-correction guidance gives these reference values. Treat them as a comparison point, not a promise that every vehicle has the same paint structure or that every correction removes the same amount.
| Measurement | Value | What it means for you |
|---|---|---|
| Total paint system, modern car | 100 to 120 microns | Baseline to compare each panel against |
| Typical correction removal | 1 to 3 microns | A small amount of clear coat is spent |
| Clear coat to keep for compounding or wet sanding | At least 20 microns | Stop before more aggressive work if that margin isn't available |
| Colour coat, primer or stone chip exposed | No safe polishing margin | Refinish instead of polishing |
A gauge measures the total paint system, not the clear coat by itself. Use it to compare panels and spot unusual readings, not to pretend you know the exact clear-coat thickness everywhere. Previously repaired panels can have inconsistent paint thickness, so don't treat a high reading as an invitation to cut harder.
Think of each polishing pass as spending from a limited budget. On dark paint, inspect after an IPA-type panel wipe because polishing oils can hide fine residual marring. Stop if you find a deep isolated groove, exposed colour coat or primer, a stone chip, or peeling clear; those need refinishing, not more machine passes.
Choose the Right Pad and Compound
Choose products on a ladder, starting with the least aggressive combination that could work. A clean foam polishing pad with a medium-fine abrasive is a sensible first test for light wash swirls. Move up only if the test spot doesn't improve.
| Pad and product | Aggressiveness | Best for | Follow-up step |
|---|---|---|---|
| Hand polish on microfiber | Very low | Light marring, small areas, first-timers | Protection layer |
| Foam polishing pad with ultrafine polish | Low | Fine swirls, dark paint finish | Protection layer |
| Foam polishing pad with medium-fine abrasive | Low to moderate | Light wash-induced swirls, first test spot | Finer polish, then protection |
| Foam compounding pad with medium cutting compound | Moderate | Moderate swirls where polishing fails the test | Machine polish, then ultrafine |
| Wool compounding pad with cutting compound | Highest | Heavy defects only, leaves deeper secondary swirls | Foam refine and ultrafine polish |
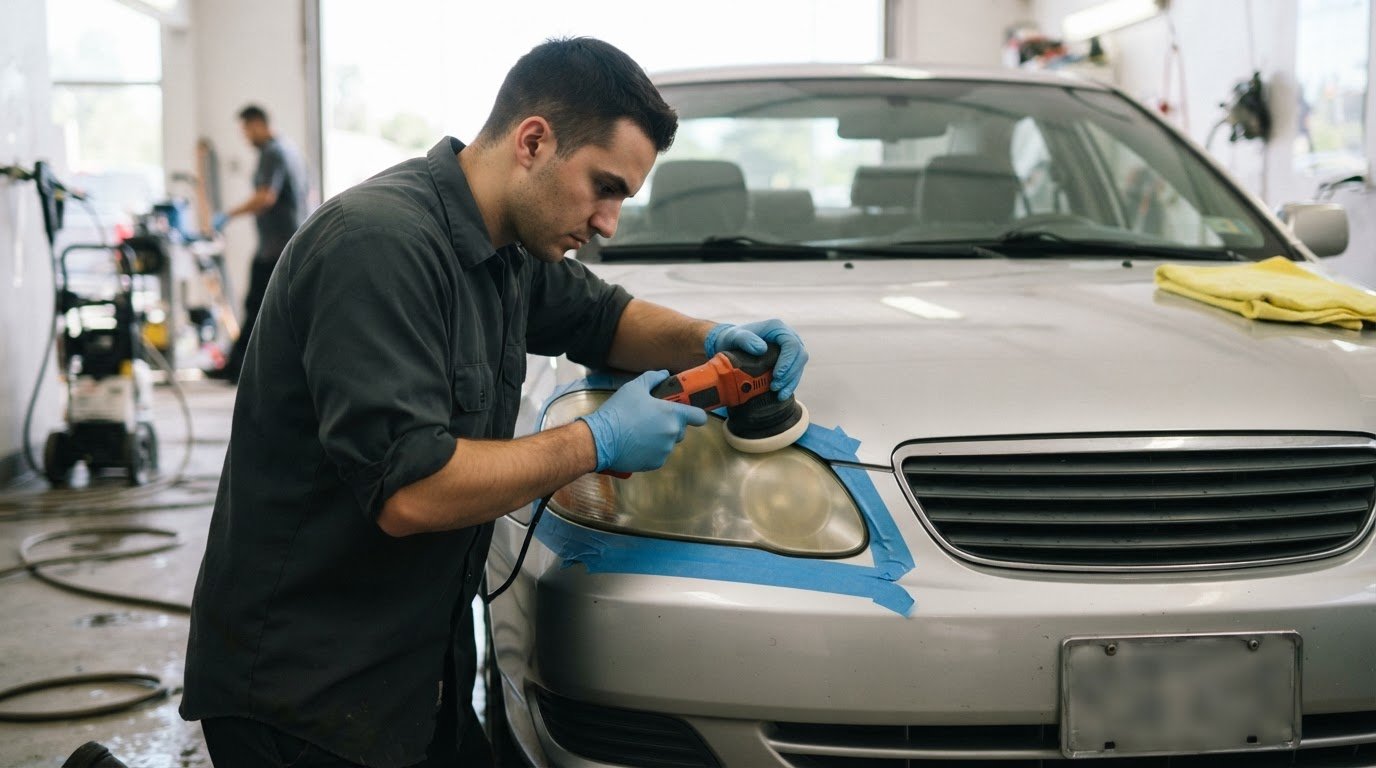
For a dual-action polisher, keep the pad flat, work one small section at a time, and clean or change pads regularly. A loaded pad can drag residue and grit across the finish instead of cutting cleanly. Wipe product residue before it dries, then inspect the section before deciding what to do next.
3M Canada's paint-correction guidance identifies wool as more aggressive than foam and warns that wool compounding can leave deeper secondary swirls. Foam is the safer default for most home correction. An ultrafine polish can refine fine marks, particularly on dark paint, while compounding belongs later in the decision process.
If the light pad reduces the swirls, stay with it. If it doesn't, step up one rung and test again. Don't start with a cutting compound on a car you haven't tested.
How to Polish Swirls Out Step by Step
Once the paint is clean, dry and judged safe to correct, use a dual-action polisher and work carefully. A test spot is your chance to see what the paint will tolerate before you commit to the whole car.
Protect trim and edges. Tape plastic trim, badges and any lifting film edges so product doesn't work its way into them. Don't aim high-pressure water at damaged trim or film edges, and don't polish over an edge just because it's in the way.
Mark a test area. Choose a flat, clean patch on a door, roughly 40 by 40 cm. Avoid a curved panel or sharp edge, where it's harder to keep the pad flat and pressure even.
Apply a small amount of product. Put three or four small dots on the pad, place it against the paint, and spread the product at low speed before increasing to a working speed. Too much product makes residue harder to manage; the goal is an even, lubricated working film.
Polish with control. Keep the pad flat, apply moderate pressure and use overlapping passes across one small section. Don't park the pad in one place or tilt it onto its edge; stationary or angled movement can leave haze or damage the finish.
Wipe while the residue is fresh. Use a clean, soft detailing towel and remove the polish before it dries. Dried residue takes more effort to wipe away, which can introduce new marks and make the result harder to judge.
Inspect the test spot. Use the same light and angle you chose for your first inspection. On dark paint, an IPA-based panel wipe can reveal marring that polishing oils might temporarily mask.
Decide whether to repeat or step up. If the swirls have clearly softened, use the same method on the rest of the panel. If they haven't, move up one level in the pad-and-product ladder and retest instead of increasing pressure or making endless passes.
Refine and protect. After compounding, follow with a finer polish to refine the surface, then apply a suitable protection layer. Compare the corrected panel with an untouched area; the paint should look clearer, not hazy or dull.
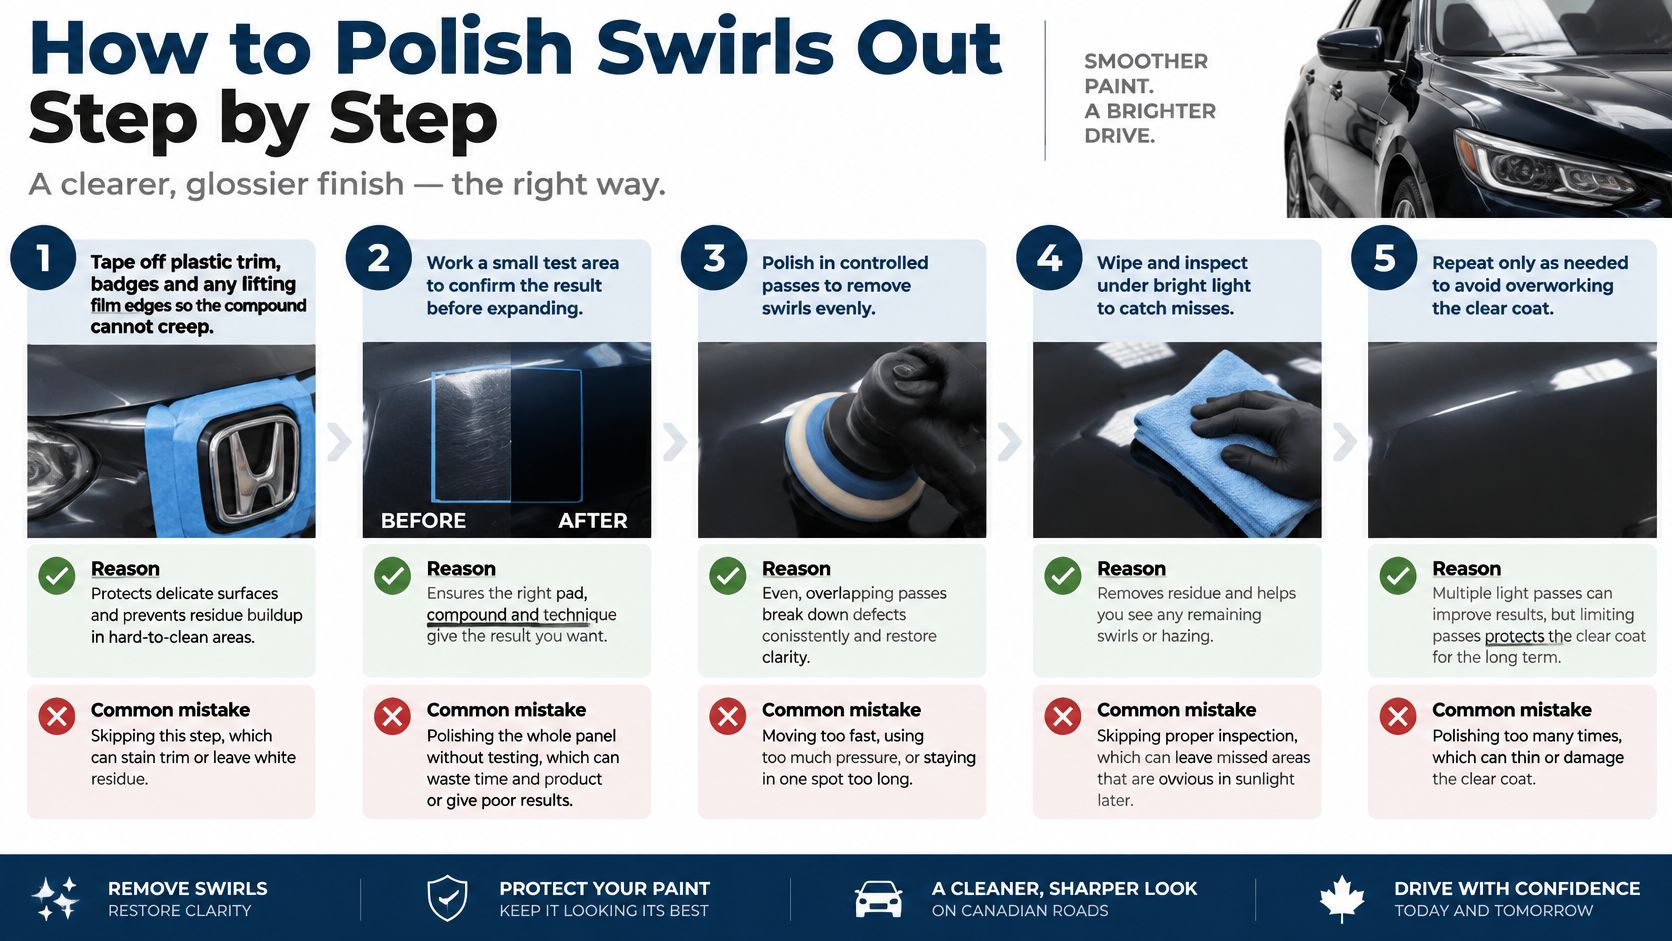
A good result means light swirls are noticeably reduced without leaving a cloudy finish. You're aiming for improvement, not a perfect reflection at the cost of a thin clear coat.
Protect Your Paint Between Polishes
In a Greater Toronto winter, salty slush and grit can end up on the panels you wash most often. Careless contact washing can bring those particles back across the finish, so the best protection is a routine that reduces unnecessary rubbing.
Skip automatic brush washes when you can, and don't reuse a dirty mitt or towel. Rinse wheel arches and lower panels after salty drives before your next contact wash. A sealant or wax can make fresh contamination easier to remove, but it won't repair scratches already in the paint.
Make inspection part of winter upkeep. Check the finish under a torch every so often so you can catch fresh marring while it's light, rather than deciding every spring that the whole car needs aggressive correction. If the paint needs another polish, use the least aggressive method that works and don't chase every mark.
Prevention doesn't make paint scratch-proof. It does help a careful polish stay looking fresh for longer, and that's a better bargain than repeatedly cutting clear coat because the wash routine keeps putting new marks back.
Confirm the Finish and Book the Work
Compare the corrected panel with an untouched one under the same light. Look for softened swirls, haze or a new dull patch. If the marks remain, repeat the test-spot process rather than polishing the whole car again by guesswork.
Hand the job to a professional if the fingernail test catches, the gauge suggests thin or repainted paint, or the vehicle needs correction across multiple panels. If the test spot looks promising and the paint readings are consistent, careful home polishing may be reasonable. Even if you book help, the test spot gives you a practical indication of how the finish responds.
Nanak Car Wash's Shine & Protect detailing package includes machine buffing and polishing. Detailing appointments can be booked online or by calling 416-749-0202.
If a test spot has shown that your paint needs more than a cautious home polish, Nanak Car Wash offers the Shine & Protect detailing package with machine buffing and polishing. Book an appointment through Nanak Car Wash or call 416-749-0202 to discuss the detailing service.


 6600 Finch Ave W, Etobicoke, ON M9V 3Z6

 647-703-8515
 MON – SUN 8 AM to 7 PM