
You open the door, toss your bag onto the passenger seat, and then see it. A coffee ring. A grey smear from winter grime. Maybe a shiny patch on the bolster where your jacket rubs every day getting in and out in Toronto traffic.
That's the moment many either panic-clean with whatever bottle is under the sink, or ignore it and hope it somehow disappears. Both moves usually make the seat worse.
Leather car seats don't need drama. They need the right method. Modern automotive leather isn't your living room sofa, and GTA drivers deal with a rough mix of sun, humidity, road salt, slush, and filthy spring melt that generic advice barely accounts for. If you want to know how to clean leather car seats properly, the trick is simple: clean gently, use the right tools, and stop doing the stuff that degrades the finish.
Table of Contents
- That Sinking Feeling When You Spot a Stain
- Your Leather Cleaning Arsenal and Prep Work
- The Main Event A Step-by-Step Cleaning Process
- Special Ops Tackling Tough Stains and Spills
- Five Common Blunders That Can Ruin Your Leather
- Keeping Your Leather Pristine and When to Call the Pros
That Sinking Feeling When You Spot a Stain
Leather seats have a talent for making a tiny mess feel expensive. One drip of double-double on a pale seat, one muddy heel from a kid's boot, one streak of melted road salt on a black bolster, and suddenly the whole interior looks tired.
In the GTA, it gets worse because the messes change with the season. Winter drags in salt and slush. Spring brings damp grime that settles into seams. Summer cooks everything under the glass, especially if the car sits outside in Etobicoke, Brampton, Oshawa, or a condo lot with no shade. Even if the seat doesn't look “dirty,” it can start feeling slick, dry, or patchy.
It's a common mistake to assume leather cleaning means soaking it with conditioner until it shines. That showroom-gloss look is often just leftover grime, oily product, or both. Clean leather should usually look calm and matte, not greasy.
Clean first, protect second. If the seat looks glossy after you're done, there's a good chance you've left residue behind.
A typical example is the driver's seat outer bolster. It takes the daily abuse of denim friction, sunscreen, hand oils, and constant sliding in and out. People scrub that area aggressively because it looks darker than the rest of the seat. Then they wonder why the colour looks thin or the surface feels rough afterward.
The better move is slower and less dramatic. Use a method that respects the finish on modern automotive leather, keeps moisture under control, and deals with local grime before it turns into wear.
That's how seats start looking new again. Not with a miracle bottle. With careful, repeatable work.
Your Leather Cleaning Arsenal and Prep Work
Good results start before the first wipe. On GTA cars, prep matters because the dirt is rarely just dust. It is fine road salt in February, sunscreen and sweat in July, and damp grime that settles into seams during our humid stretches.
Most car leather needs a lighter touch than people expect
Modern automotive leather is usually coated. That coating changes the job. You are cleaning a finished surface, not feeding raw leather with heavy oils and waxes.
This means regular care should focus on gentle cleaning and UV protection, not thick leather creams that sit on top and collect more grime. That old furniture approach is one of the fastest ways to leave seats shiny, slippery, and harder to keep clean.
If you want a broader routine for cloth, vinyl, and everything around the seats, this guide to spotless auto interiors helps keep the whole cabin in order without using the wrong product on the wrong surface.
Practical rule: Treat modern seat leather like a coated interior surface. Clean it gently, keep residue low, and protect it from UV.
Build a safe detailing kit
You do not need ten bottles. You need a few tools that are safe, clean, and easy to control.
| Item | Specification | Why You Need It |
|---|---|---|
| Vacuum | Soft brush attachment | Removes grit from seams, stitching, and creases before it gets dragged across the finish |
| Leather cleaner | pH-neutral automotive leather cleaner | Lifts body oil, salt residue, and everyday grime without being overly harsh |
| Microfibre towels | Clean, soft, lint-free | Wipes product and residue without scratching or smearing dirt around |
| Brush | Soft-bristled detailing brush | Works cleaner into grain and stitching with less risk of scuffing |
| Applicator | Foam or microfibre applicator pad | Spreads protectant evenly and keeps product use controlled |
| UV protectant | Automotive interior UV protectant | Helps reduce drying and fading from sun exposure through the glass |
| Water | Clean, used lightly on a towel | Handy for a final wipe, never for soaking the seat |
| Test cloth | Separate microfibre for spot testing | Lets you check for colour transfer or finish issues in a hidden area |
A few choices make a bigger difference than people expect.
Use dedicated towels for leather only. A towel that touched door sills, pedals, or trunk trim can carry tiny grit that marks a bolster.
Choose an automotive leather cleaner, not a household degreaser or a random all-purpose spray. Those products can be too strong, too glossy, or leave residue that attracts more dirt.
Keep the brush very soft. If the bristles feel scratchy on the back of your hand, they are too aggressive for most coated seats.
One more prep habit saves a lot of headaches. Work in the shade if you can, or at least let the cabin cool down first. Hot leather flashes cleaners too quickly, especially in summer parking lots across Mississauga, Scarborough, and downtown condo garages with full sun. That makes it harder to clean evenly and easier to leave streaks.
The Main Event A Step-by-Step Cleaning Process
A good leather cleaning job doesn't look flashy while you're doing it. It looks controlled. That's usually how you know it's going well.
Start dry, not wet
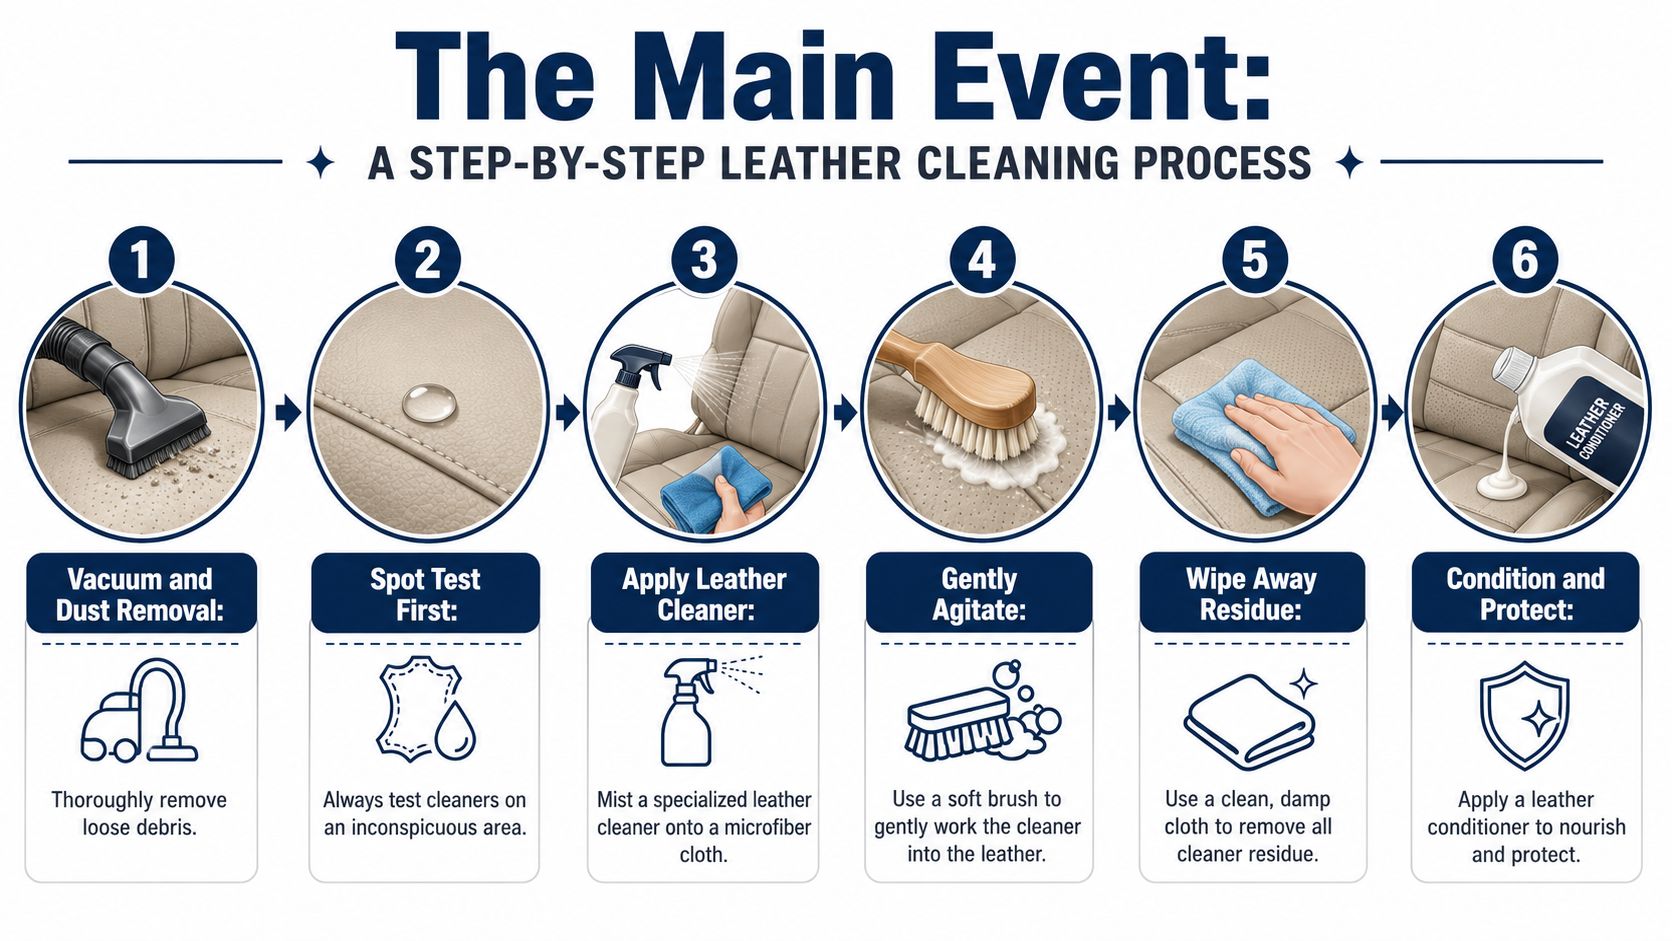
Always begin by removing loose debris. Vacuum the seats with a soft-bristled brush attachment, working into seams, piping, stitching, and the crack between the seat base and backrest. Dirt left behind acts like sandpaper once you start wiping.
Before any full-seat cleaning, test your product on a hidden area. A spot behind the seat edge or lower side bolster works well. If the towel shows colour transfer or the finish changes, stop and reassess.
For a broader interior routine, this guide to spotless auto interiors is worth a look because it helps you avoid cleaning one surface while making another mess nearby.
Clean with control
Apply the cleaner to your brush or microfibre towel, not as a wild mist across the seat. Work one small section at a time. On normal grime, gentle agitation is enough. On textured leather, use a crosshatch pattern, meaning vertical passes and horizontal passes, so you lift dirt evenly instead of grinding in one direction.
For perforated leather, there's one rule you can't ignore. Never spray cleaner directly onto the surface. The liquid can seep into the perforation holes and create moisture problems inside the seat. Spray onto a brush or towel first, then apply gently, as shown in this perforated leather cleaning tutorial.
That's especially important in the GTA, where humid days and damp winter interiors don't give trapped moisture many favours.
Use this rhythm:
- Vacuum carefully: Pull out dry debris before it turns abrasive.
- Test first: Hidden-area testing beats explaining a faded patch later.
- Work in sections: One panel at a time keeps cleaner from drying where you don't want it.
- Agitate lightly: Let the product do the work.
- Wipe residue: Use a clean, slightly damp microfibre towel.
- Repeat only where needed: Stubborn grime often needs a second gentle pass, not harder scrubbing.
If you're fighting the seat, you're usually using the wrong method, not too little force.
Dry properly and finish smart
After cleaning, wipe the area dry with a fresh towel and let it air-dry fully. Don't blast the seat with a hairdryer or park it in direct heat and hope for the best. Fast heat can create its own problems.
If you use a protectant or conditioner-style finishing product, apply a light amount and spread it evenly. On coated leather, the goal is surface protection and a tidy finish, not saturation. Buff off excess so the seat doesn't end up slick.
What you're aiming for is simple: a uniform, clean, low-sheen finish that feels dry to the touch. If it feels oily, go back with a clean towel and level it out.
Special Ops Tackling Tough Stains and Spills
Routine cleaning handles the usual grime. Fresh spills and isolated stains need a different mindset. Move quickly, stay precise, and don't turn a small mark into a larger one by rubbing it all over the panel.
Coffee, pop, and mystery sticky spots
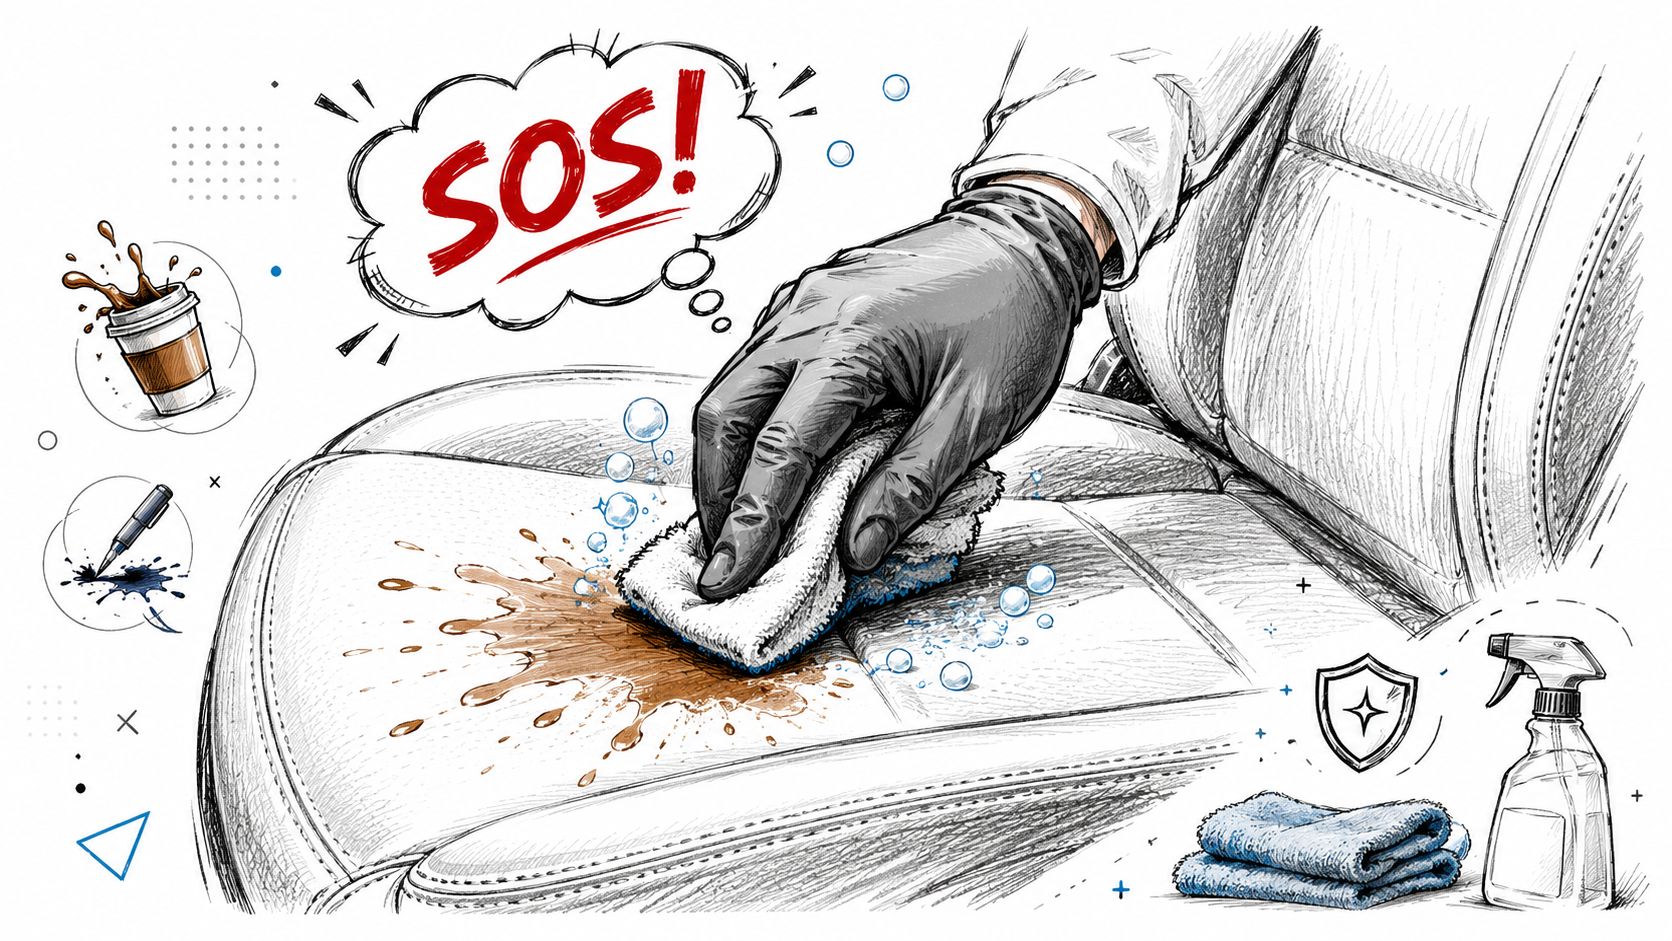
Blot first. Don't scrub. Press a clean microfibre towel onto the spill and lift as much liquid as possible before it dries.
Then clean the area with your pH-neutral leather cleaner on a towel or soft brush. Work from the outside of the stain inward so you don't spread it. Follow with a lightly damp cloth to remove residue.
Sticky drink spills often leave sugar film even after the visible stain is gone. If the seat still feels tacky after drying, do a second light cleaning pass.
Ink and dye transfer
Ink is where people get reckless. They attack it with solvent-heavy products, magic-eraser style abrasion, or hard rubbing. That's how dye loss starts.
Instead, treat ink as a targeted stain. Use a very small amount of leather-safe cleaner on a towel, dab and lift, and repeat patiently. Don't flood the area. Don't grind at it with your fingernail. If you need stain-specific techniques, this guide to cleaning ink off leather gives a useful breakdown of what to try and what to avoid.
Old ink is stubborn. Sometimes the safest choice is reducing it rather than chasing total removal and damaging the finish.
Dark dye transfer from jeans is similar. It usually sits on the surface coating first, which is good news, but aggressive scrubbing can remove coating along with the stain.
Grease, sunscreen, and body oil buildup
This kind of contamination often shows up on armrests, headrests, and driver bolsters. It makes leather look shiny, patchy, and dirtier than the rest of the seat.
The fix is controlled cleaning in rounds. Apply cleaner to a soft brush, agitate gently, wipe, inspect, and repeat if needed. Thick oily buildup almost never disappears in one pass.
A few stain-response rules save a lot of grief:
- Blot fast: Fresh spills are easier to contain than dried ones.
- Stay local: Clean only the affected panel first, then blend outward if needed.
- Use light product: More liquid doesn't mean more cleaning power.
- Know when to stop: If the colour starts transferring to the towel, stop working that spot.
Five Common Blunders That Can Ruin Your Leather
Most ruined leather seats weren't ruined by neglect. They were ruined by enthusiasm.
The mistakes that do the most damage
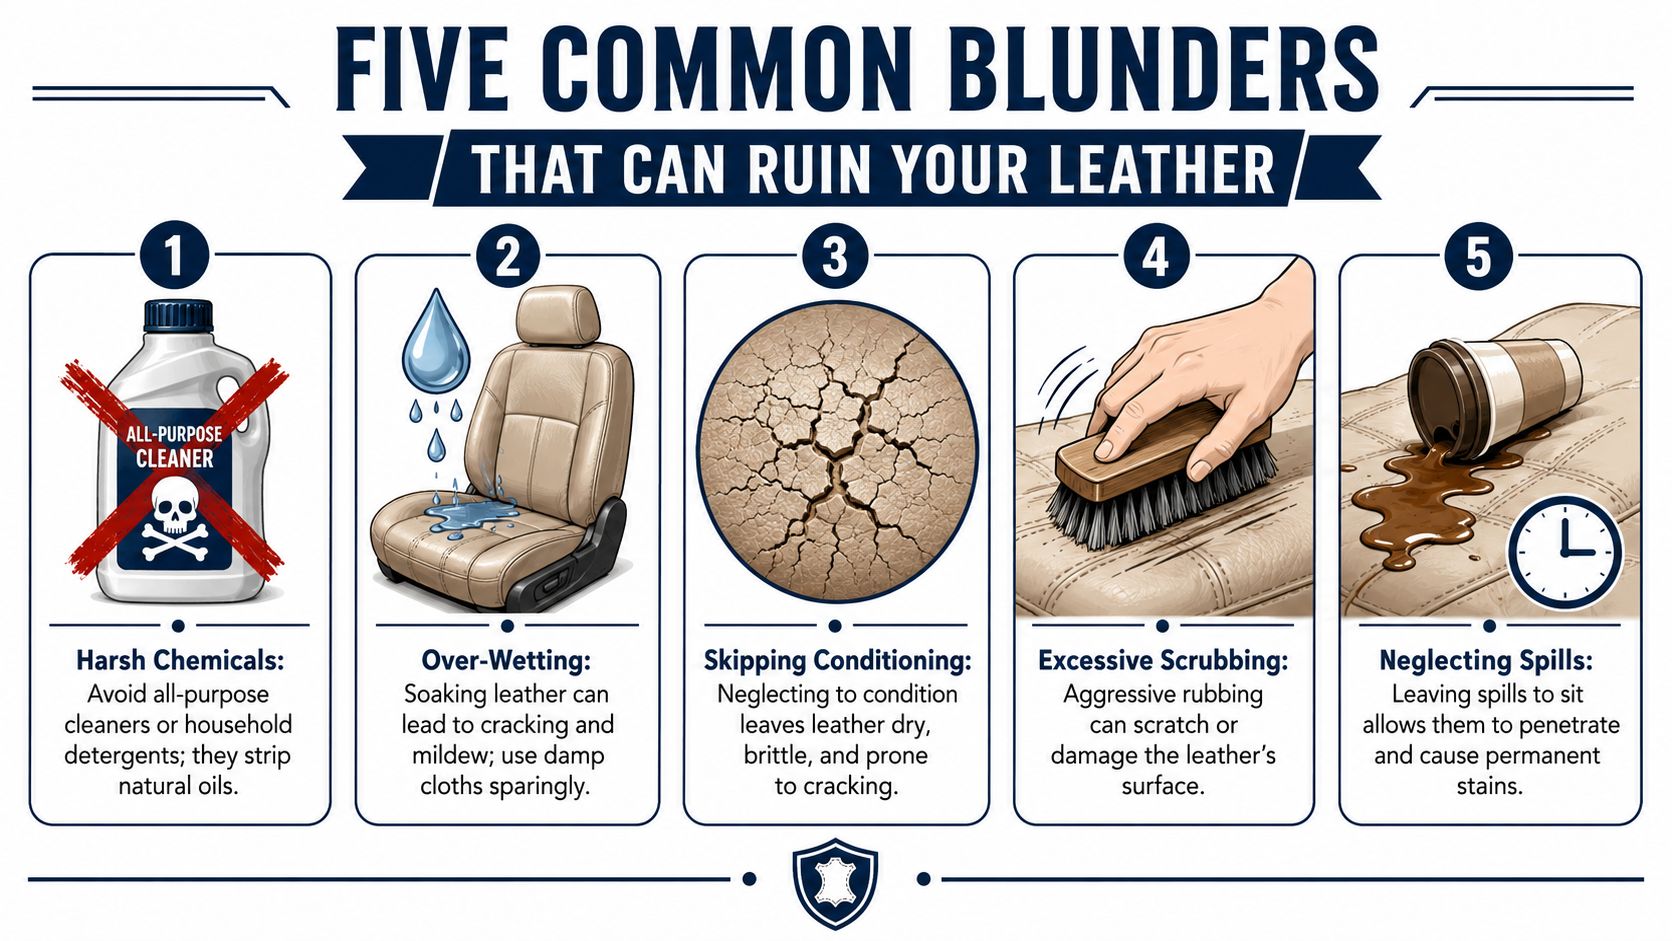
The first blunder is using a brush that's too stiff. That sounds minor until you realise how often it wrecks dyed surfaces. A common DIY failure is using the wrong brush, and data shows 68% of DIY leather cleaning failures in the CA region result from micro-scratching dyed surfaces with overly stiff bristles. Soft-bristled brushes are essential for most modern automotive leather, as noted in this brush-selection guidance for leather seat cleaning.
The second is over-wetting the seat. Leather cleaning should be damp-controlled, not soaked. Excess liquid gets into seams, perforations, and foam.
The third is reaching for household cleaners. Kitchen and bathroom products may cut grime, but they're not designed around automotive leather finishes.
What to do instead
Use this swap list:
- Don't soak the surface. Use product on the towel or brush, then clean in small sections.
- Don't chase shine. Aim for a natural matte look, which usually means the residue is gone.
- Don't scrub harder. If a mark isn't moving, repeat a gentle cycle instead of adding force.
- Don't leave product sitting. Wipe away excess after cleaning or protecting.
- Don't improvise with random brushes. Choose soft bristles unless you know the leather can handle more bite.
Another trap is over-applying conditioners or all-in-one products. A greasy finish attracts dust, grabs dye transfer, and can leave blotchy patches if it isn't levelled properly.
Leather care is one of those jobs where “more product” often means “more cleanup.”
If you remember one thing, remember this: the finish on the seat is part of what you're cleaning. You're not just removing dirt. You're preserving the layer that makes the leather look even and feel smooth.
Keeping Your Leather Pristine and When to Call the Pros
Clean leather stays easier to clean. Neglected leather turns every minor touch-up into a project.
A simple GTA maintenance rhythm
For most daily-driven cars, a light wipe-down whenever you notice fresh dust, road film, or small marks keeps the seats from getting grimy enough to need hard agitation. A more thorough clean works well as a seasonal habit, especially after winter salt season and again during the hotter stretch of summer.
GTA drivers should pay extra attention to three areas:
- Driver bolster wear: Constant sliding in and out grinds in grime fast.
- Perforated centre panels: They trap debris and punish over-wetting.
- Sun-exposed seats: Parked cars in summer need UV-conscious maintenance.
When DIY stops being efficient
If the seats have old dye transfer, deep-set grime in perforations, mystery stains that keep reappearing, or a finish that already feels compromised, bringing in a pro isn't giving up. It's a way to avoid making a bad spot worse.

Professional detailing also makes sense when your time is worth more than an afternoon spent crouched over seat bolsters with a towel and brush. If you're maintaining a family SUV, a rideshare vehicle, or a car that sees serious Ontario winter use, a proper reset can get the interior back to a cleaner baseline.
If your leather seats have gone beyond a quick wipe and need a proper reset, Nanak Car Wash offers GTA drivers a practical option for interior cleaning and detailing. That's useful when salt, spills, ground-in grime, or worn-looking bolsters need more than a DIY touch-up.


 6600 Finch Ave W, Etobicoke, ON M9V 3Z6
 647-703-8515
 MON – SUN 8 AM to 7 PM