
You open the car door for a quick errand and get hit with the full interior biography of your past few months. Coffee ring in the cup holder. Salt crust on the mats. Dust on the dash. A french fry that has somehow achieved legal residency under the passenger seat. If you've been meaning to clean your car interior but keep putting it off, you're in very good company.
You don't need another lifeless checklist. You need a plan that works in a real GTA driveway, parking garage, or self-serve bay. The difference between a car that looks “a bit better” and one that feels reset usually comes down to method, not effort. Scrubbing harder isn't the trick. Cleaning in the right order is.
Table of Contents
- Your Car Is Not a Lost Cause
- The Pre-Game Setup and Tool Arsenal
- The Professional Deep Clean Workflow
- Tackling Tough Foes Stains Odours and Annoyances
- The Maintenance Mindset for a Lasting Clean
- When to Call the Pros The Nanak Car Wash Advantage
Your Car Is Not a Lost Cause
You open the door, catch that stale interior smell, and see crumbs in the seat rails, dust on the dash, and mystery marks on the console. That kind of mess looks expensive and time-consuming. In practice, it usually comes down to a few familiar problems sitting on top of each other.
What looks like total chaos is often a stack of separate jobs. Loose debris. Dust on hard surfaces. Dirt worked into fabric and carpet. Then one or two bigger issues, like pet hair, a food spill, or an odour that makes the whole cabin feel worse than it is.
The biggest mistake I see in DIY interior cleaning is rushing to wipe the obvious areas first. That feels productive, but it creates rework. Dust gets knocked out of vents onto the dash you just cleaned. Crumbs fall from the seats into carpet you have not vacuumed yet. Grease gets smeared across touchpoints because the wrong towel touched too many surfaces.
Pros do not start by making the interior look better for five minutes. We start by removing dry debris and airborne dust first, because every shortcut after that means cleaning the same area twice.
A family car, a commuter that lives through Ontario winters, or a vehicle used for dogs and sports gear can come back well with the right process. If you travel with pets, prevention helps as much as cleanup. Proper seat protection and restraint setups from Nandog's 2026 car seat guide can cut down on hair, dirt, and claw marks before they become a detailing problem.
A lot of upkeep is realistic at home. A proper reset is realistic too, if the mess is mostly surface-level and you have a few uninterrupted hours. The line usually gets crossed when the interior has heavy salt staining, deep odours, soaked padding, or grime packed into seams and fabric that need extraction tools and controlled drying. That is the point where a GTA driver usually saves time and gets a better result by booking Nanak Car Wash instead of fighting the same problem all weekend.
The Pre-Game Setup and Tool Arsenal
A strong interior clean starts before the first spray bottle comes out. Good detailers don't begin by cleaning. They begin by sorting, spotting, and deciding what kind of battle they're in.
Triage before you touch a towel
Pull the car into decent light and do one slow walk-around with all doors open. Check the mats, seat seams, cup holders, lower door panels, and the area around the pedals. Look for three things: loose clutter, material type, and problem spots that need special treatment later.
Ask yourself:
- What's just rubbish: receipts, bottles, wrappers, broken pens, last month's parking stub.
- What needs to be removed carefully: child seats, booster seats, pet covers, charging cables, loose organisers.
- What material are you cleaning: cloth, leather, vinyl, piano-black trim, touchscreen, rubber mats, carpet mats.
- What will need extra patience: salt staining, pet hair, milk spills, greasy fingerprints, sticky console residue.
That little inspection changes the whole job. It stops you from grabbing one aggressive cleaner and using it everywhere.
Build your kit without wasting money
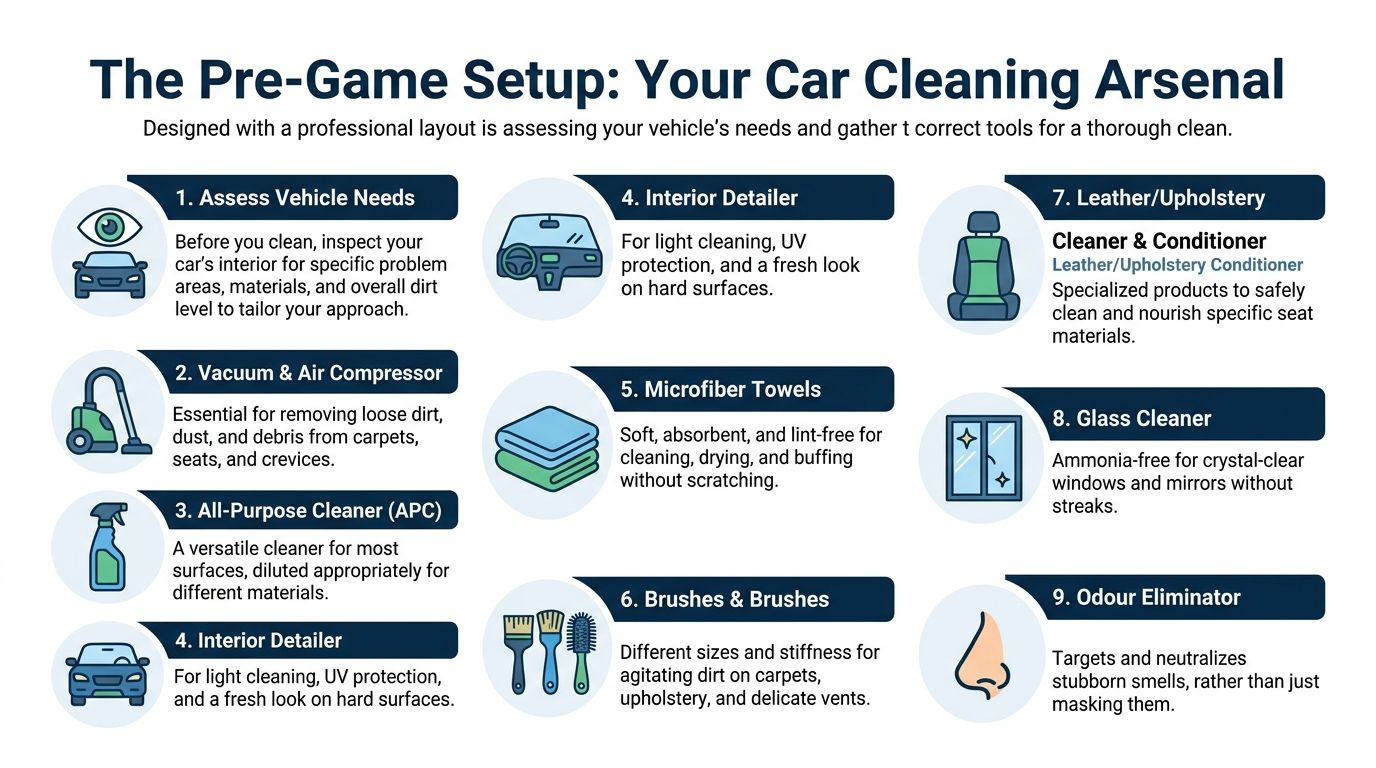
You don't need a van full of products. You need the right few.
| Kit level | What to include | Why it matters |
|---|---|---|
| Non-negotiable five | Vacuum with crevice tool, microfibre towels, soft brush, interior-safe cleaner, glass cleaner | This handles the majority of regular interior maintenance |
| Level-up kit | Detail brushes, compressed air or blower, upholstery brush, dedicated leather cleaner and conditioner, mat brush | This gets into vents, seams, seat rails, and textured plastics |
| Big guns | Hot-water extractor, steamer, stronger lighting | This is what separates a refresh from a deep restoration |
For a DIYer, the essential items do most of the heavy lifting. A vacuum with a proper crevice attachment matters more than a shelf full of flashy bottles. Clean microfibre towels matter more than paper towel. A soft detailing brush often does more for vents and buttons than any spray ever will.
Practical rule: Buy tools first, then chemicals. A poor vacuum and a fancy cleaner still give mediocre results.
If you drive with dogs, keep your setup realistic. Seat covers and restraint gear reduce future cleaning more than any miracle product does. If you're comparing travel setups for pets, Nandog's 2026 car seat guide is useful because it focuses on containment and comfort, which directly affects how much fur, dirt, and claw wear ends up in the cabin.
One more prep tip that saves rework: sort your towels by job. One for glass, one for dirty plastics, one for leather, one for final buffing. Cross-contamination is how you turn a clear window into a smeary mess.
The Professional Deep Clean Workflow
A good interior detail looks calm and methodical because the order does the heavy lifting. Clean high surfaces first, deal with contact points next, and leave the floor and glass until the mess from every earlier step is finished. That keeps dust, crumbs, and cleaner residue from landing on areas you already corrected.
A workable pro sequence for a GTA daily driver goes like this: empty the cabin, remove the mats, do a quick vacuum, clean the upper trim and headliner, work through plastics and touchpoints, clean the seats, finish the carpets and mats, then handle the glass and final inspection. That same top-down logic shows up in this interior detailing workflow reference, and it holds up well in real-world Ontario conditions.
Start at the top, not where the dirt looks worst
Pull out mats, bottles, receipts, chargers, and anything else that blocks access. Do a first vacuum pass with no obsession over perfection. The job here is to remove loose grit so you are not grinding it into trim or seats with your towel and brush.
Then deal with the areas many DIY cleaners ignore because they are awkward. Door jambs, pedal edges, seat rails, and the plastic trim at the seat bases all hold grime that makes an interior feel dirty even after the visible surfaces look better. In winter, door jambs also collect salt mist and greasy road film, so wiping them early prevents that grime from transferring back onto pant legs and floor mats.
The headliner comes next, and restraint is important. Use a lightly damp microfibre or a soft brush with a small amount of interior-safe cleaner on the towel, not sprayed overhead. Blot marks gently. If you soak the fabric, you risk loosening the adhesive and creating a sagging spot that costs far more to fix than the stain ever did.
Hard surfaces reward careful agitation
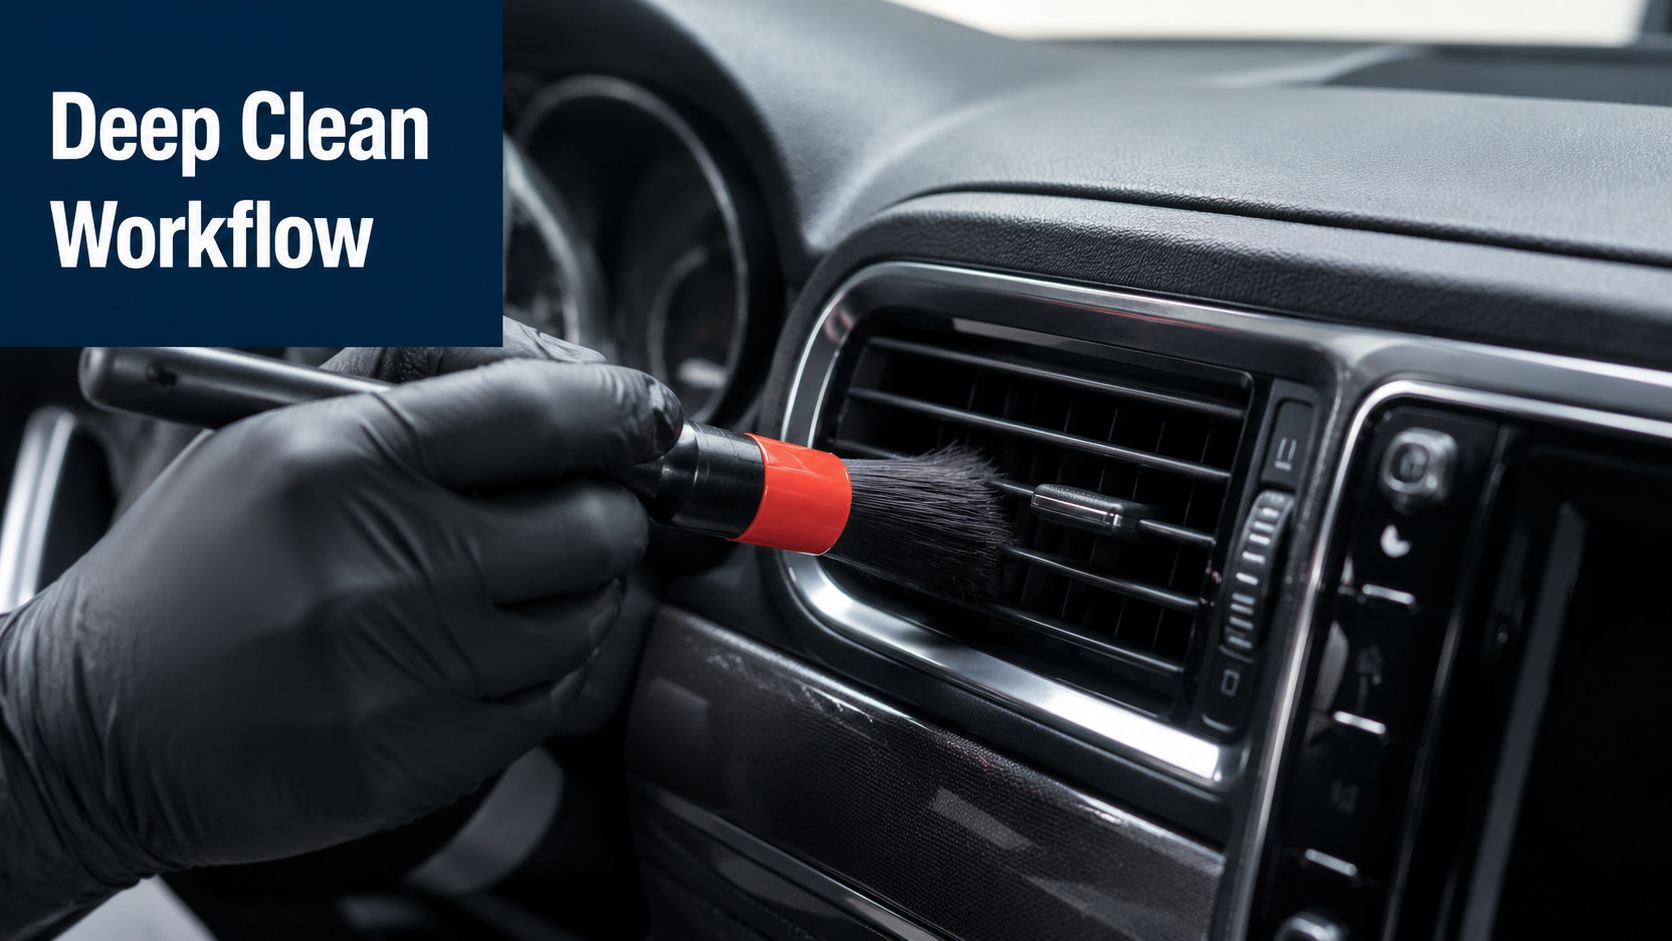
Dashboards, vents, buttons, stalks, steering wheels, and console trim usually respond better to brushing and controlled wiping than to more product. Spray your cleaner into a towel or brush when possible. That keeps overspray off screens, gauge lenses, and piano-black trim that scratches if you look at it the wrong way.
A few areas deserve extra attention:
- Steering wheel: This usually carries the heaviest oil buildup in the cabin. Use a gentle interior cleaner and rotate to a clean side of the towel often.
- Vents and switchgear: Loosen dust with a soft brush first, then vacuum or wipe it away instead of pushing it deeper.
- Cup holders and console seams: Agitation matters more than flooding. A detail brush and wrapped microfibre reach places fingers cannot.
- Screens and glossy trim: Use the mildest cleaner that will do the job and the softest towel you have.
Air freshening is where many DIY jobs go sideways. Spraying heavy fragrance into vents can leave the cabin smelling like perfume over stale residue. If you are considering scent options, this guide on essential oil use in vehicles is worth reading first because some products and application methods are harder on interiors than people expect.
Seats, carpets, and the areas people over-wet
Once the top half of the cabin is under control, move to the seats and floor. This is usually where a quick tidy-up turns into a real deep clean, or where a DIY job gets bogged down.
Cloth seats need measured product use, brushing, blotting, and patience with drying. Leather needs a different touch. Spray onto the towel or brush, work one small section at a time, and wipe residue before it can sit in seams or perforations. Harsh all-purpose cleaners save time in the moment and shorten the life of soft finishes. I see that mistake often on driver bolsters and steering wheels.
Carpet and upholstery cleaning follow the same rule. Use enough cleaner to break down soil, not so much that you soak the padding underneath. A soft upholstery brush helps. An extractor helps more, but only if you can remove enough moisture and give the interior time to dry properly. That is one of the biggest trade-offs for GTA owners doing this at home. A driveway clean can look great for an hour, then smell musty the next morning if the fabric stayed damp.
Correct product choice, light agitation, and good drying beat aggressive scrubbing every time.
Glass and the final inspection
Leave glass until the end. By then, dusting is done, seats are wiped, and you are not creating fresh fingerprints while reaching across the cabin. Use a dedicated glass cleaner, one towel to clean, and a second dry towel to level out any haze. Roll each window down slightly to catch the top edge, because that strip is one of the first places a rushed job shows.
Finish with a real inspection, not a quick glance. Check the pedal area for anything that could interfere with driving. Look at seat rails and under-seat pockets. Reinstall only dry mats. Then sit in the car with the doors closed for a minute and judge the result like an owner, not like someone eager to put the tools away.
If the cabin still feels sticky, smells stale, or has damp carpet after all that work, the limit is usually equipment, extraction, or drying time rather than effort. That is the point where many DIY jobs stop being efficient. For heavily soiled interiors, salt-packed carpet, or odour problems buried in the fabric and vents, a pro service like Nanak Car Wash usually makes more sense than another round of home cleaning.
Tackling Tough Foes Stains Odours and Annoyances
Most interior frustration comes from the same myth: if you can't see it anymore, it's gone. That idea falls apart the moment salt blooms back through the carpet, pet hair resurfaces after two drives, or the cabin starts smelling like old takeaway again.
Salt stains are a winter hangover
Salt is one of the biggest reasons GTA interiors never feel fully clean after winter. Vacuuming lifts loose crystals, but it doesn't solve what has dissolved, migrated, and dried back into the carpet and mat fibres.
That's the trade-off. A quick interior wash makes the cabin look more presentable, but it won't always deal with what's embedded deep down. In discussion around Toronto-area cleaning options, standard interior washes were described as removing only 40% to 60% of embedded particulates, while professional hot-water extraction removes 85% to 95% of them, according to this Toronto-area discussion on interior cleanup limits.
For DIY salt cleanup:
- Vacuum the area thoroughly first.
- Agitate the fibres with a brush to break loose dried residue.
- Use an upholstery-safe cleaner sparingly.
- Blot or extract. Don't just smear moisture around with a towel.
- Dry it fully before closing the car up.
If the stain keeps ghosting back, the residue is still buried below the surface.
Pet hair sticky spills and mystery grime
Pet hair behaves differently depending on the fabric. On smooth leather, it wipes up easily. On trunk carpet and woven seat fabric, it tangles itself into the fibres and laughs at your vacuum.
A few methods that help:
- Rubber brush or pet-hair brush: Good for pulling fur into clumps on cloth seats and carpet.
- Compressed air plus vacuum: Loosens trapped hair from seams and seat tracks.
- Damp nitrile glove: Surprisingly effective on stubborn patches.
- Repeated short passes: Better than one aggressive attack that fuzzes the fabric.
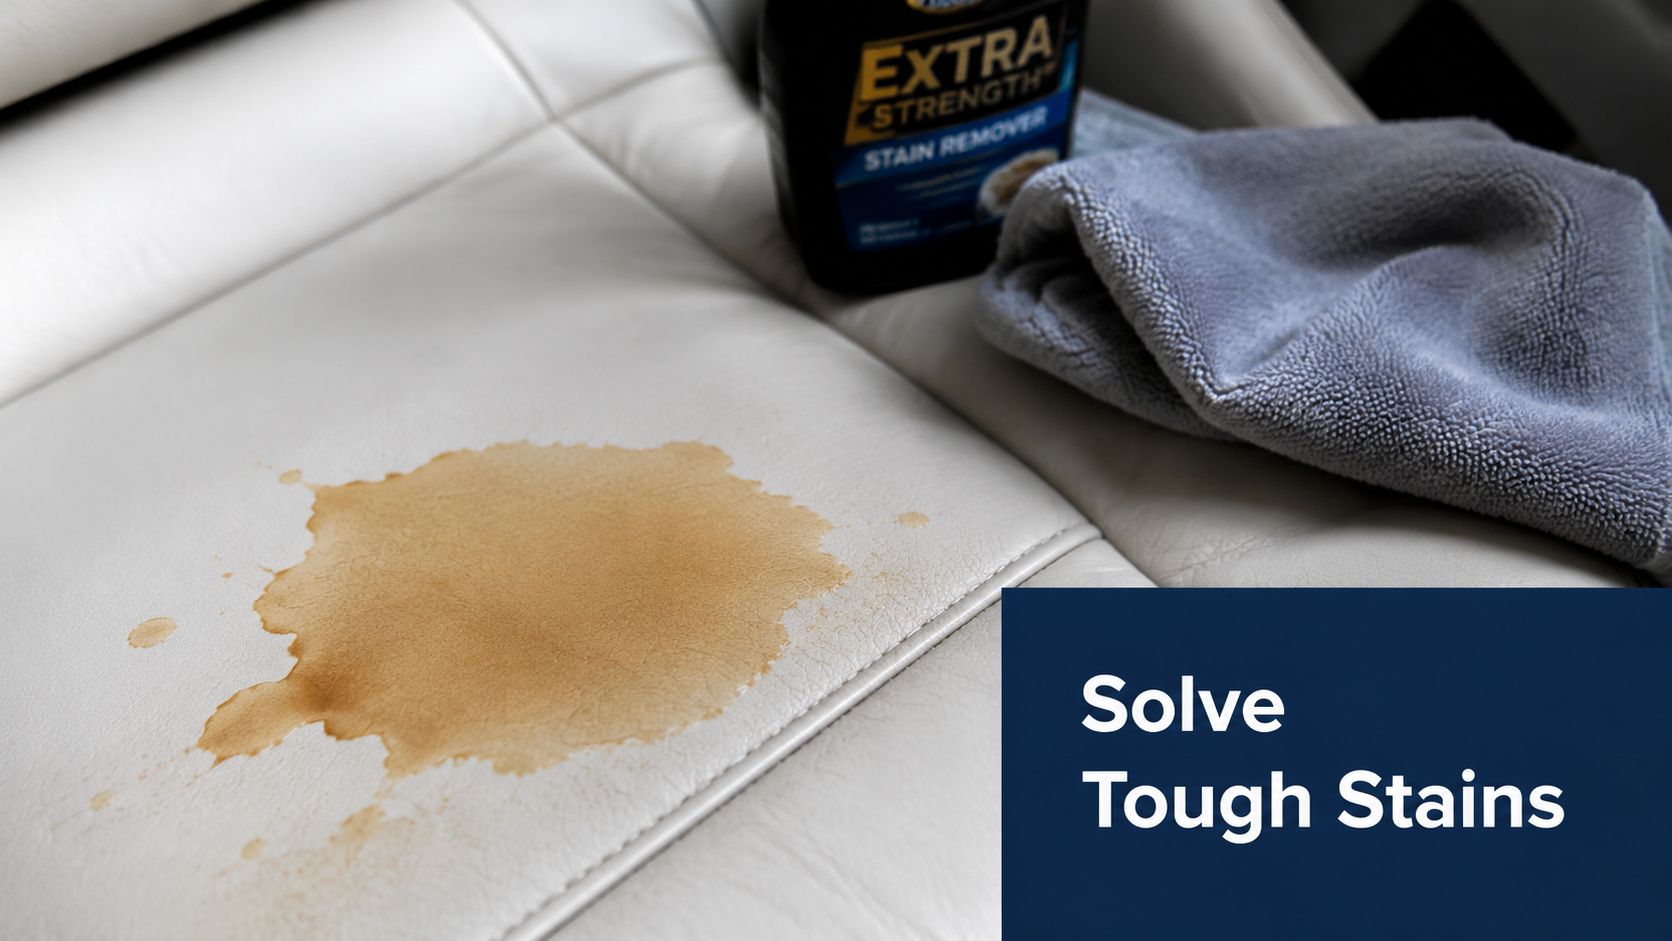
Coffee, juice, and food spills need speed more than force. Blot first. Don't grind the liquid deeper. Use a fabric-safe spot cleaner and work from the outside edge inward so the stain doesn't spread. Sticky residue on consoles or cup holders usually needs dwell time. Let the cleaner sit briefly, then agitate with a soft brush.
Here's the annoying truth about “mystery grime.” It's often a stack of small things: body oils, dust, drink mist, sunscreen, crumbs, and city air residue. That's why one wipe rarely solves it.
Odours need removal not perfume
A car can look fresh and still smell tired. Food vapours, pet residue, damp mats, and traffic pollution all settle into the soft surfaces and vent system. Spraying a fragrance over that usually creates a worse version of the same problem.
Recent industry commentary around rideshare and delivery use noted that 68% of used interior cleaning services fail to eliminate VOCs without steam or enzyme-based treatments, as described in this discussion of odour-neutrality concerns for vehicle interiors. For drivers carrying passengers, that matters more than a glossy dashboard.
If you like scented products, use them lightly and only after the source odour is gone. Some drivers enjoy essential oils, but they need caution around materials, strength, and ventilation. This guide on essential oil use in vehicles is worth reading before you start adding diffusers or oils to a confined cabin.
Clean first. Neutralise second. Fragrance comes last, if at all.
If a smell keeps returning after cleaning, check for damp fabric, old spills under the seat mounts, contaminated mats, or vent buildup. Persistent odour is usually evidence, not bad luck.
The Maintenance Mindset for a Lasting Clean
Monday morning is when neglect shows up. The coffee ring in the cup holder has dried, the driver's mat is holding yesterday's grit, and the door pocket is full of receipts you meant to throw out. A clean interior usually gets lost that way. Not through one big mess, but through a week of small ones.
The fix is consistency. A five-minute reset done once or twice a week keeps dirt from settling in, stops stains from setting, and makes the next proper clean much faster.
The five minute tidy
Keep the routine short enough that you will do it:
- Clear out rubbish: wrappers, cups, tissues, and parking slips
- Knock off the mats: especially after rain, slush, or muddy shoes
- Wipe the touchpoints: steering wheel, console, cup holders, and screen surround
- Vacuum the visible zones: front footwells, seat edges, and under the pedals
- Check for moisture: mats, carpet edges, and seat corners should not stay damp
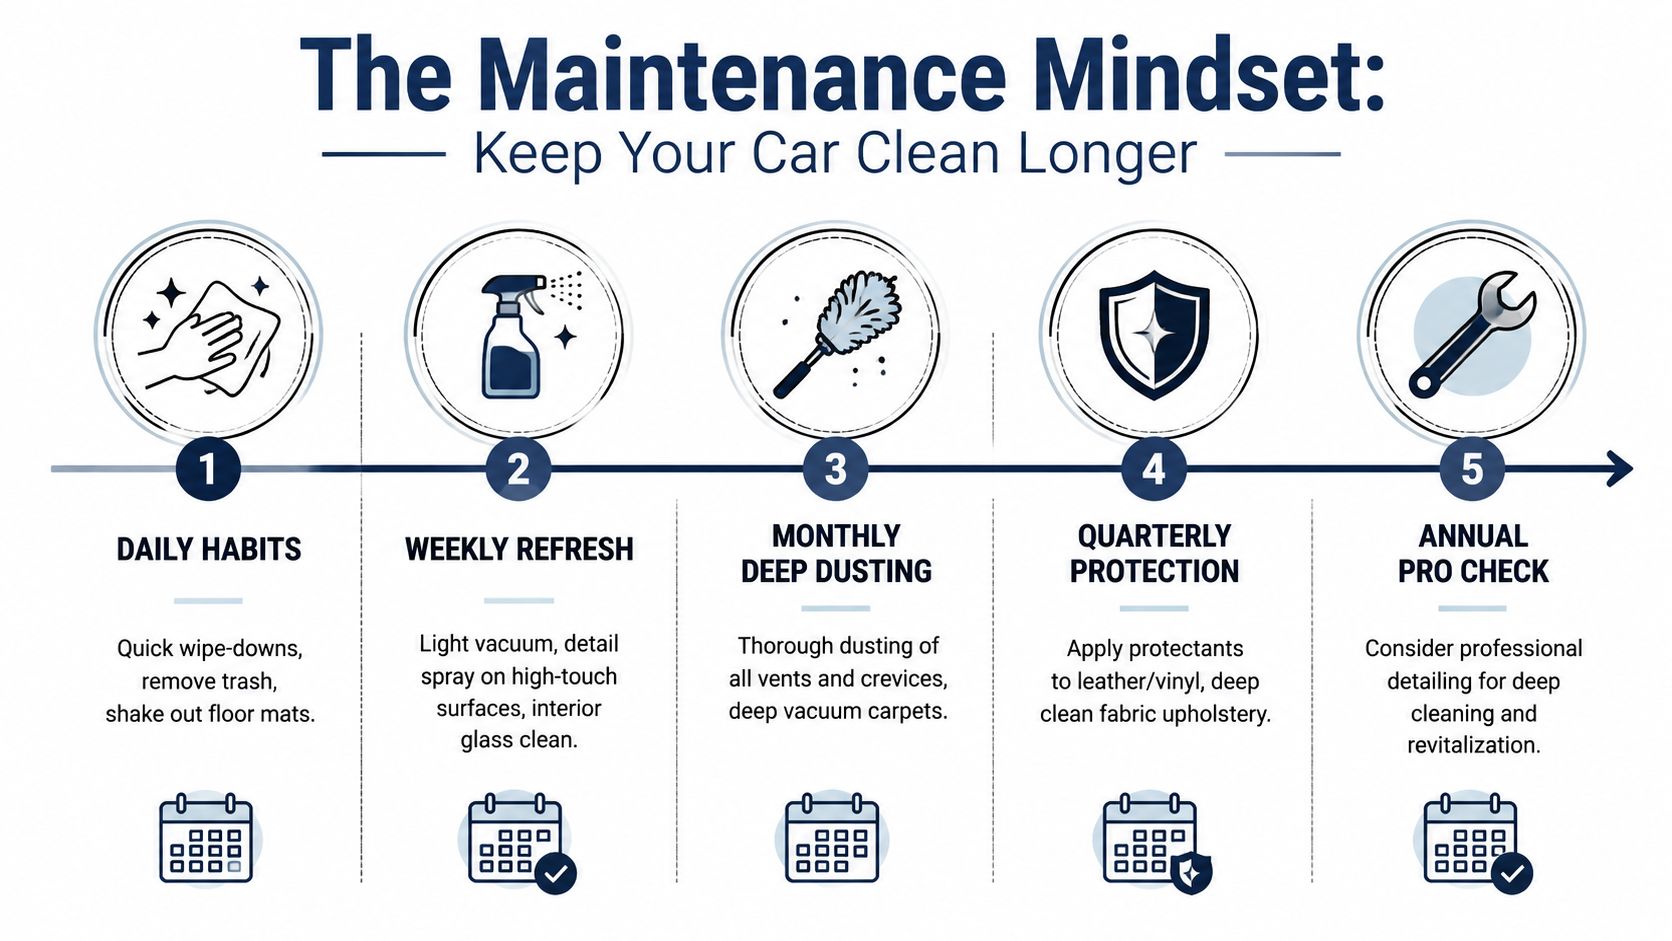
That routine does not need perfection. It needs repetition.
I tell DIY owners to focus on the spots your eyes and hands notice first. If the mat, wheel, console, and glass look under control, the whole cabin feels cleaner. Save the slower jobs for a proper weekend reset or a professional appointment.
A simple Ontario rhythm
Ontario interiors take a beating in cycles. Winter brings salt, slush, and damp boots. Spring drags in grit. Summer adds sunscreen, sweat, dust, and more odour risk if the cabin stays hot and closed up. Fall usually means wet leaves, mud, and another round of moisture.
A practical schedule looks like this:
| Timing | Focus |
|---|---|
| After messy weeks | Remove rubbish, wipe touchpoints, vacuum visible debris |
| At season changes | Deep vacuum, clean mats, wipe jambs, clean glass, dust vents |
| Every few months | Fabric or leather care, stain check, salt residue treatment, odour review |
As noted earlier, Ontario detailing guidance commonly lands in the every few months range for a fuller interior reset, and that lines up with real-world results. Weekly upkeep keeps the cabin presentable. It does not replace extraction, salt removal, or deeper work on seats, carpets, and vents.
This is also the point where smart DIY meets reality. If you stay on top of light maintenance, you can avoid turning the car into a half-day rescue job. If life gets busy and the interior slips past basic care, booking help is usually cheaper than replacing stained mats, living with odours, or spending your Saturday fighting old grime. For heavier neglected interiors, spill aftermath, or time-sensitive messes, this outside example of Emergency car interior cleanup shows the kind of work that goes beyond a quick home routine.
For GTA drivers, that middle ground matters. Handle the easy upkeep yourself. Bring in Nanak Car Wash when the job needs extraction equipment, stain treatment, or a proper seasonal reset done without guesswork.
When to Call the Pros The Nanak Car Wash Advantage
Saturday morning, the vacuum is out, the mats are on the driveway, and the cabin still smells off. That is usually the point where a DIY clean stops being a tidy-up and turns into a recovery job.
Some interior problems need tools and drying control that are hard to match at home. Surface dirt is one thing. Salt pulled deep into carpet backing, moisture trapped in foam, pet hair woven into trunk liner, or stains in a headliner are different jobs.
Signs the job has moved past DIY
A few warning signs show up again and again in real interiors:
- Salt keeps coming back: You vacuum, wipe, and the carpet dries with white crust along the edges or under the pedals.
- Seats or carpets stay wet for too long: As noted earlier, poor moisture removal raises the risk of musty smells, mildew, and longer drying times.
- Pet hair is stuck in woven fabric: A brush or rubber tool helps, but heavily embedded fur can turn into an hour-by-hour job.
- The headliner needs spot cleaning: Too much liquid or pressure can loosen adhesive and leave sagging.
- Spills got into seams or under the seat rails: The visible mess is often the easy part.
- You do not have the time: A proper interior reset is slow, hands-on work.
If you need a sense of what an urgent reset can involve after spills, accidents, or heavy grime, this page on Emergency car interior cleanup gives a useful outside example of the kind of situations where regular wipe-downs stop being enough.
Matching the service to the problem
Professional help makes more sense when the job calls for extraction, stain treatment, compressed-air style crevice cleaning, or managed drying instead of basic wiping and vacuuming. Analysts at IBISWorld found steady growth in Canada's car wash and detailing market, which tracks with what drivers already know. Paying for skilled labour is often cheaper than buying specialty tools, guessing at chemicals, and still ending up with damp seats or stained mats.
That trade-off is practical, not fancy. A real interior detail takes time. It usually includes vacuuming, agitation with brushes, stain treatment, mat cleaning, vent and trim work, glass cleaning, and careful drying. If the interior has been ignored for a season or two, doing it properly at home can take most of a day.

For GTA drivers, Nanak Car Wash fits that middle ground well. You can stay on top of the easy upkeep yourself, then hand off the jobs that are messy, slow, or risky to delicate materials. Their services include interior cleaning, detailing, shampooing, and vent and crevice work, which is the kind of support that matters when salt, spills, and ground-in grime have moved past a home refresh.
The smart split is simple. Handle the weekly maintenance yourself. Bring in Nanak Car Wash for the resets that need extraction equipment, stain removal skill, or enough labour to get the cabin properly clean without losing your weekend.
If your cabin has moved beyond a quick vacuum and wipe-down, Nanak Car Wash is a practical next step for GTA drivers who want interior cleaning, detailing, or a full-service wash without turning an entire weekend into a detailing project.

 6600 Finch Ave W, Etobicoke, ON M9V 3Z6
 647-703-8515
 MON – SUN 8 AM to 7 PM