
You're probably reading this with a car that feels one coffee spill away from giving up on dignity. There's grit in the cup holder, dust sitting on the dash like a fine grey seasoning, and a mystery mark on the passenger seat that nobody remembers making. Then winter hits the GTA, and suddenly the floor mats look like they've been dredged through a salt mine.
The good news is that a clean interior doesn't require a miracle. It requires the right kit, the right order, and a bit of restraint. Laziness isn't usually the cause of poor results. They fail because they use one random spray for everything, one sad old towel for every surface, and far too much elbow grease where technique would do better.
The best interior car cleaning supplies aren't always the fanciest bottles on the shelf. Consider the analogy of cooking. An all-purpose cleaner is salt. You need it. But salt alone doesn't make dinner interesting. Specialty cleaners are paprika, cumin, and garlic. They solve specific problems and make the whole result better.
Table of Contents
- Conquering the Chaos Inside Your Car
- The Foundation Your Cleaning Arsenal Is Built On
- Choosing Your Weapons Upholstery Leather And Plastic
- Mastering Pro Techniques for Stains and Odours
- When Your DIY Arsenal Is Not Enough
- Your Blueprint for a Permanently Clean Interior
Conquering the Chaos Inside Your Car
A messy car interior rarely happens all at once. It sneaks up on you. One takeaway napkin becomes six. A clean centre console collects dust, crumbs, lip balm, charging cables, and parking receipts until it starts looking like a junk drawer with seatbelts.
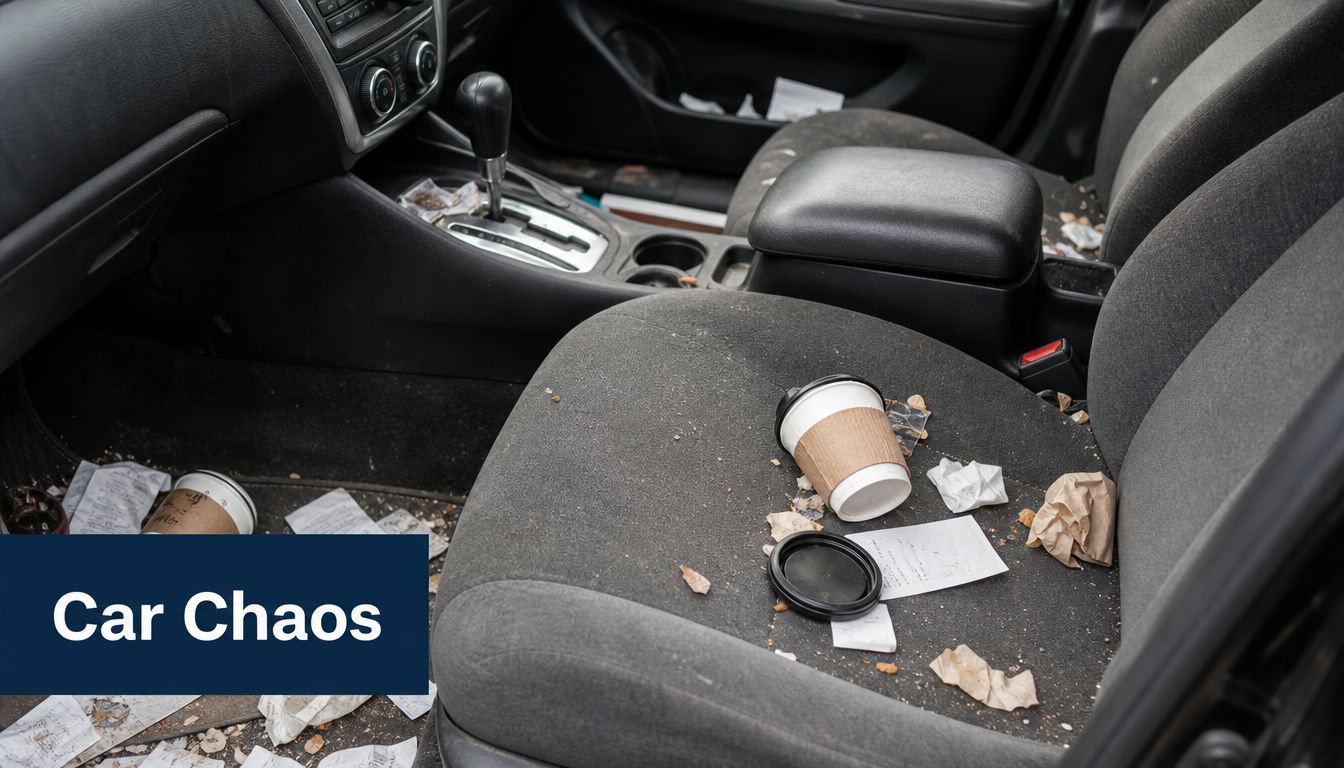
The challenge with interior dirt is its layered nature. The obvious stuff is easy. Empty bottles, wrappers, loose dirt. Under that, you've got body oils on the steering wheel, sunscreen smears on trim, fabric holding old spills, and dust packed into vents and stitching. If you attack all of that with one spray and a paper towel, the car might look better for ten minutes, then worse in sunlight.
Why the cabin feels harder than it should
Interiors are full of mixed materials packed tightly together. Plastic sits next to piano black trim. Fabric meets leather. Touchscreens hate the same aggressive wiping that textured rubber can survive. That's why the best interior car cleaning supplies work as a system, not as a single hero bottle.
Here's the pattern I see all the time:
- People over-spray: Product runs into buttons, seams, and electronics.
- They under-vacuum: Dirt stays in place, then gets dragged across surfaces during wiping.
- They use the wrong towel: A rough or overloaded towel just redistributes grime.
- They chase shine: Glossy dashboards often look dirty faster because residue grabs dust.
Clean cars don't come from more product. They come from fewer mistakes.
The shift that makes detailing easier
Once you treat your supplies like an arsenal instead of a pile of random products, cleaning gets simpler. You stop asking, “What can I use on everything?” and start asking, “What am I cleaning right now?”
That's when things click. A vacuum handles dry soil. Brushes wake dirt up from seams and textures. Microfibre lifts instead of smearing. A fabric cleaner deals with seats. A leather cleaner handles body oils without making the seat slick. A proper interior cleaner leaves plastic looking factory-fresh instead of greasy.
A filthy cabin feels chaotic. A good kit gives you control back.
The Foundation Your Cleaning Arsenal Is Built On
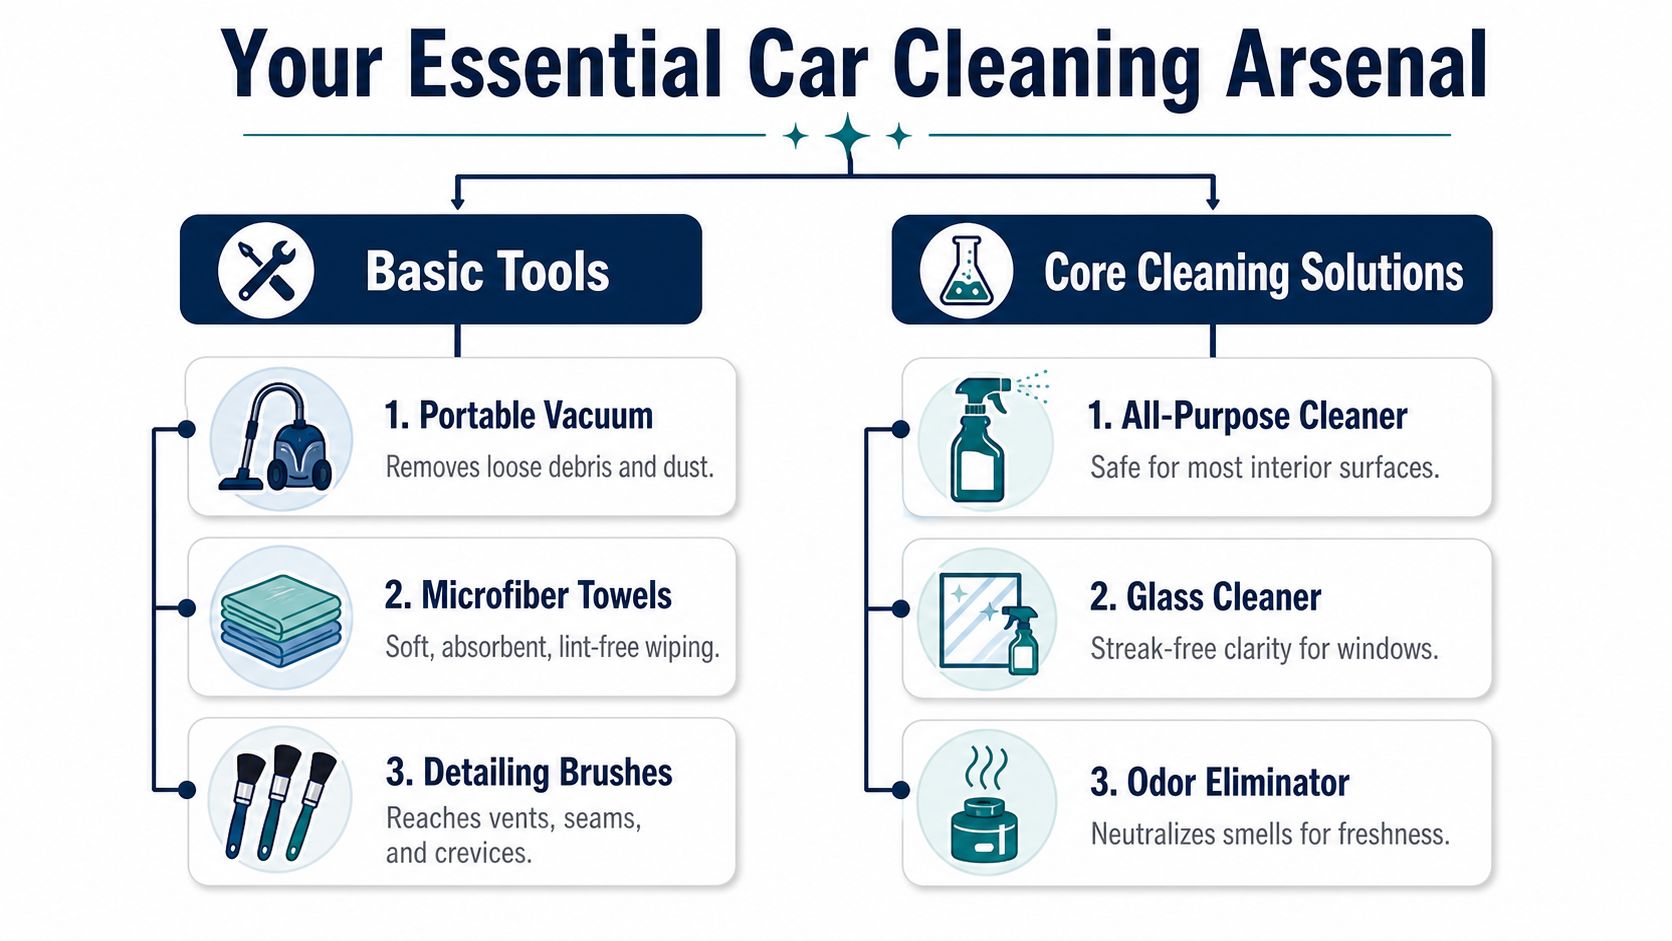
Before buying fancy sprays, get the three tools that do most of the work. If your setup is weak here, every cleaner has to work too hard. That's when people blame the bottle when the process itself is the problem.
The vacuum that actually earns its space
A household vacuum can help, but a car interior punishes bad attachments. You need narrow tools for seat rails, a brush head for carpet agitation, and enough suction to pull grit from seams instead of politely greeting it.
If you clean often, especially if you drive for work, durability matters just as much as raw cleaning power. A 2025 Toronto Region Board of Trade survey of 1,200 drivers found that 74% report “product fatigue” within 48 hours due to high-frequency use, yet major best-of lists don't test products for durability under 3+ weekly applications according to this interior care reference. That same lesson applies to tools. Cheap gear feels fine on day one and annoying by week three.
What to look for:
- Crevice tool: For seat tracks, handbrake edges, and console gaps.
- Soft brush attachment: For carpets and delicate trim dusting.
- Compact body: Easier to move around tight footwells and rear seats.
Microfibre towels are not all the same
One quality microfibre towel beats a stack of bargain-bin cloths that just smear product around. For interiors, I like keeping separate towels by job. One for glass, one for plastics, one for dirtier work like door sills and pedals.
Use them folded. That gives you multiple clean faces without reaching for a new towel every thirty seconds.
Practical rule: If a towel feels loaded, retire it immediately. An overloaded towel turns cleaning into light vandalism.
Brushes do what towels can't
Vents, stitching, buttons, cup holder edges, badges, textured trim. Towels skim over those areas. Brushes get into them. A soft detailing brush is the difference between “looks okay from outside the car” and “this cabin feels clean.”
A basic brush set should include:
- A soft round brush: Best for vents, badges, and textured plastics.
- A stiffer fabric brush: Useful on cloth seats and carpet spots.
- A small delicate brush: Handy around screens, shifters, and seams.
Buy with maintenance in mind
A smart kit isn't only about spotless results. It should also fit real life. If you already think about low-waste cleaning for a healthier home, that mindset carries over nicely to car care. Reusable spray bottles, washable microfibre, and buying only what you'll use keeps the cabinet organised and the routine sustainable.
The foundation is boring in the best way. It makes every other product better.
Choosing Your Weapons Upholstery Leather And Plastic
The fastest way to ruin an interior is to treat every surface like it's the same material. It isn't. Cloth wants one kind of help. Coated automotive leather wants another. Plastic and vinyl need something else again. If all-purpose cleaner is salt, specialty cleaner is the spice that stops dinner from tasting flat.
Cleaner Selection Guide by Surface
| Surface | Recommended Cleaner Type | Avoid Using |
|---|---|---|
| Fabric upholstery and carpet | Fabric or upholstery cleaner, ideally low-residue and suitable for agitation | Heavy dressings, greasy protectants, harsh household degreasers |
| Leather seats and steering wheels | pH-balanced leather cleaner, followed by a light leather conditioner if needed | Strong APC, soaking wet application, glossy silicone dressings |
| Plastic, vinyl, dash, door panels | Dedicated interior cleaner with a natural finish | Oily shines, ammonia-heavy household products, overly aggressive scrubbing |
| Touchscreens and glossy trim | Screen-safe interior cleaner sprayed onto a towel, not directly on the surface | Glass cleaners not labelled for screens, paper towels, abrasive pads |
Fabric needs lifting, not flooding
Cloth seats and carpets trap dirt below the surface. A decent fabric cleaner should foam or spread evenly, loosen grime, and wipe or blot away without leaving the area crunchy. If a product leaves the seat feeling stiff, sticky, or overly perfumed, it's usually leaving residue behind.
Good fabric cleaning looks a bit counterintuitive. You want controlled moisture, not a soaking. Over-wet fabric takes forever to dry and can pull old stains back to the surface.
Signs you're using the wrong product on cloth:
- Dark rings after drying
- A stiff or tacky feel
- A scent that gets louder as the cabin warms up
Leather should feel clean, not slippery
Most automotive leather is coated, so it doesn't need the same treatment as a leather sofa or boots. A pH-balanced leather cleaner handles skin oils, grime, and transfer from jeans without making the seat shiny. If the steering wheel feels slick after cleaning, that's not luxury. That's residue.
Use a soft brush or foam applicator, work gently, and wipe dry. Conditioner can help in some cases, but thin application matters. Too much turns the seat into a frying pan.
A leather seat should finish matte or softly satin. If it looks like it's auditioning for a doughnut commercial, you've gone too far.
Plastic and vinyl reward restraint
Dashboards, door cards, centre consoles, and vinyl trim usually do best with a dedicated interior cleaner that dries to an OEM-style finish. Many people make a mistake by buying “shine” because it looks dramatic for five minutes. Then dust sticks, glare gets worse, and the car feels greasy.
On modern interiors, less gloss almost always looks more expensive.
Choose products for plastics that:
- Wipe clean without hazing
- Don't leave a slick film
- Play nicely with textured surfaces and buttons
One bottle can sometimes cover several hard surfaces, but even then, use your head. A touchscreen and a lower door pocket don't deserve the same towel.
Mastering Pro Techniques for Stains and Odours
Owning good products is only half the job. Technique decides whether a stain lifts cleanly or spreads into a larger, more insulting version of itself.
How to tackle seat stains without making them worse
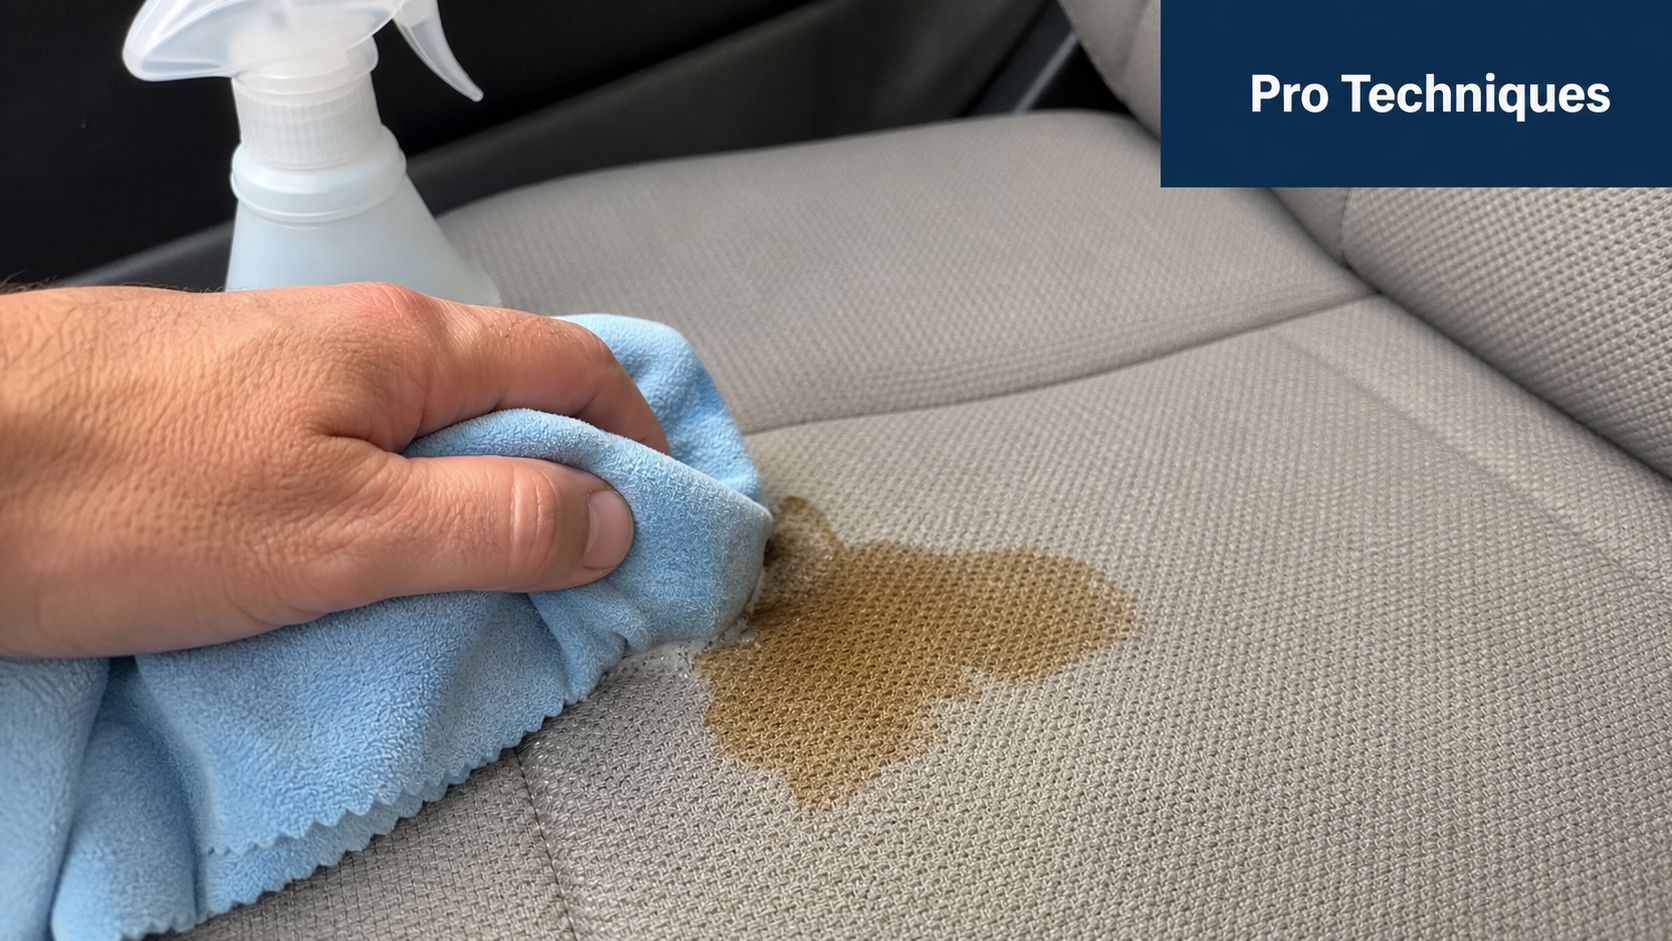
Coffee, soft drinks, melted chocolate, foundation, muddy footprints. Different messes, same basic rule. Remove loose debris first, then clean the smallest area necessary.
A reliable method:
- Vacuum first: Don't rub grit into the fibres.
- Apply cleaner to a towel or brush, not in wild excess: You want control.
- Agitate gently: Short motions beat aggressive scrubbing.
- Blot or wipe outward to inward: Keep the stain from spreading.
- Dry with a clean towel: Lift residue while the area is still damp.
For stubborn spots, repeat the cycle instead of escalating immediately to brute force. Two controlled passes usually beat one dramatic one.
Odour removal starts with source removal
Air fresheners are garnish. Cleaning is the meal. If milk spilled into carpet padding, or food crumbs are living a secret second life under the seat, fragrance only creates “pine-scented problem.”
Work through odours in this order:
- Find the source: Seats, mats, cup holders, under-seat rails, boot liners.
- Clean porous surfaces properly: Fabric and carpet often hold smells longer than plastic.
- Let the interior dry fully: Damp cabins create their own weird smell.
- Use an odour eliminator last: Neutralise what remains after cleaning.
Quick reminder: If the cabin still smells bad after you've “cleaned” it, something dirty is still in there.
Protect the areas you touch and see every day
Dash tops, steering wheels, door pulls, and centre armrests take the most abuse. Once they're clean, keep them that way with light maintenance. A natural-finish protectant on plastic and vinyl can help surfaces stay easier to wipe down later. On steering wheels and controls, though, never leave anything slick.
A simple maintenance rhythm works best:
- Weekly: Quick vacuum and wipe of high-touch areas
- As needed: Spot-clean spills immediately
- Occasionally: Deep clean seats, mats, and hard-to-reach trim
The magic isn't in one heroic session. It's in catching mess while it's still small.
When Your DIY Arsenal Is Not Enough
Some problems laugh at consumer bottles. Not because you did anything wrong, but because the issue sits deeper than a towel and brush can reach.
The GTA has one of the nastier combinations for interiors. Winter road salt gets tracked in, slush melts into carpet and seat edges, then hard water minerals can leave behind marks that seem to disappear and return whenever conditions change. That's the stuff most generic guides skip over.
The Ontario problem most lists miss
A 2025 study by the University of Guelph's Automotive Surfaces Lab found that 68% of DIY car owners in the GTA re-clean interiors within 3 weeks due to salt-induced discoloration that reappears after standard cleaning, a problem described as phantom staining, as noted in the referenced material here. If you've ever cleaned a carpet line or seat edge only to watch the mark ghost back later, that's exactly what this feels like.
Home cleaning often reaches its limit. You can improve the look. You might even think you solved it. Then the stain returns like a villain in a cheap sequel.
Jobs that usually need heavier equipment
DIY works brilliantly for maintenance and moderate mess. It struggles when contamination is deep, repeated, or biological.
Common breaking points:
- Salt and mineral staining deep in carpet and upholstery
- Smoke odour that's settled into porous materials
- Heavy pet hair woven into fabric
- Spills that reached padding or under-seat insulation
- Mould, biohazards, or anything you shouldn't casually breathe in
A professional extractor, steam system, and proper drying setup can do things your home kit cannot. That's not a moral failure. It's just physics.

High-frequency drivers need a different standard
If you drive ride-hail or delivery, your interior doesn't live a normal life. People get in with wet boots, takeaway bags, perfume, gym clothes, and whatever mystery crumbs are currently travelling in jacket pockets. Your products need to handle repeated use without building residue or losing bite too quickly.
That's also where smell management gets tricky. If you need something branded and simple for a business or event vehicle, it can make sense to order custom promotional air fresheners as a finishing touch. Just don't confuse them with cleaning. They're the curtain, not the stage crew.
Some interiors need maintenance. Others need rescue.
Being honest about that saves time, money, and a lot of frustration.
Your Blueprint for a Permanently Clean Interior
You get into the car on a February morning in the GTA, knock slush off your boots, and tell yourself you'll clean it on the weekend. By Tuesday, the mats have dried chalky white, the carpet edges look dingy again, and a coffee drip you wiped yesterday has crept back like it never left. That is how interiors get lost. Not through one disaster, but through small messes repeated at full city speed.
A clean interior lasts when the kit is small, the routine is realistic, and each product has a job. All-purpose interior cleaner works like salt in cooking. You use it constantly. Fabric cleaner and leather cleaner are the paprika. Great when needed, wrong when used on everything.
For most drivers, the starter blueprint looks like this:
- Vacuum with proper attachments
- Several clean microfibre towels
- A small set of detailing brushes
- One quality interior cleaner for plastics and vinyl
- One fabric cleaner for seats and carpets
- One leather cleaner if your car has leather touchpoints
- A glass or screen-safe cleaner for clear finishes
Use them in the right order. Dry dirt first. Then the cleaner that matches the surface. Protection last, and only on materials that benefit from it. If a product leaves gloss on your dash, drag on your touchpoints, or haze on piano black trim, it is either the wrong chemistry or too much product.
GTA cars need more frequent resets than generic advice admits. Road salt leaves behind those frustrating phantom stains that seem gone when wet and reappear after drying. Summer humidity can wake up old odours in fabric. Ride-hail and delivery drivers deal with a different kind of wear entirely. Wet boots, takeout spills, sunscreen on door panels, and back-seat grime turn a monthly clean into a weekly maintenance job.
That's why the winning routine is boring in the best way. Keep a towel and safe interior cleaner in the car. Vacuum before grit gets ground into fabric. Wipe spills the day they happen. Do one proper interior pass every couple of weeks if the car works for a living, or monthly if it doesn't. Consistency beats a giant spring-cleaning session every time.
And be honest about the ceiling of your kit. Some stains are sitting below the surface. Some odours are living in padding, not on fabric. At that point, a professional reset saves hours of scrubbing and usually gets a better result.
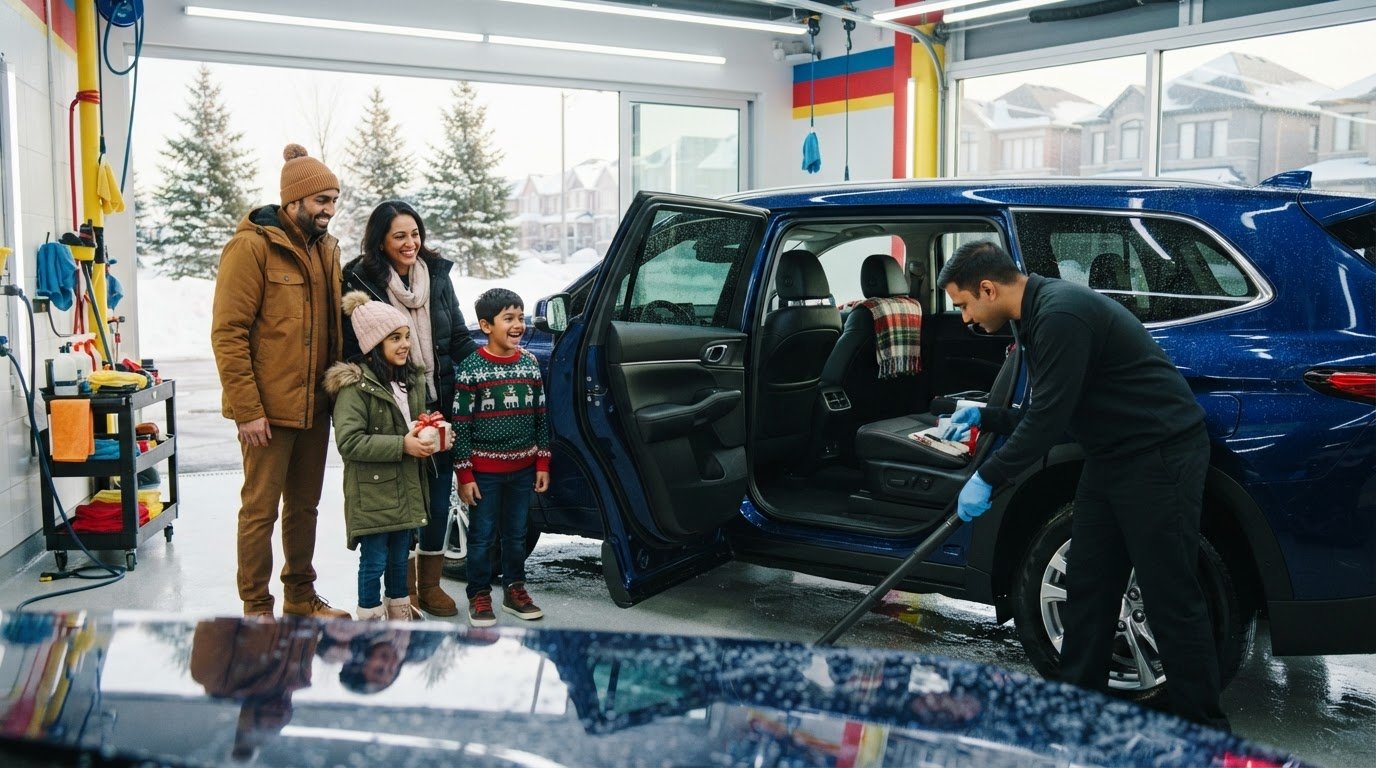
If your cabin needs more than a quick tidy, Nanak Car Wash can help with everything from regular interior cleaning to deeper detailing for salt, stains, odours, vents, and upholstery. When your DIY kit has done all it can, booking a professional reset is often the fastest way to make your car feel good again.

 6600 Finch Ave W, Etobicoke, ON M9V 3Z6
 647-703-8515
 MON – SUN 8 AM to 7 PM