
You open the car door after one quick park trip with your dog and somehow the interior looks like a second animal now lives in the upholstery. Hair on the seats. Hair in the carpet. Hair packed into the seat edges like it paid rent. If you've got a cat carrier in the back, add fine fur in every corner the vacuum somehow ignores out of spite.
That's the part most pet owners know too well. You love the animal. You do not love what it does to your fabric seats, boot liner, floor mats, and air vents.
The good news is a fur-free interior isn't fantasy. There's a right way to handle it at home, and there's a point where paying for proper extraction makes more sense than spending your Saturday rubbing a rear bench with a damp glove. The trick is knowing which DIY methods work, which hacks waste time, and why pet hair removal costs more when a detail shop takes it on.
Table of Contents
- The Fur-pocalypse is Real Welcome to Your Car
- Your DIY Pet Hair Removal Toolkit
- Quick Fix vs Deep Clean Workflows
- Beyond the Hair The Lingering Odour Problem
- Prevention The Best Way to Fight Fur
- When to Call the Pros Nanak Car Wash to the Rescue
The Fur-pocalypse is Real Welcome to Your Car
Every detailer has seen the same look on a customer's face. They're half-laughing, half-apologising, and then they say some version of, “It didn't seem that bad until the sun hit the seats.” That sunlight is cruel. It reveals the full pet-hair disaster in high definition.
The worst jobs aren't the obvious ones. A blanket covered in visible fur is easy enough to shake out. The hard part is the hair that has worked itself deep into carpet fibres, cloth seats, boot corners, and the strip where the seat base meets the backrest. That fur doesn't vacuum out politely. It tangles, clings, and spreads if you attack it the wrong way.
Practical rule: If standard vacuuming leaves the car looking only slightly less furry, the problem isn't suction. It's that the hair still needs to be loosened first.
That's why so many people feel like they're doing plenty of work with so little payoff. They're moving hair around, not extracting it.
There's also a real trade-off between “good enough for today” and “thoroughly clean.” If you need the front seats presentable before picking someone up, one approach works. If you want the car reset after months of dog park runs and cottage weekends, that's a different job entirely.
What makes pet hair such a pain
A few things make this mess stubborn:
- Cloth grabs fur: Upholstery and carpet hold onto hair far more aggressively than plastic trim.
- Corners collect everything: Seat rails, belt buckles, and boot edges trap what the vacuum nozzle skips.
- Static makes it worse: Dry interiors and synthetic fabrics help hair cling instead of lifting away.
- Long drives grind it in: Every turn, bump, and passenger movement works hair deeper into the material.
The upside is that professional results aren't all locked behind shop-only equipment. Some of the best tricks are very repeatable at home if you use the right order, the right pressure, and a bit of patience.
Your DIY Pet Hair Removal Toolkit
A lot of bad advice on how to remove pet hair from car interiors boils down to one tool and one wish. A lint roller alone won't fix embedded fur. Neither will a vacuum used too early. Good DIY removal works because you combine friction, static control, and suction in the right sequence.
Why pet hair fights back
Hair sticks because it isn't just resting on top. It catches in fabric texture and hangs onto the fibres. That's why rubber tools work so well. They create drag across the surface, gather the hair into visible lines, and pull it where your vacuum can finally grab it.
One of the simplest examples is also one of the most useful. Home-based pet hair removal can achieve up to 90% hair extraction using only a rubber-soled sneaker and a vacuum crevice tool, with the remaining 10% requiring manual rubbing with dampened hands according to Hagerty's pet hair removal guide.
The tools that earn their spot
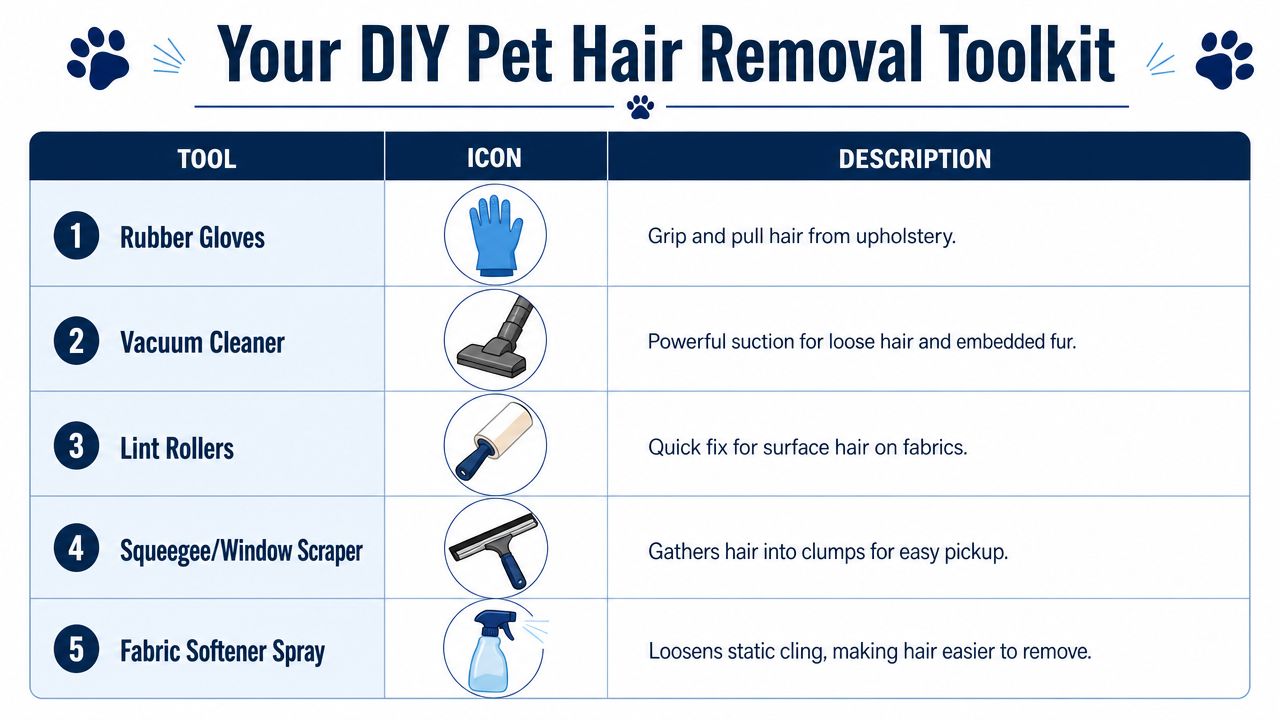
Some tools are worth keeping in your garage. Others are just clutter. These are the ones I'd reach for.
- Rubber glove or rubber-soled shoe: Best for seats, side bolsters, and carpeted footwells. Drag it in one direction and watch the hair bunch together.
- Vacuum with crevice tool: Use it after you've loosened the fur, not before. The narrow head helps on seams and seat edges.
- Light fabric softener mix: A mist can reduce static cling on fabric surfaces. Keep it light. You want the surface slightly damp, not wet.
- Rubber brush or squeegee: Great on tougher carpet and boot liners where hair is woven in.
- Lint roller or damp microfibre towel: These are finish tools, not heavy lifters.
A lint roller is for the last pass, not the first attack.
What usually doesn't work well? Flat vacuum nozzles on their own, dry microfibre on embedded fur, and aggressive scrubbing on delicate surfaces. People often waste the most time by vacuuming the same patch over and over before they've broken the bond holding the hair in place.
DIY pet hair removal methods compared
| Method | Best For | Effort Level | Pro-Tip |
|---|---|---|---|
| Rubber glove | Cloth seats and seat edges | Medium | Slightly dampen it if the hair is fine and clingy |
| Rubber-soled sneaker | Carpet and mats | Medium | Use short strokes in one direction, then vacuum immediately |
| Vacuum crevice tool | Seams, corners, and clumped hair | Low to medium | Don't lead with it. Follow the agitation step |
| Lint roller | Surface hair on seats and clothing transfer | Low | Save it for finishing touches |
| Light fabric softener spray | Static-heavy fabric areas | Medium | Mist lightly and avoid over-wetting surfaces |
Quick Fix vs Deep Clean Workflows
Not every furry interior needs the same response. Sometimes you need the car to stop looking embarrassing before school pickup. Other times the whole cabin needs a proper reset.
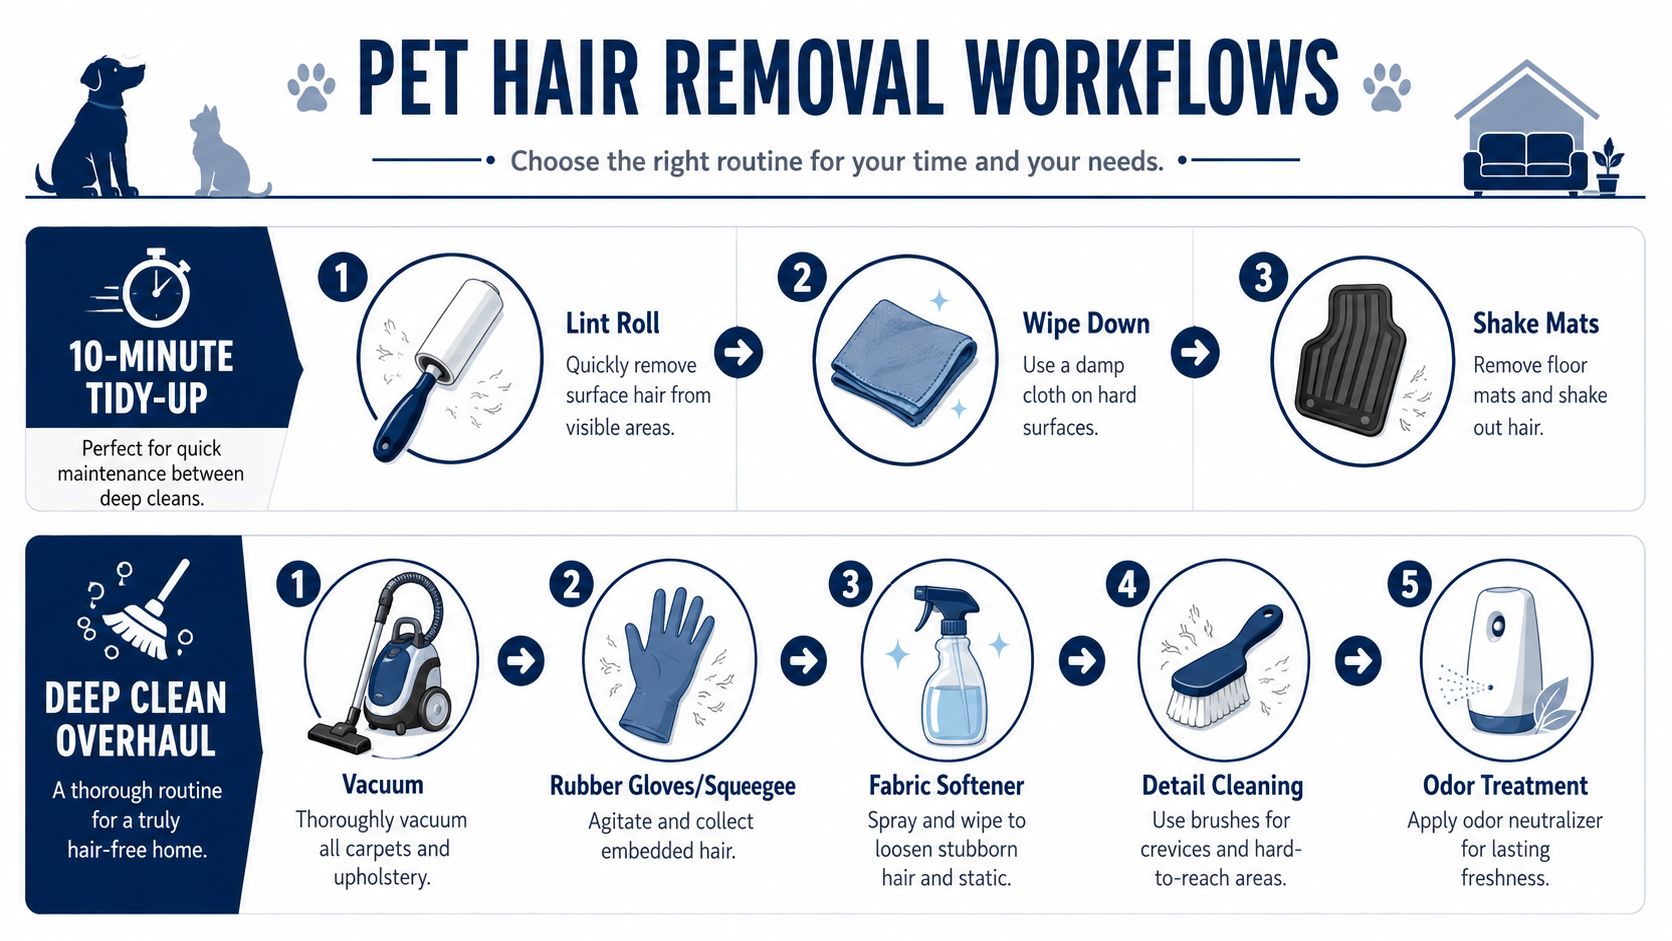
The tidy-up that saves face
The quick fix is about visibility, not perfection. Focus on the areas people notice first.
- Pull out the mats. Shake them outside before touching the rest of the cabin.
- Hit the front seats first. Use a rubber glove, squeegee, or pet-hair brush on the seat base and backrest.
- Vacuum the clumps immediately. Don't let them drift onto clean areas.
- Use a lint roller on the final visible leftovers.
- Wipe hard trim with a damp cloth. Fur loves sticking to textured plastic.
This approach works when the hair is mostly on the surface and you need a cleaner look fast. It won't fully solve embedded fur in the rear footwells or boot carpet, but it does make the car feel under control again.
The deep clean that gets real results
A proper deep clean has to follow the right order. If you skip steps, you'll do them twice.
For stubborn hair in carpet, the strongest method combines pre-vacuuming with a wide nozzle, misting with a 7:1 water-to-fabric-softener solution, agitating with a rubber-bristled brush, and then doing a targeted second vacuum. That sequence achieves 85–90% hair removal in professional detailing trials, according to Chemical Guys' guide to removing dog hair from a car.
Here's the workflow that mirrors what detailers do:
- Start with loose debris removal: Pull out mats and clear wrappers, dirt, and visible fluff.
- Pre-vacuum broadly: This removes loose material so you can see where the embedded hair really is.
- Mist fabric lightly: A light application helps reduce static and lets the brush do more useful work.
- Brush in single-direction strokes: Random scrubbing just redistributes hair.
- Vacuum again with intent: Target seams, edges, and clumped piles.
- Finish by hand: Use tape, a lint roller, or damp hands for the final stubborn bits.
Deep cleaning works because each pass has a different job. One loosens. One gathers. One removes.
If you try to compress all of that into one rushed vacuum session, you'll get tired before the interior gets clean.
Beyond the Hair The Lingering Odour Problem
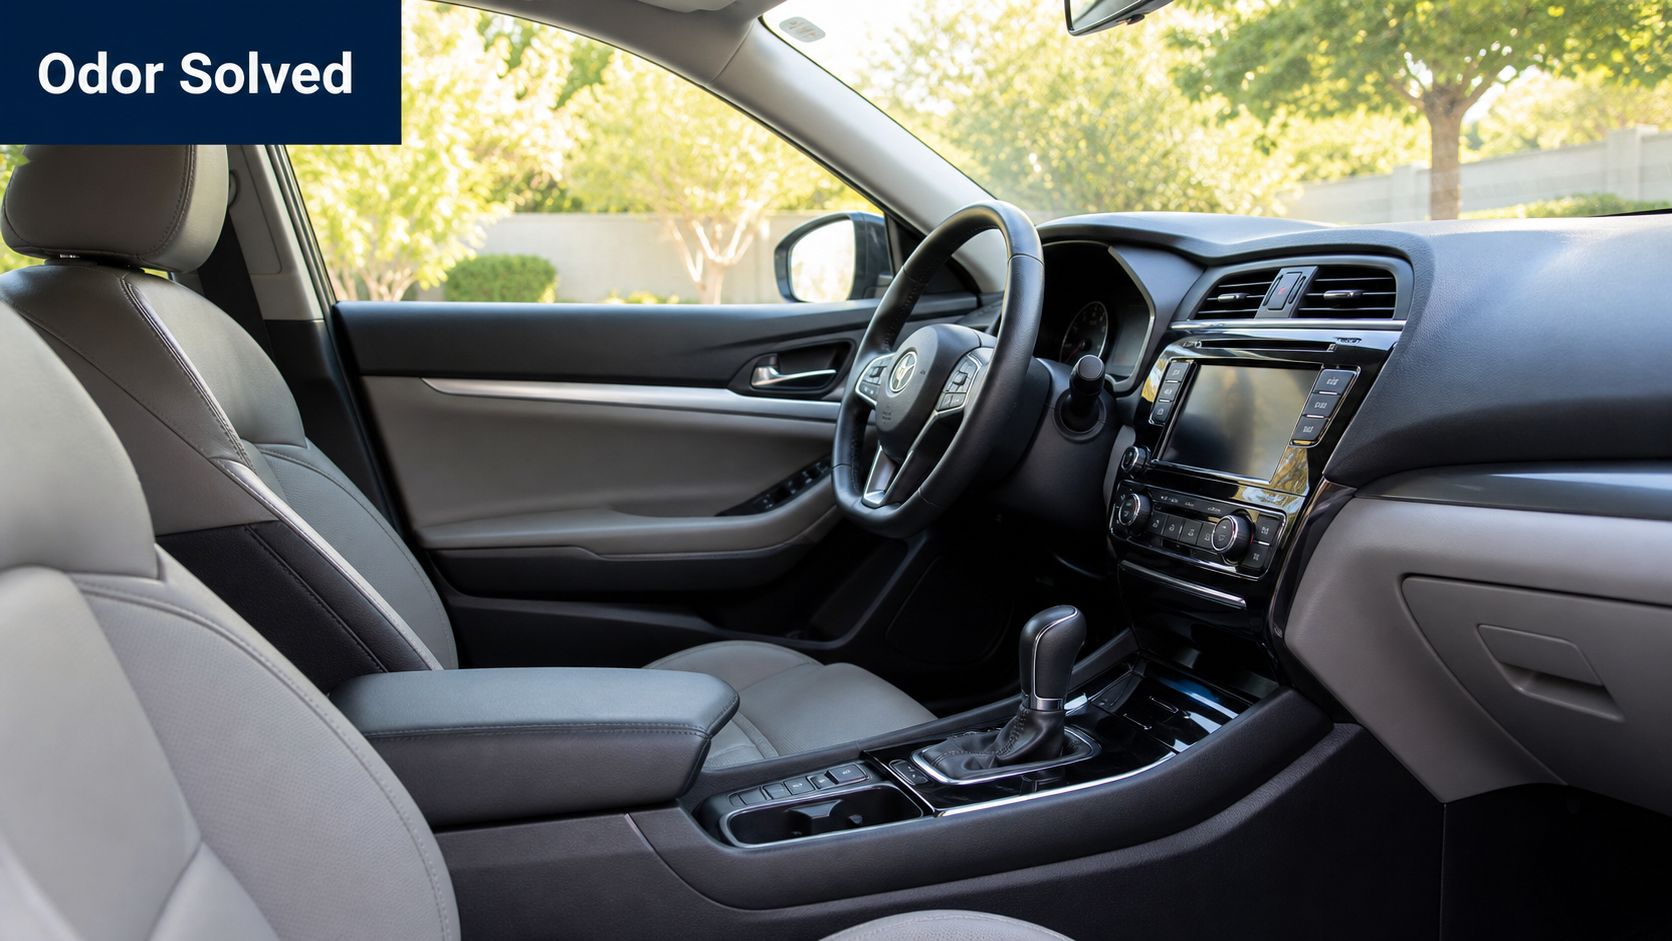
Visible fur is only half the story. Plenty of cars look clean and still smell like wet dog the moment the fan turns on.
Why a clean-looking car can still smell like dog
Hair carries oils and dander. Those settle into fabric, mats, and seat creases, but they also travel through the cabin air system. That's why a car can smell normal with the windows down and then suddenly not-so-normal once the A/C starts recirculating.
This part gets missed in most home cleanups. People remove the fur they can see, wipe the dash, maybe add an air freshener, and then wonder why the smell returns on a humid afternoon.
Lingering smells remain an issue for 10–15% of pet owners after cleaning, and vehicle-safe ozone or enzymatic foggers can eliminate 90% of organic odours trapped in ducts. That step is absent from 95% of DIY content, as noted in this video discussion of vent odour treatment.
What actually helps with vent odours
The practical fix depends on how bad the smell is.
- Cabin air filter check: If it's loaded with dust and pet debris, odour can keep cycling through the vents.
- Enzymatic fabric treatment: Useful on seats, carpets, and boot liners where odour has settled.
- HVAC-focused treatment: Stubborn cases often require foggers and professional odour processes.
- Fresh air after treatment: Don't trap moisture inside after cleaning.
If the smell appears mainly when the fan turns on, stop chasing the seats alone. The vents are part of the job.
What doesn't solve the problem? Masking sprays. They can make the cabin smell like “pine-scented dog” for a day, which is not a real victory.
Prevention The Best Way to Fight Fur
The easiest pet hair removal job is the one you never create. That sounds obvious, but a small change before the drive saves far more time than any heroics afterward.
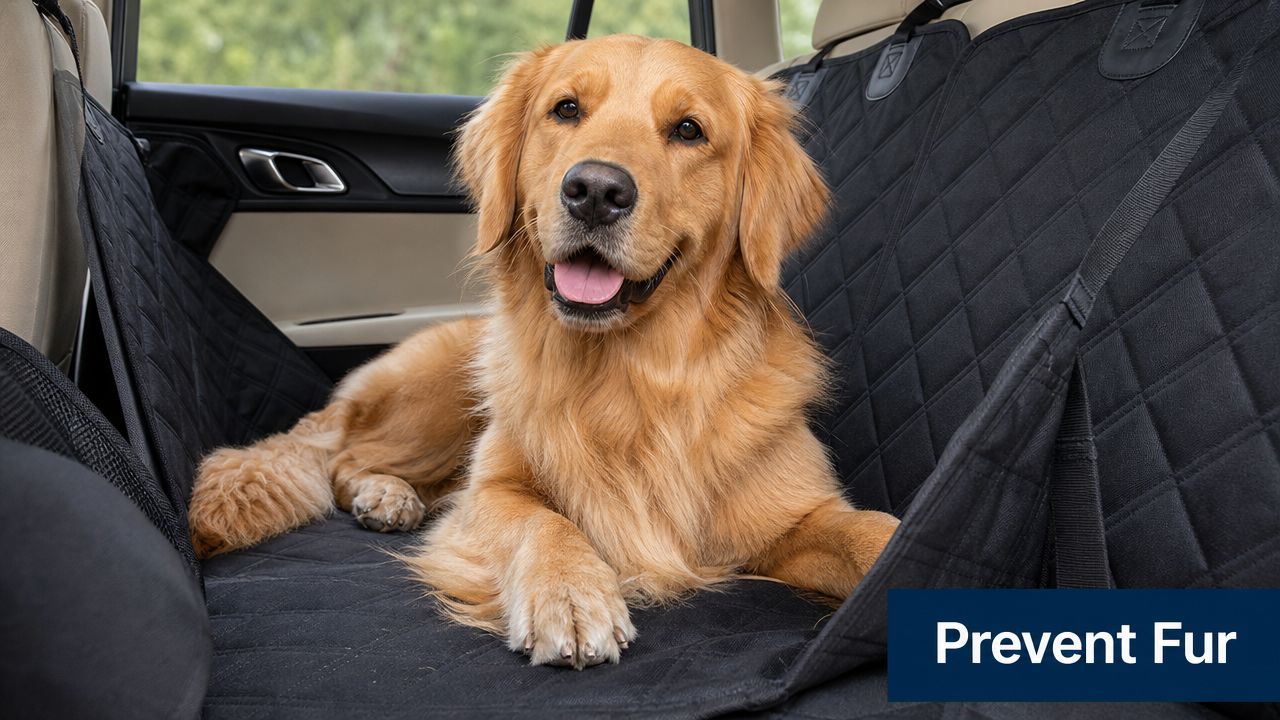
Set up the car so hair has fewer places to hide
A proper seat cover or cargo liner changes the game. Hair on a removable barrier is much easier to shake out or vacuum than hair worked into factory upholstery. Look for covers that stay taut instead of sagging into every seam. Loose covers create more folds, and folds create more trapped fur.
Floor mats matter too. If your pet rides often, easy-to-remove mats make regular cleanup less annoying, which means you'll do it.
A quick grooming pass before the trip also helps more than people think. If your cat or dog is shedding heavily, it's worth checking broader care habits. This advice from Global Pet Sitter on shedding is useful for understanding when excess hair is just seasonal mess and when it may need more attention.
Small habits beat marathon cleaning sessions
The drivers who struggle least with pet hair usually do a few boring things consistently:
- Brush before loading up: Even a brief brush outdoors keeps loose fur out of the cabin.
- Keep a mini cleanup kit in the car: A rubber brush, damp cloth, and lint roller are enough for quick touch-ups.
- Clean the barrier, not just the car: Wash the seat cover or shake out the liner before the hair migrates elsewhere.
- Tackle fresh hair early: New fur lifts easily. Old fur settles in and becomes a project.
You don't need a perfect system. You need a setup that makes the easy thing easy. That's what keeps your car from reaching the “I should've dealt with this three months ago” stage.
When to Call the Pros Nanak Car Wash to the Rescue
Some pet hair jobs stop being a cleaning chore and turn into detail work. You see it when fur is pressed into low-pile carpet, twisted into seat stitching, buried along trim edges, or stuck to fabric after multiple vacuum passes. Add a stale pet smell that keeps returning, and a home cleanup can turn into two hours of effort with a mediocre finish.
That is also why detailers charge extra for pet hair.
Why pet hair gets a surcharge
Pet hair removal is slow, repetitive work. Standard interior cleaning handles dust, crumbs, light debris, and surface wiping. Pet hair is different. It usually needs several tools, repeated brushing from different angles, compressed air or crevice work, and hand-finishing in spots a vacuum alone will not clear.
In the Greater Toronto Area, pricing for full detailing with pet hair removal often jumps once the vehicle is larger or the fur is heavily embedded. GTA detailing pricing for pet hair removal gives a useful reference point. That price spread reflects labour more than product cost. Bigger cabins have more carpet, more seat area, more seams, and more time-consuming corners.

The point where DIY stops making sense
A home method still makes sense for light shedding on seat covers, mats, or one small area. It makes less sense when the problem has spread into the whole cabin and every pass only gets part of it.
Call in a pro if any of these sound familiar:
- You are getting the car ready to sell. Buyers notice hair in seams, footwells, and cargo trim fast.
- You already tried the usual home tools. If a vacuum, rubber brush, and lint roller barely changed the result, the remaining fur is probably packed in.
- The odour keeps coming back. Hair is often only half the job. Dander, saliva, and oils stay behind in the fabric.
- Hair keeps reappearing. You clean the seats, then more fur works loose from mats, rails, boot trim, or under-seat carpet.
- Your time is worth more than the trial-and-error. Pet hair removal at home is cheap in theory and expensive in patience.
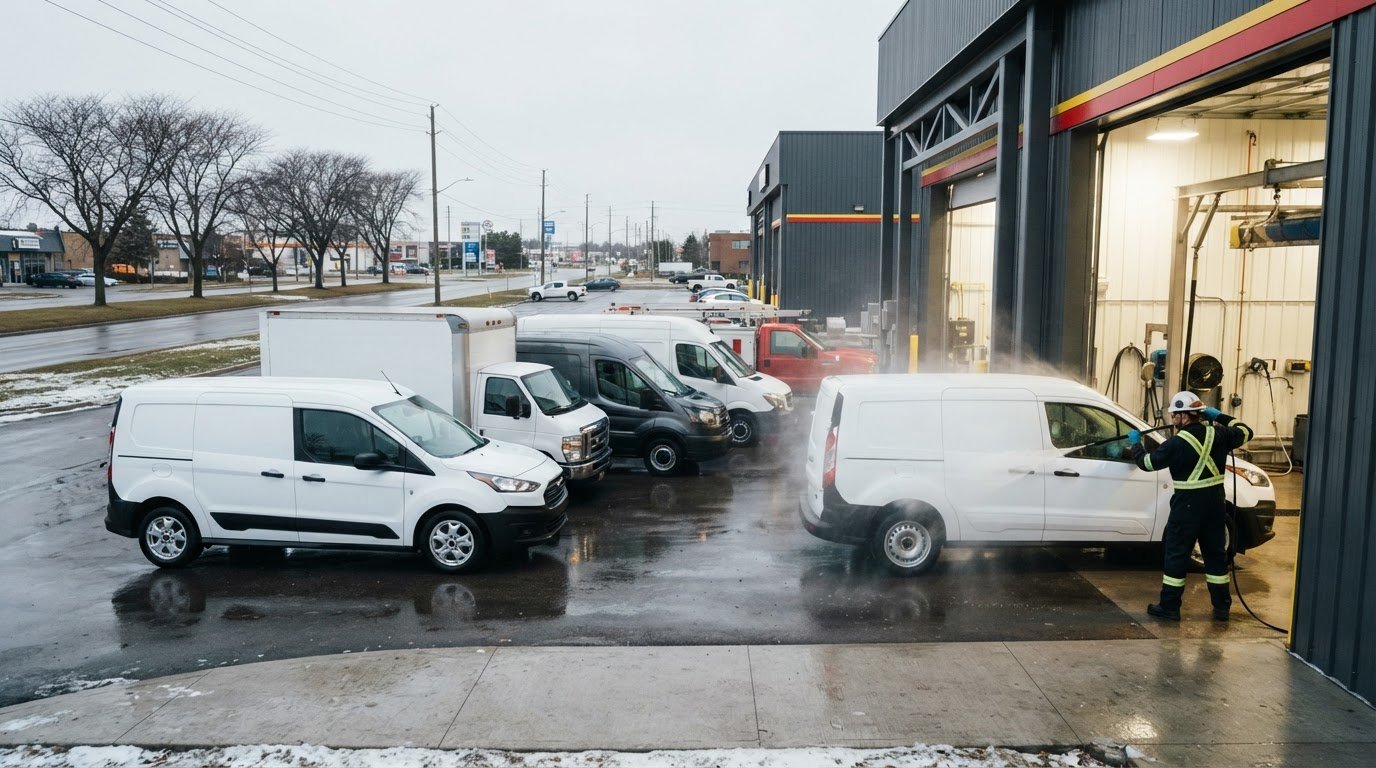
Professional detailing is also the better call when the car needs more than fur removal. Nanak Car Wash handles pet hair as part of a full interior detail, along with vent cleaning, shampooing, and the crevice work that usually gets skipped during DIY cleanup. That matters when the actual problem is not just visible hair, but hair plus dirt, stains, and trapped odour.
Paying for pet hair removal is usually a time decision, not a failure. The trade-off is simple. You can spend a weekend getting 70 to 80 percent of the hair out yourself, or pay for the labour it takes to chase the last stubborn layer from carpets, seams, and trim.

 6600 Finch Ave W, Etobicoke, ON M9V 3Z6
 647-703-8515
 MON – SUN 8 AM to 7 PM