
You've just dragged muddy boots, a grocery bag full of salt-crusted slush, and a dog that treats the rear seat like a shed into the same car. Now the carpets look dull, the seat rails are packed, and every time the sun hits the cabin, you notice crumbs you somehow missed last week. That's exactly the moment when car vacuum detailing stops being a quick chore and starts being a system.
The difference matters most in Ontario. Winter road maintenance means heavy salt application on roads, and that residue ends up in cabins on shoes, mats, and damp hems, then dries into seams and fibres. In the GTA, that turns vacuuming into recurring maintenance, not a once-in-a-while tidy-up, which is why interior cleaning keeps showing up as a practical need rather than a cosmetic extra. For a good example of how a business can build repeat trust through everyday service, the Call Loop customer care story is worth a look.
Table of Contents
- Why Your Car Interior Needs More Than a Quick Vacuum
- Essential Tools and Attachments for Professional Results
- The Professional Vacuum Sequencing Method
- Tackling Pet Hair, Winter Salt, and Stubborn Crevices
- Common Mistakes That Waste Time and Leave Dirt Behind
- When to Handle It Yourself and When to Call a Professional
Why Your Car Interior Needs More Than a Quick Vacuum
The fastest way to spot a half-done interior clean is to look where people never bother looking. Under the seat rails, around the belt buckles, inside the console gap, and in the carpet edge where the floor mat ends, grit hides until the cabin gets shaken again. A handheld pass over the mat makes the car look better for a day, then the debris comes back the next time a child kicks the seat or a passenger slides a boot across the floor.
Salt, slush, and the GTA cabin cycle
Ontario winter driving creates a predictable mess. Passengers track in snow, sand, and chloride-laden moisture, and those contaminants dry into carpet fibres, seat seams, and floor mat textures. In the GTA, where a dense urban population means more short trips, more passengers, and more vehicle turnover, that grime builds faster than casual vacuuming can keep up with. Statistics Canada reported 6,202,225 residents in the Toronto census metropolitan area in the 2021 Census, and 14,223,942 in Ontario overall, which is why the region supports repeat interior service rather than one-off tidy-ups. The Toronto region alone contains roughly 43.6% of Ontario's population, according to the same regional data set linked in the brief.
That scale explains why the best interior operators treat vacuuming as the base layer, not the whole job. If the cabin still has debris in hidden channels, any dressing, wipe-down, or deodorising you do afterwards just sits on top of dirt.
Practical rule: if you can still hear grit shifting when you press a floor mat with your hand, the job isn't finished yet.
Surface clean versus true detailing
A surface clean makes the cabin presentable. True detailing removes debris from the places you don't notice until the sun, heat, or vibration exposes them. In Ontario, that distinction matters because road salt and winter residue don't stay on top of the carpet for long, they work down into the pile and along trim edges.
That's why vacuuming sits at the start of proper interior work. It clears the field before anything else touches the surfaces. The professional habit is simple, but it changes the result completely, and it's the same reason experienced operators build interior packages around vacuuming, not around it as an afterthought. For a shop, a ride-hailing car, or a family SUV, the foundation has to be clean before the rest of the cabin can look clean.
Essential Tools and Attachments for Professional Results
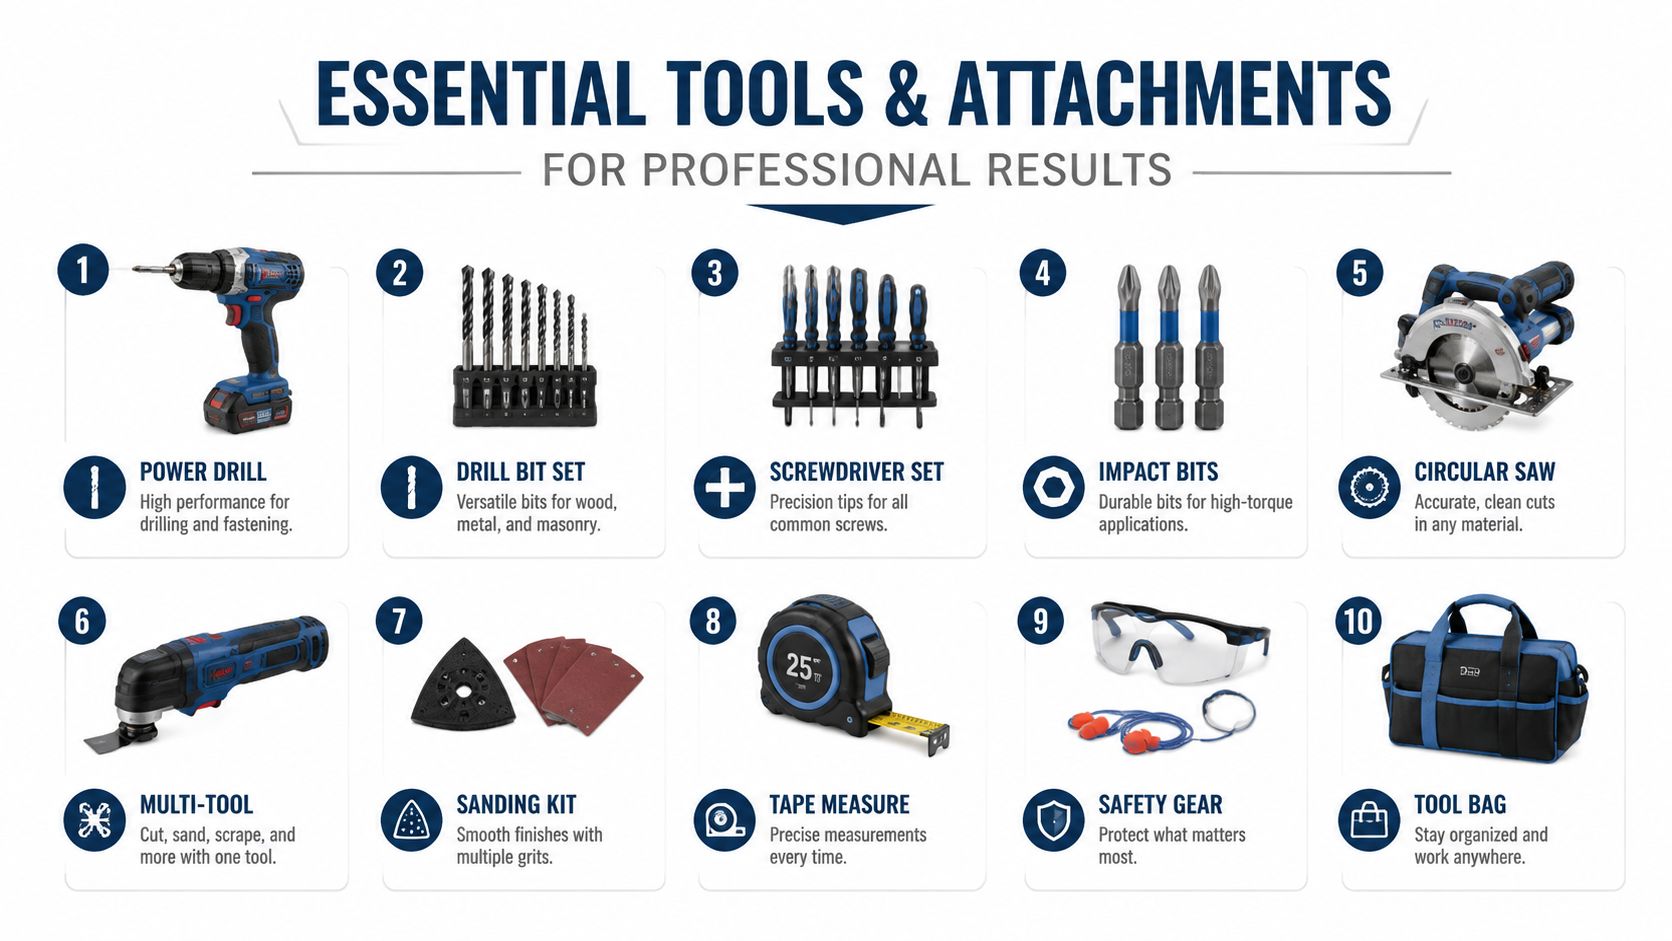
The tool choice changes the job more than most people expect. A strong vacuum with the wrong attachment wastes time, while a modest machine with the right nozzle, brush, and hose length can clean a cabin far more efficiently. In practice, professional car vacuum detailing comes down to matching the attachment to the surface, then using enough hose to reach without constant lifting, twisting, or moving around the car.
The attachment stack that actually earns its keep
A crevice tool does the ugly work. It reaches seat rails, console seams, parking brake gaps, and the narrow channel where crumbs love to sit. A stiff-bristle brush attachment is useful on carpet and floor mats because it agitates fibres before extraction, which matters when debris has settled deep into textured rubber or winter-stiffened pile.
For dashboards, vents, and trim, a soft-bristle brush keeps you from scuffing plastic while still lifting dust away from textured surfaces. For fabric seats, an upholstery nozzle gives better contact than a bare tube, especially on stitched panels and bolsters that trap lint. Household tools can work if the fitting is secure and the attachment shape makes sense, but the cheap gimmicks are the ones that promise one-tool-does-everything convenience. They usually don't reach well, don't seal well, and don't last.
| Tool | Best use | Real value |
|---|---|---|
| Crevice tool | Seat rails, console gaps | High |
| Stiff-bristle brush | Carpet, mats | High |
| Soft-bristle brush | Dash, vents, trim | High |
| Upholstery nozzle | Fabric seats | High |
A longer hose matters more than people think. If you keep moving the machine because the hose is too short, you spend half the session on setup instead of extraction.
Shop vac versus portable unit
A shop vac is usually the more practical choice for deep interior work because it handles debris, hair, and heavier grit without choking as quickly. Portable vacuums are fine for maintenance cleans, glovebox dust, and quick touch-ups, but they often struggle when winter mats are packed with salt crust and grit. The best setup is the one that lets you keep one hand on the tool and one on the surface, rather than chasing power cords and repositioning the machine every two minutes.
For a GTA driver, especially one managing a family SUV or a work vehicle, that efficiency matters. A vacuum setup that saves time on every row, every rail, and every seam is the difference between a cabin you maintain and a cabin you keep revisiting.
The Professional Vacuum Sequencing Method
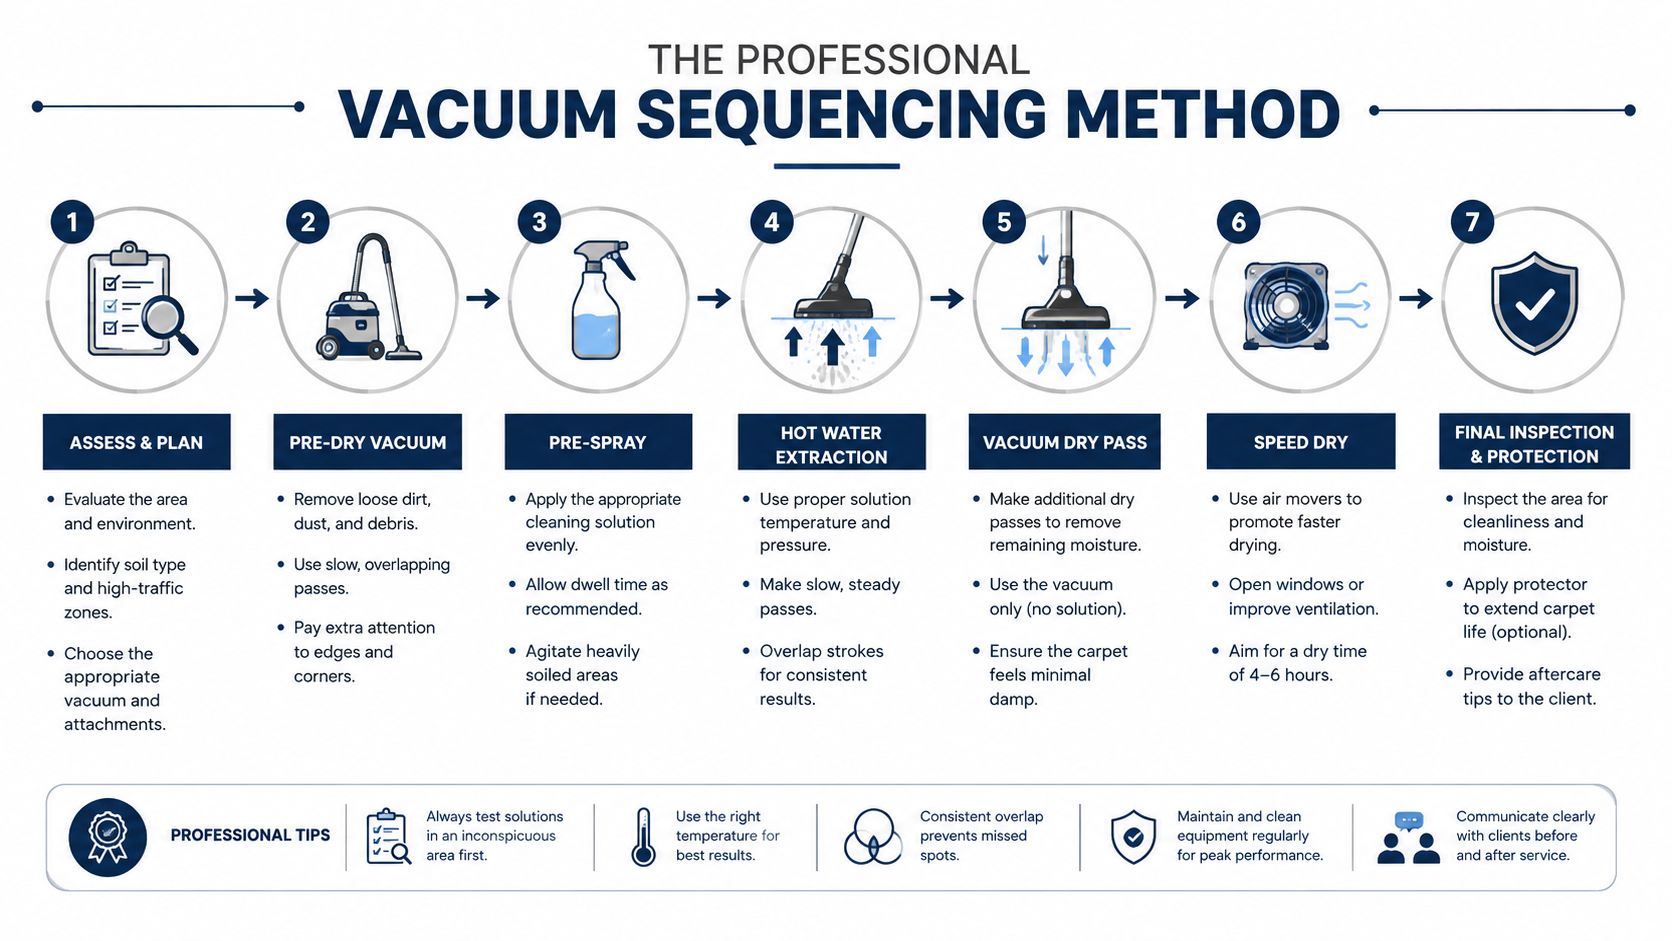
Most wasted time in interior cleaning comes from doing the right tasks in the wrong order. If you vacuum before you move the seat, you'll miss the hidden floor strip. If you chase crumbs in a seam before you loosen them, you'll just drag them around. The cleanest results come from a sequence that makes the debris move once, not three times.
Blow out first, then extract
The first move is a pre-blowout. Use compressed air or a blower to push loose dirt out of seams, seat rails, and tight creases before the vacuum ever touches them. That step sounds small, but it stops the vacuum from having to pull compacted debris from narrow gaps where suction alone is weak.
Then do a quick initial extraction pass. Don't try to perfect every corner on the first lap. Clear the obvious debris first, because later agitation will shake more material loose from hidden channels. Detailers who chase perfection too early end up reworking the same area after they've already disturbed the surrounding surfaces.
Work from the back forward
The most efficient path is back to front. Start at the rear footwells and cargo-adjacent areas, then move forward through the cabin while repositioning seats fully fore and aft. That exposes the floor under the rails, the rear edge of the seat base, and the awkward strip that gets hidden when a seat is left in one position.
Practical rule: move each seat both ways before you decide a floor area is clean. If you skip that step, you're guessing.
A common fail point is the area around belt buckles and seat rails. Those spots trap heavier contamination because the shape blocks easy airflow and the fabric folds create little debris pockets. A crevice tool gets the first pass, then a brush and a second extraction pass clean what the blowout loosened. If you've got a ride-hailing car or a family hauler, this order saves more time than any fancy vacuum upgrade.
The hidden logic is simple. You're not just removing dirt, you're preventing recontamination. Once the loose stuff is out, the second pass becomes a cleanup, not a rescue mission.
Tackling Pet Hair, Winter Salt, and Stubborn Crevices
Every ugly interior problem behaves differently. Pet hair clings by static and weave, winter salt behaves like dried residue in layers, and crumbs in crevices act like they were put there on purpose. If you use the same move for all three, you'll spend longer and still miss something.
Pet hair needs agitation before suction
Hair sits in fabric like it owns the place. A vacuum alone often skims the top while the strands stay woven into the fibres, especially on seat centres and carpeted cargo areas. The better approach is to loosen the hair first with a rubber brush or similar agitation tool, then vacuum with an upholstery nozzle or crevice attachment where the bundle is dense.
A pumice stone can help on some durable fabric surfaces, but it needs a light hand. Use it where the material can tolerate abrasion, and stop the moment the fabric starts to fuzz. On delicate upholstery, skip the rough treatment and rely on repeated brushing and extraction instead.
Winter salt needs more than suction
Salt residue in Ontario cars isn't just loose dust. It often dries into a crusty layer on mats, low carpet, and the edges where wet boots land first. Vacuuming removes loose particles, but crystallised residue usually needs agitation and extraction together. Brush the area, vacuum it, then inspect the corners where dampness settled and dried again.
Salt that's already set into the fibres won't leave because you asked it nicely. Loosen it first, then pull it out.
Crevices reward a two-tool approach
For deep channels, the winning combination is compressed air plus a crevice tool. Blow the debris out first, then follow immediately with suction before it settles somewhere else. This is especially useful in console gaps, around charging ports, near seat adjusters, and under the edges of floor mats where crumbs and grit collect in layers.
That combination is one of the few methods that consistently reduces re-cleaning later. It doesn't just make the cabin look cleaner, it prevents the same dirt from being uncovered again the next time the vehicle moves.
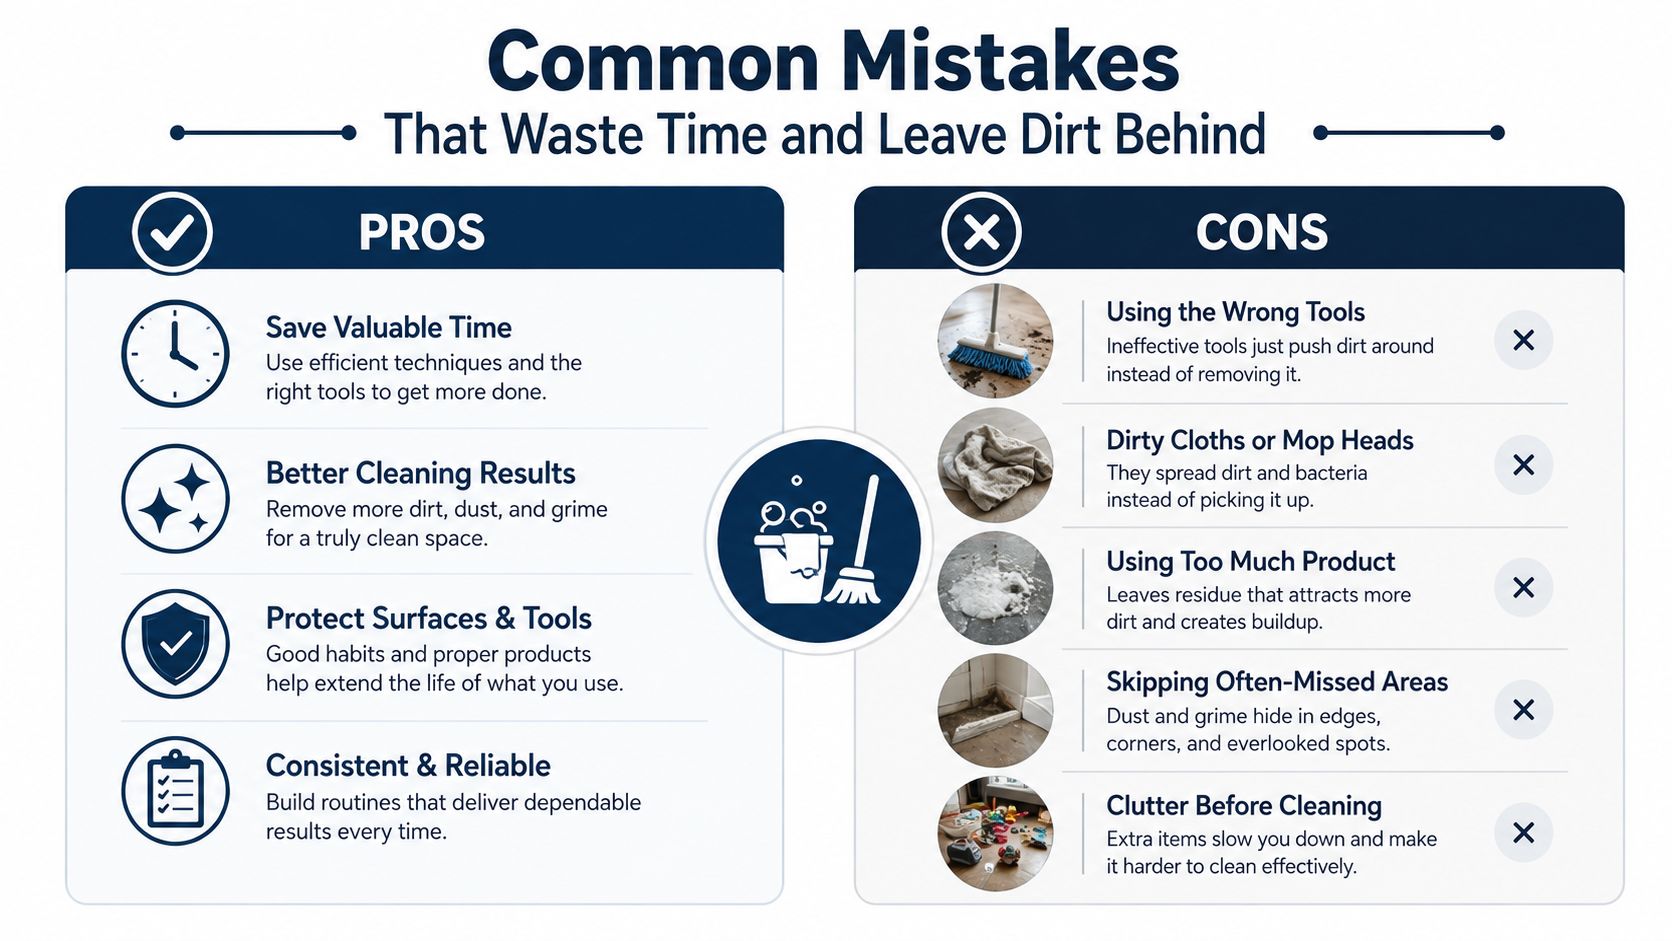
Common Mistakes That Waste Time and Leave Dirt Behind
The biggest mistakes are rarely dramatic. People usually use a vacuum, but they use it in a way that guarantees a second round. The result is a car that looks decent until you tilt your head, move the seat, or drive in sunlight.
Five habits that slow everything down
- Skipping the pre-blowout: Dirt stays packed in seams, so the vacuum keeps missing the same spots.
- Vacuuming front to back: You end up stepping on cleaned areas, which puts grit right back where you started.
- Using the wrong attachment on the wrong surface: A stiff nozzle on trim can scuff, while a soft brush on embedded carpet barely moves the debris.
- Ignoring seat repositioning: Half the floor stays hidden under the seat base, which is why the rear footwell still looks dirty later.
- Rushing one pass: The first pass loosens debris, the second pass finishes the job.
What each mistake costs you
Each of those habits creates hidden rework. If you don't blow out the seams first, you'll keep revisiting the same creases. If you don't move the seat, you'll miss the edge strip where the worst grime sits. If you only do one quick pass, the cabin can still feel dusty because the loosened debris settles back into the fibres after you've already put the vacuum away.
The fix is boring, but it works. Pre-blow, reposition, vacuum back to front, then do a second targeted pass on the problem areas. That sequence is why trained detailers keep their sessions efficient even on heavily used vehicles.
A clean cabin isn't won by speed alone. It's won by avoiding the moves that create extra work later.
When to Handle It Yourself and When to Call a Professional
DIY vacuum detailing is fine when the interior is already in decent shape. If you're dealing with light dust, a bit of floor grit, and normal weekly debris, a careful home session can keep the cabin respectable. The trouble starts when the vehicle has pet hair deep in the fabric, winter salt baked into the carpet, or enough turnover from passengers that every surface needs more than a surface reset.
The DIY line versus the pro line
For routine maintenance, DIY makes sense. You can keep up with everyday mess, stay on top of mats, and stop small problems from turning into a full interior job. But neglected vehicles, rideshare cars, family SUVs with heavy daily use, and work vans usually hit a point where the time cost of doing it yourself outweighs the value of the result.
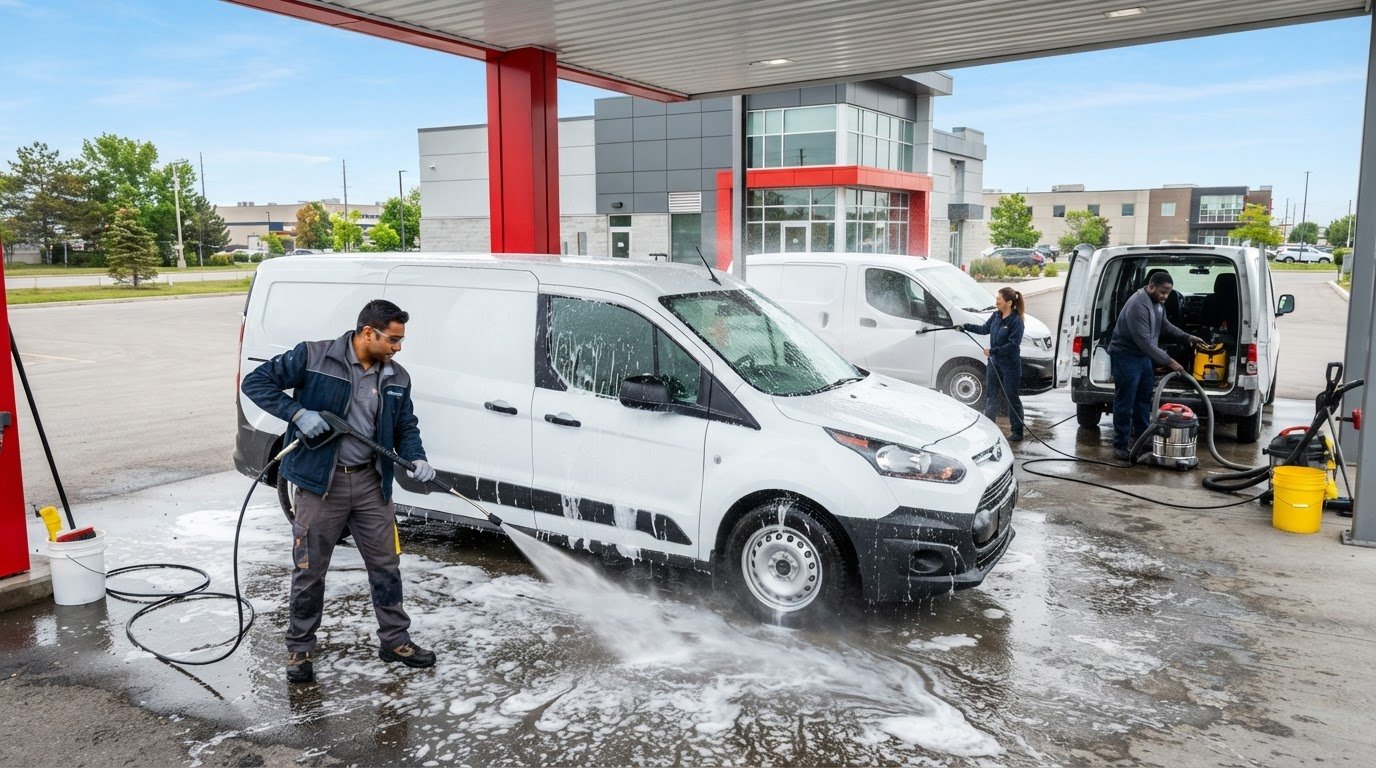
That's where professional service earns its place. Nanak Car Wash offers interior detailing that includes full vacuuming, plus carpet and seat shampooing, salt and stain removal, vent and crevice blowout, and leather deep cleaning. Its interior and exterior detailing is offered by appointment, and the brand also lists free vacuums at participating locations, which helps for quick maintenance between full services.
Why recurring service helps busy drivers
GTA drivers who need frequent interior cleanup often care less about a one-time perfection job and more about repeatable results. The combination of vacuuming, blowout, and stain-focused cleaning fits vehicles that get used hard and cleaned often. If you're balancing work, family, and winter road grime, the value is in getting the cabin reset without spending your whole weekend on the driveway.
For operators who answer phones all day and need to keep bookings moving, 24/7 call answering for cleaners is a useful example of how service businesses reduce friction for customers who don't want to chase appointments during business hours. That same logic applies to car care. The easier the booking, the more likely the maintenance happens.
If your cabin's taken a beating from salt, pet hair, and daily commuting, Nanak Car Wash can handle the vacuuming, interior cleaning, and deeper detailing that a quick home pass won't fix. Visit Nanak Car Wash to book a service that matches your vehicle's mess, your schedule, and the way you drive in the GTA.


 6600 Finch Ave W, Etobicoke, ON M9V 3Z6
 647-703-8515
 MON – SUN 8 AM to 7 PM