
You've just come back from the vet in Etobicoke, or loaded the dog after a long weekend at High Park, and the black interior tells the story. There's a pale dusting of undercoat across the seat, hair woven into the bolsters, clumps wedged in the seams, and a few tumbleweeds rolling out from under the passenger seat. The smell often survives the first vacuum too.
The mistake is treating every tool as equally useful, or starting with whatever's closest. How to clean pet hair properly is mostly a question of sequence. Remove the mats, clear loose debris, vacuum methodically, loosen the stubborn coat, gather it with rubber, and vacuum again. That order saves time because each stage prepares the surface for the next one.
The turning point is usually simple. A damp rubber glove replaces frantic lint-roller passes, the trapped hair gathers into tight clumps, and the upholstery finally gives up its grip. Before touching the first strand, though, you need the right equipment and a clean setup.
Table of Contents
- The Pet Owner Cleanup Moment Every GTA Driver Knows
- Tools and Prep Work Before You Touch a Single Hair
- The High-Yield Removal Sequence That Actually Works
- Matching the Right Tool to the Right Surface
- Fabric-by-Fabric Strategy for Cloth, Leather, and Vinyl
- Prevention Habits That Shrink Future Cleanup Time
- When DIY Stops Making Sense and a Detail Is Worth It
The Pet Owner Cleanup Moment Every GTA Driver Knows
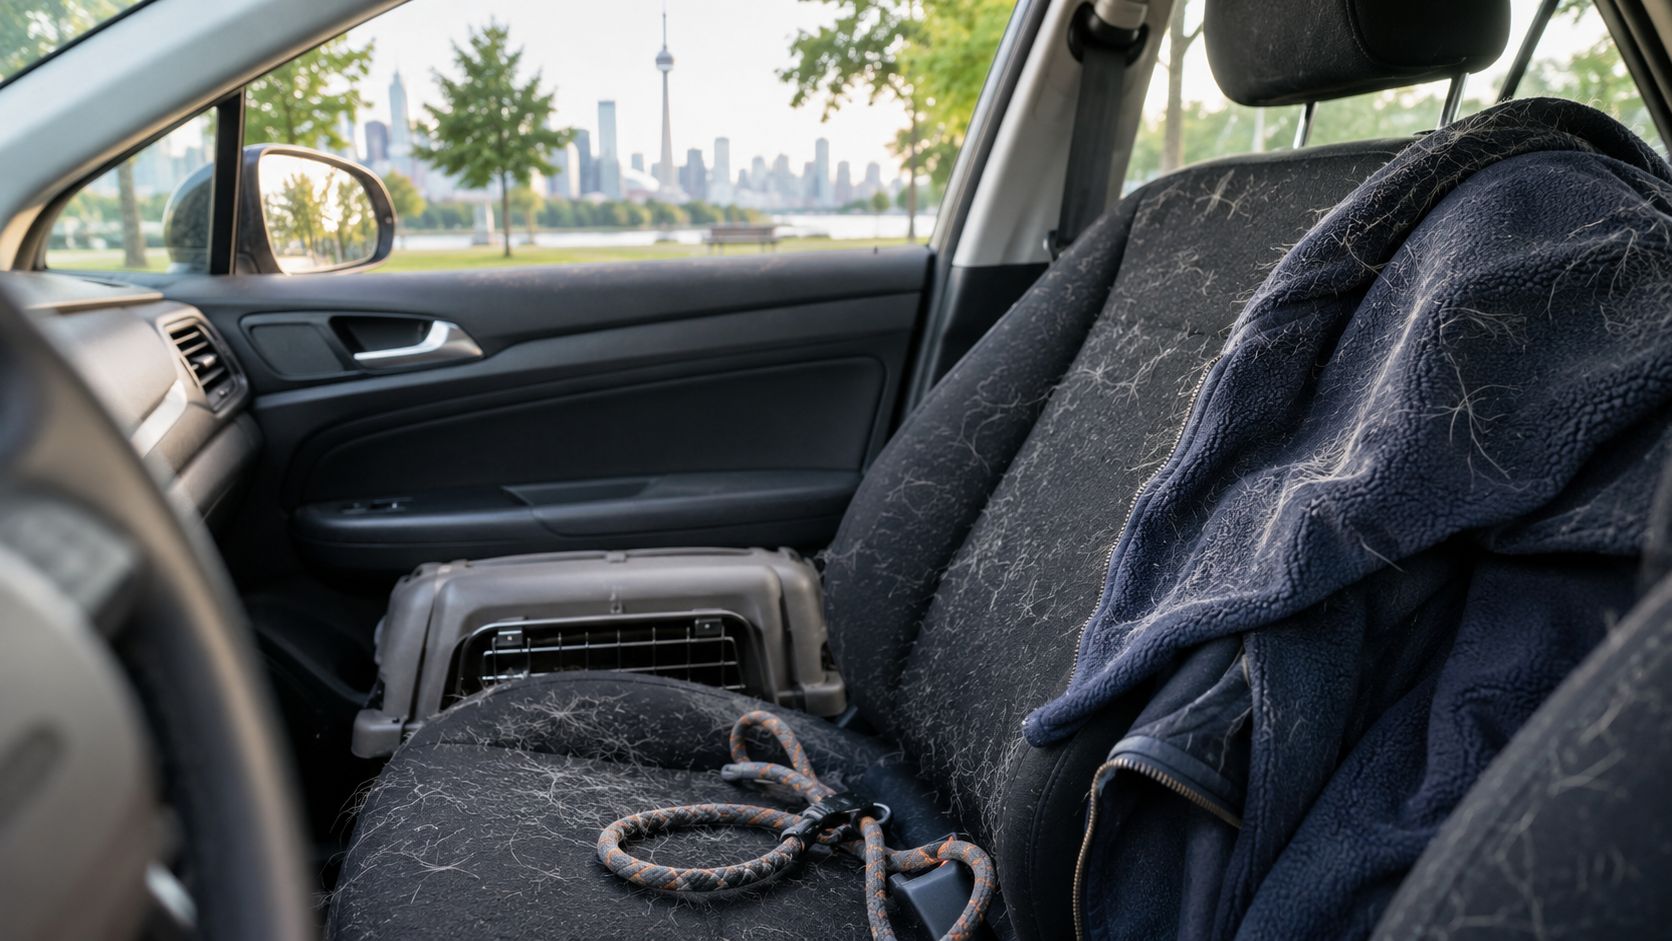
You leave a vet appointment in Etobicoke, or load the dog after a walk through High Park. The cabin looks fine until sunlight reaches the seats. Pale undercoat lines the seams, loose strands collect around the seat rails, and the cargo carpet holds clumps that a quick vacuum will not lift.
The same pattern shows up on the drive home. Fur transfers from the dog to your jacket, then from the jacket to the driver's seat. Vacuuming the visible patches helps, but hair buried in piping, carpet, and door-panel fabric keeps working loose. A few hours later, it is on your clothing and the centre console again.
Pet hair is routine maintenance for GTA drivers, not an occasional spill. Canadian households commonly include a cat or dog, and pet owners regularly find hair on upholstery, clothing, and other soft surfaces. That frequency makes the cleaning sequence more important than the size of your tool kit.
Start with the high-yield steps: remove the mats, clear loose debris, and vacuum the cabin methodically. Then loosen the coat a damp rubber glove or rubber brush can gather, followed by another vacuum pass. A light fabric-softener mist can help release stubborn hair from suitable fabric, but it must be used sparingly and tested first.
Practical rule: Loose hair comes out first. Embedded hair gets loosened second. Reversing that order usually spreads the mess and adds work.
A 2022 survey found that 60% of Canadian households had at least one cat or dog, according to the Canadian Animal Health Institute. That helps explain why this problem repeats across seats, mats, carpet, and cargo areas.
DIY works well for regular upkeep when the hair is loose and the surfaces are accessible. Once fur is packed into seat seams, woven deep into carpet, or mixed with odour and grit, repeated home passes can cost more time than they save. A professional pet-hair detail earns its price when the cabin needs extraction, compressed-air work, or careful cleaning across several surfaces.
Tools and Prep Work Before You Touch a Single Hair
A professional-looking result doesn't require a cabinet full of gimmicks. It requires strong suction, rubber friction, controlled moisture, and the right attachment for each surface.
Build a small working kit
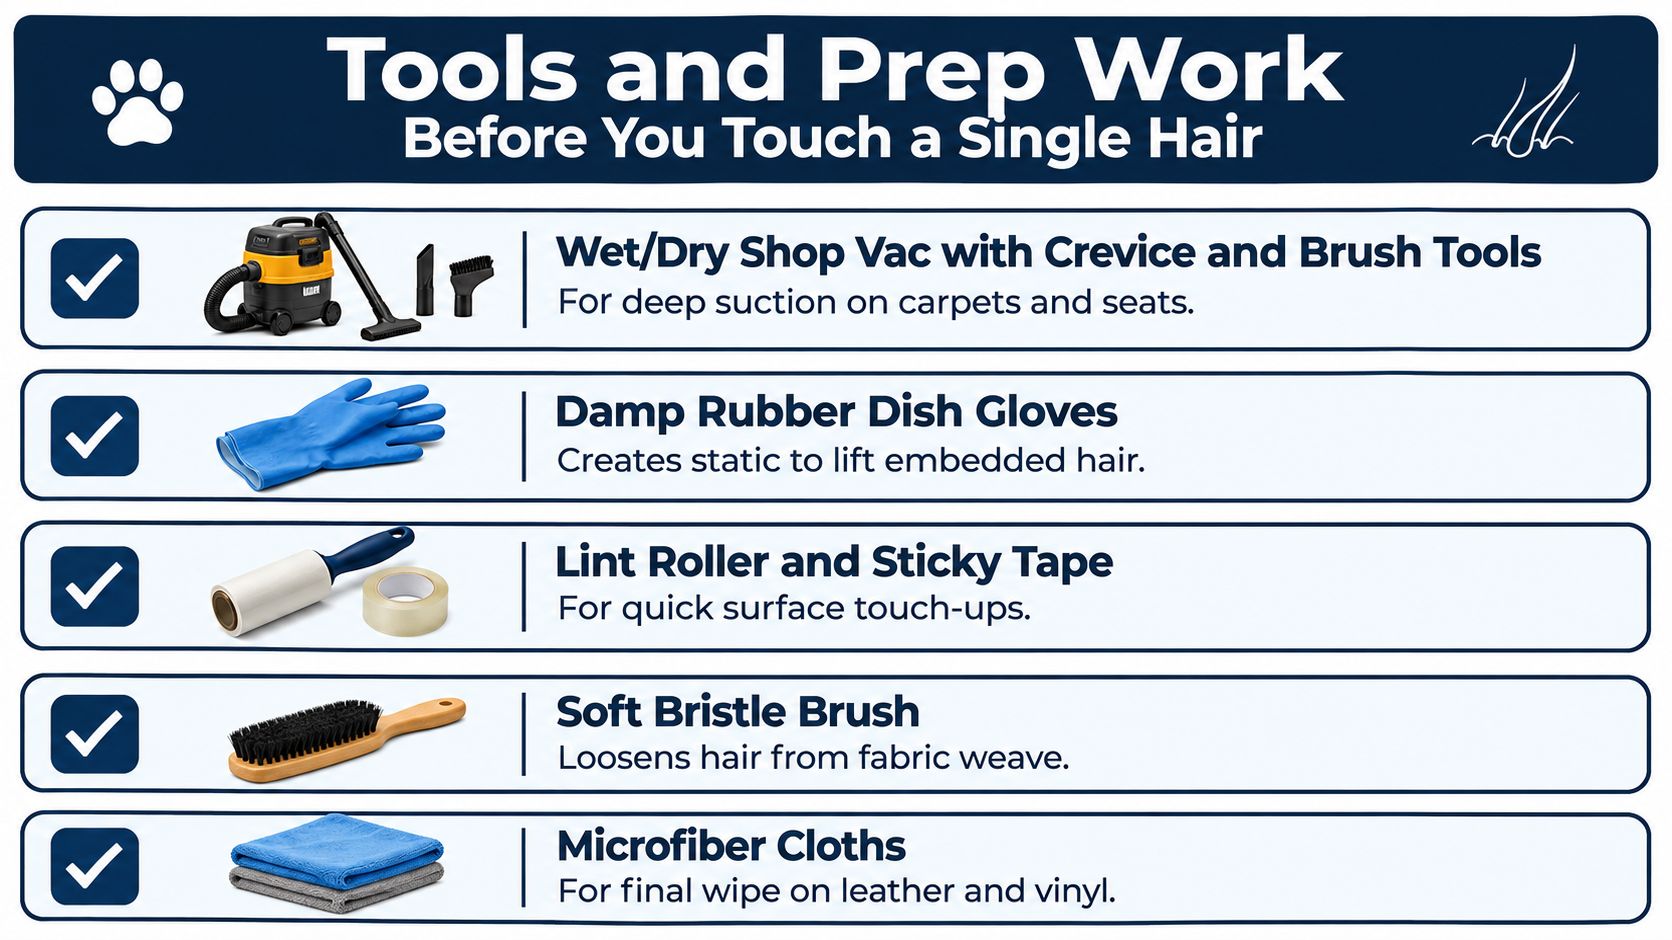
Start with a wet/dry shop vacuum. You want a crevice tool for seat tracks, rails, console gaps, and HVAC seams, plus a brush attachment for carpet pile and a wide upholstery nozzle for cloth seats. A household cordless vacuum can handle light maintenance, but it often fills or clogs quickly when the interior is carrying a heavy coat.
Add damp rubber dish gloves, a rubber-bristle pet-hair brush, microfibre towels, a spray bottle containing diluted fabric softener, and a stiff nylon brush for floor mats. Keep a reusable pet hair removal roller nearby for final touch-ups, not as the main removal tool.
Prepare the vehicle in the right order
Remove every floor mat before you start. Take them outdoors, shake them over a suitable surface, and use the stiff nylon brush to break up packed hair. If you leave the mats in place, loose debris shifts under them and then migrates back into the cabin during vacuuming.
Work from the cargo area and trunk toward the front seats. That prevents you from dragging fur and grit across areas you've already cleaned. Leave the doors open or cracked where conditions allow, so the cabin has airflow and you can see hair that was hidden in darker corners.
Choose attachments deliberately:
- Upholstery nozzle: Use it on broad seat panels and cloth bolsters, keeping the nozzle flat enough to maintain suction.
- Crevice tool: Reach seat tracks, seams, trunk corners, door gaps, and the narrow channels beside consoles.
- Brush head: Agitate carpet fibres and textured mats while the vacuum collects the loosened hair.
- Microfibre towel: Reserve it for the final wipe on leather, vinyl, and hard trim.
- Rubber tools: Bring these in only after loose debris has been removed, unless you're dealing with a small, isolated patch.
Don't begin by spraying the seats. Don't brush a filthy floor before vacuuming. Moisture and agitation can push grit deeper into fabric, and that's how a simple hair cleanup turns into a stain and odour job.
The High-Yield Removal Sequence That Actually Works
Timing separates a manageable cleanup from a long fight. For a GTA vehicle interior, the reliable sequence is mats out, initial vacuum, light pre-treatment, damp rubber, brush agitation, second vacuum, and final wipe.
Start with suction, not moisture
With the mats removed, vacuum the cargo area, trunk liner, rear footwells, and seat surfaces. Use the upholstery tool in slow, overlapping passes. On each cloth panel, work north to south, then east to west. The opposing directions catch hair that lies flat in the weave and exposes strands missed on the first pass.
Use the crevice tool around seat rails, hinges, seams, and the narrow space between the seat and centre console. Don't rush this stage. The GTA-focused pet-hair removal guide from Right Car Detailing recommends removing mats first, vacuuming in overlapping passes, and finishing with rubber tools on upholstery and floor surfaces.
Relax stubborn static bonds
Once loose hair is gone, apply a light mist of diluted fabric softener to a suitable cloth seat. The GTA guide recommends a mixture of about one part fabric softener to three parts water, followed by a two-minute dwell time, before the final slow vacuum pass, as described in its vehicle pet-hair cleaning instructions. Because that source URL has already been cited above, the technique is the important reference here.
Keep the spray light. You're trying to relax static and help undercoat release from fibres, not soak the cushion. Test an inconspicuous area first, and avoid this treatment on leather, vinyl, headliners, or surfaces where a residue could create a film.
Let rubber gather what suction leaves behind
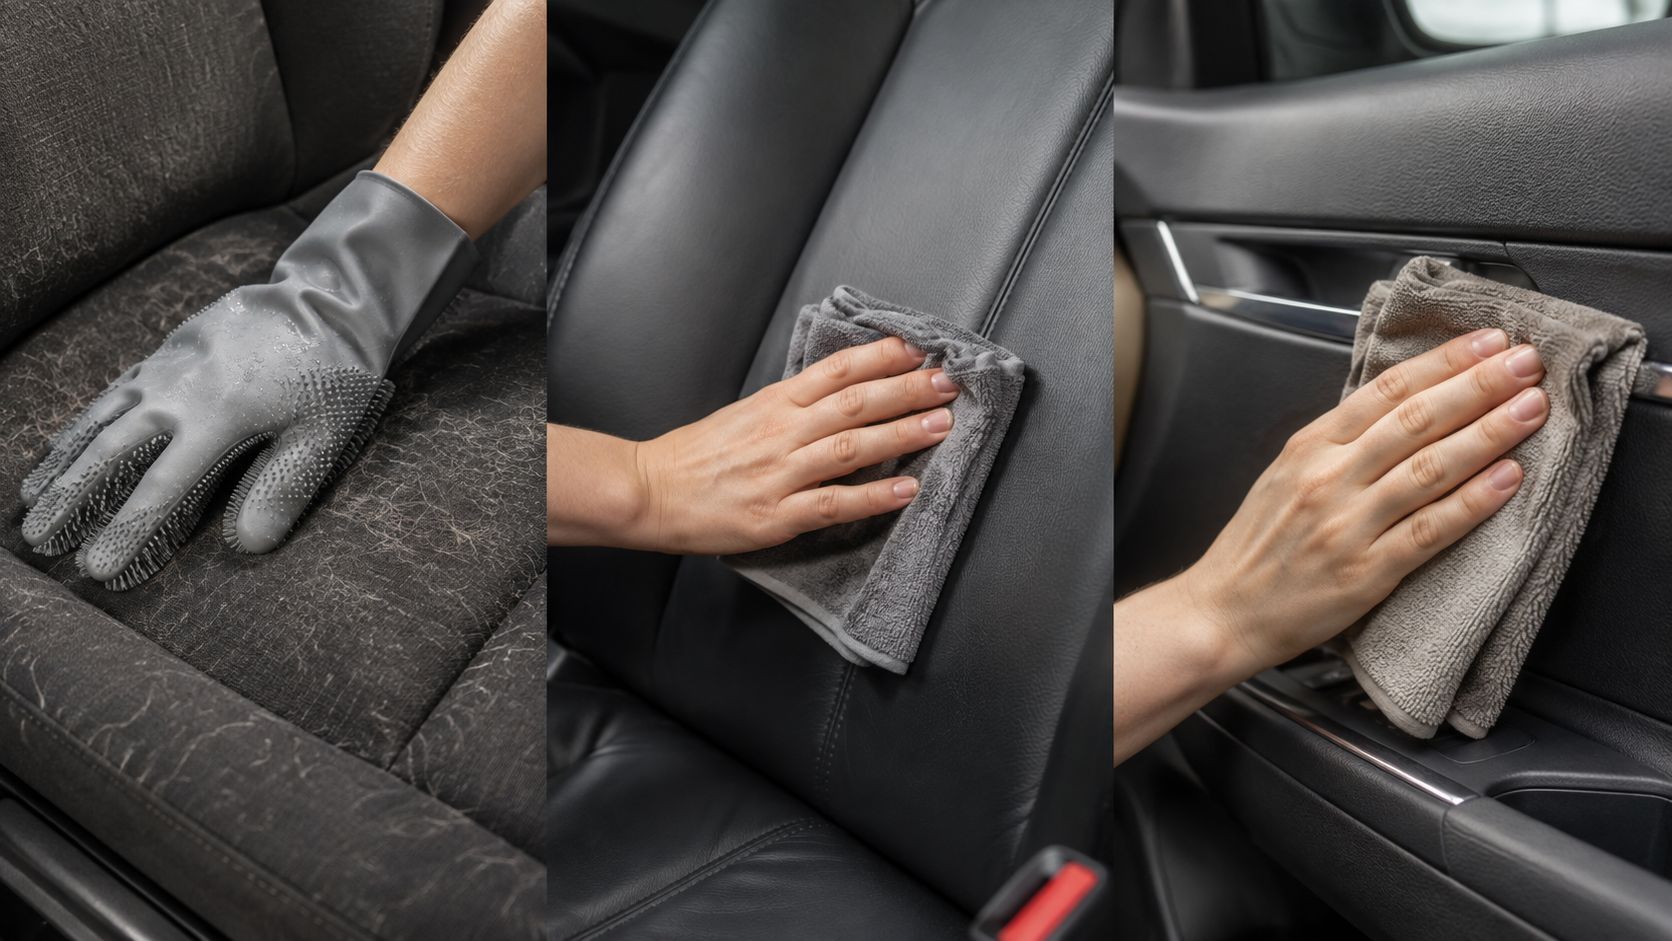
Put on a damp rubber glove and work in short, firm strokes across the seat. The glove's friction and slight moisture gather loose strands into compact rolls that you can lift away by hand. Pay special attention to seams, piping, bolsters, headrests, and the area where the pet's body makes repeated contact.
A rubber-bristle brush works better on carpet and mats. Move in one direction, using controlled pressure rather than scrubbing wildly. Heavy coats, including the dense undercoat associated with breeds such as German Shepherds and Huskies, can resist a dry vacuum but release once static is reduced and the fibres are gently agitated.
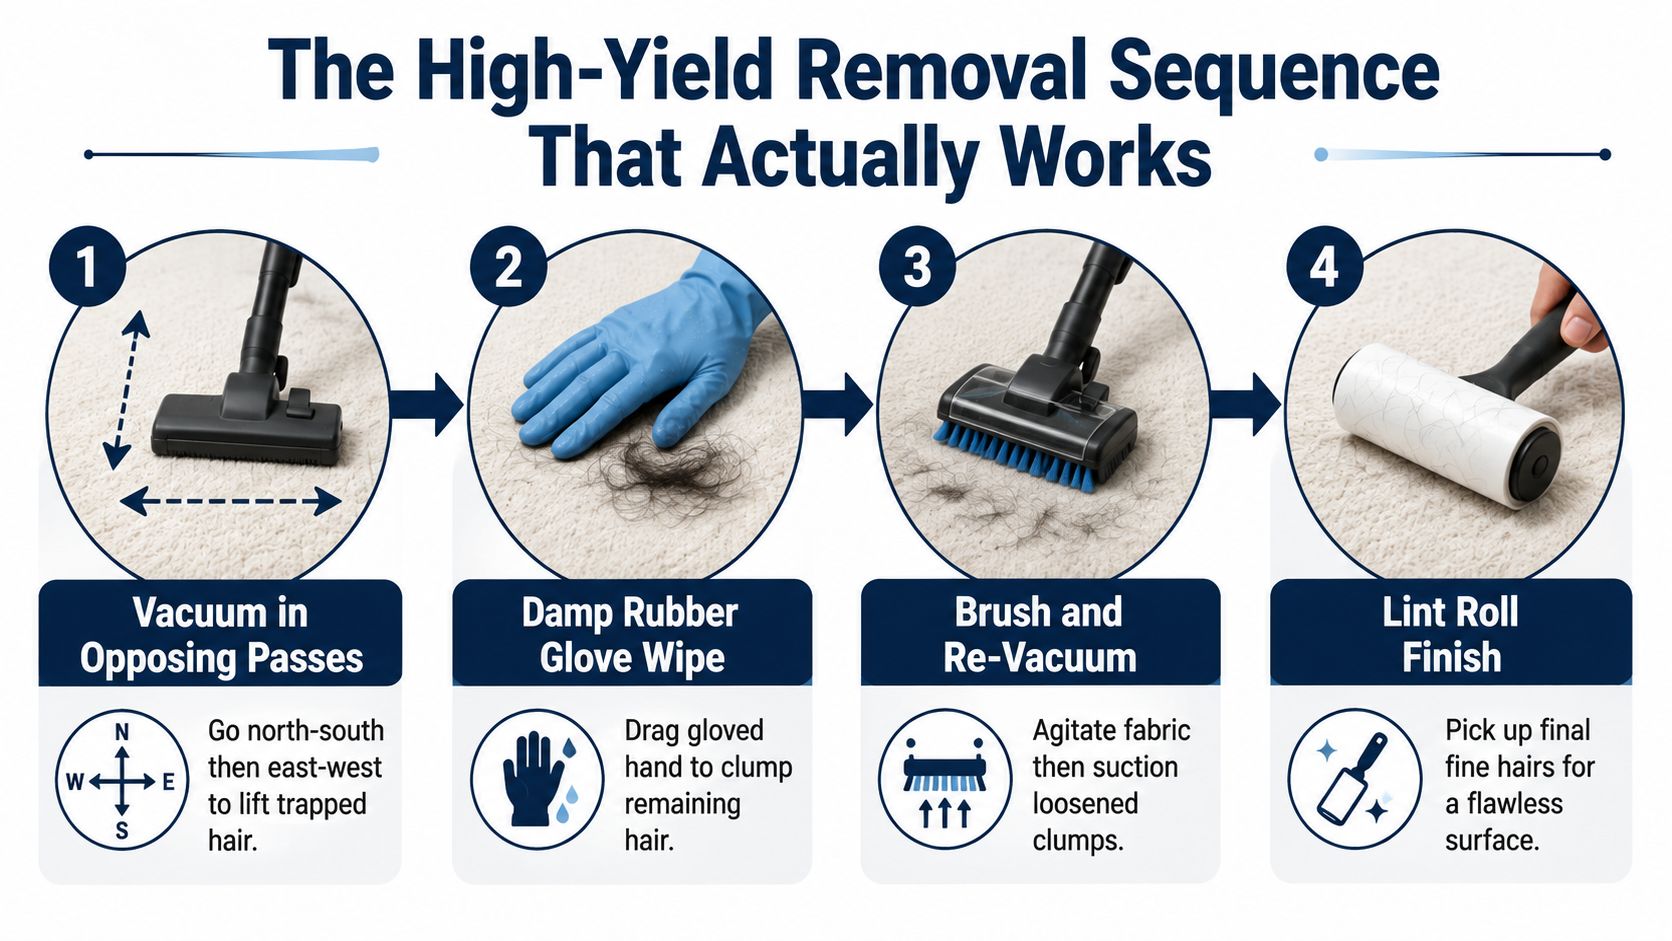
Finish by vacuuming the raised clumps. Use slow passes again, then wipe the surface with a dry microfibre towel. A lint roller can collect the final fine hairs on exposed fabric, but it won't replace the glove, brush, or second vacuum.
Avoid this shortcut: Brushing before removing loose grit and hair can drive debris deeper into the weave. Vacuum first, every time.
Matching the Right Tool to the Right Surface
The most useful tool depends on the material, not the advertising on the package. A rubber glove can outperform a roller in a tight seat seam, while a roller can be faster for a final pass across a clean, flat panel.
| Tool | Best Surface | Time per Sq Ft | Cost | Reusable |
|---|---|---|---|---|
| Rubber glove | Cloth seams, bolsters, door inserts | Fast on small areas | Low | Yes |
| Lint roller | Clean upholstery, clothing, final touch-ups | Fast on exposed surfaces | Low to moderate | Depends on model |
| Pumice stone | Dense carpet mats and heavy trunk-liner buildup | Moderate | Low | Yes, with care |
| Rubber-bristle brush attachment | Carpet, mats, broad cloth panels | Moderate | Moderate | Yes |
| Rubber squeegee | Flat carpet and selected fabric surfaces | Fast on open areas | Low | Yes |
Where each option earns its place
The damp rubber glove wins in tight spaces. It reaches seams and seat contours better than a wide tool, and you can feel when hair starts gathering. It's particularly useful on cloth bolsters and fabric door inserts.
The lint roller is a finishing tool. It's convenient on already-vacuumed seats and clothing, but adhesive sheets fill quickly when the surface is heavily coated. Reusable rollers reduce waste, but they still won't pull embedded hair from carpet fibres.
A pumice stone is aggressive by design. It can chew through dense cloth mats and stubborn trunk-liner buildup, but it can scuff leather, damage delicate upholstery, or catch loose fibres. Keep it away from leather seats, vinyl trim, and headliners.
A rubber-bristle vacuum attachment combines agitation with collection. Use it on carpet pile and mats before any damp method. It's less precise than a glove around seams, but it covers broad areas efficiently.
The rubber squeegee suits open, flat surfaces. It can gather hair from carpet and some durable fabric, but it's awkward around rails, stitching, and curved seat edges. Don't use it as a universal answer.
The tool that removes hair fastest is the one matched to the surface and used at the correct stage. No single accessory replaces the sequence.
Leather seats need seam-focused suction and a soft brush. Cloth bolsters favour the glove. Carpeted mats tolerate more agitation. Headliners require restraint, not force.
Fabric-by-Fabric Strategy for Cloth, Leather, and Vinyl
Material changes the method. The same rubber tool that gathers hair beautifully from a cloth bolster can mark leather, stress a headliner, or leave an unwanted film on vinyl.
Cloth seats and carpeted mats
Start with the opposing vacuum passes described earlier. On cloth seats, apply a light fabric-softener mist only after loose hair and grit have been collected, allow the recommended dwell time, then use the damp glove in short strokes. Follow with a second vacuum.
Take carpeted mats outside and treat them separately. Shake them out, brush packed hair with the stiff nylon brush or rubber-bristle tool, and vacuum both sides where possible. If a mat has heavy buildup, a carefully used pumice stone can help, but keep the pressure controlled and stop if fibres begin to lift.
Leather needs a gentler hand
Hair usually sits in leather creases and perforations rather than embedding in the surface. Use a soft brush attachment and the crevice tool around seams, then wipe with a barely damp microfibre cloth. Finish with an appropriate leather conditioner after the surface is clean, because repeated dry friction can leave the finish looking dull.
Never use fabric softener on leather. Avoid pumice stones, stiff nylon brushes, and forceful rubber scraping. For perforated seats, use low, controlled suction so you don't pull at the perforation edges.
Vinyl, plastic, and the headliner
Vinyl and hard plastic trim respond well to a dry rubber squeegee or soft rubber brush, followed by a microfibre wipe. Skip fabric softener because it can leave a residue on non-fabric surfaces. Clean the tool between panels so you aren't transferring hair from the seat to the door trim.
The headliner is different. Use low suction and a lint roller for light surface hair. Don't saturate it, scrub aggressively, or press hard, because the backing can loosen and sag.
Trunk liners can handle more force than seat upholstery, but check the material first. If hair is mixed with mud, odour, or residue, hair removal may only be the first stage. At that point, professional carpet and upholstery cleaning becomes relevant because extraction and material-specific treatment can address contamination that dry tools leave behind.
A Toronto upholstery guide also recommends opposing-direction HEPA vacuuming for velvet, mohair, chenille, and microfibre, while advising soft-brush and seam-focused work for leather. It identifies outdoor and synthetic fabrics as easier to dehair, and recommends a one-direction damp microfibre wipe for linen and cotton. Its fabric-specific pet-hair guidance warns against steam on delicate fabrics unless a hidden-seam test passes.
Prevention Habits That Shrink Future Cleanup Time
The easiest pet-hair cleanup happens before the car doors close. Loose fur collected outdoors or caught on a washable layer is far easier to remove than hair worked into seat seams, carpet backing, or rails.
Block the transfer at the door
Brush your pet outside before each ride, particularly before a long trip or during a seasonal shed. You do not need to remove every strand. Capture the loose coat before it rubs across the seat and spreads through the cabin.
A washable seat cover or hammock-style backseat protector keeps fur on a removable surface. In a hatchback, lay a washable blanket over the cargo liner and secure it so the pet cannot push it into a corner. This will not stop shedding, but it changes a difficult upholstery job into a laundry job.
Consistent grooming supports the same goal. These dog coat care tips offer practical routines that can reduce how much loose coat reaches the vehicle.
Keep maintenance small and regular
Do a short vacuum of the driver-side footwell and the rear seat before hair travels into crevices. Work on the areas your pet uses most instead of trying to detail the entire cabin after every trip. Mats out first, then vacuuming, gives this quick maintenance pass a better chance of collecting what has already dropped.
- Door-pocket roller: Keep a reusable lint roller in the door pocket for fresh hair on clothing and exposed seat panels.
- Cargo blanket: Wash the designated pet blanket before odour and loose fur reach the liner underneath.
- Leather care: Condition leather every three months so its finish remains easier to wipe and hair releases more readily.
- After-park wipe: Use grooming wipes on the coat after muddy or high-shed outings, with the pet outside the vehicle.
- Vent awareness: Wipe visible vent surfaces and replace dirty cabin filters according to the vehicle manufacturer's guidance.
Hair travels beyond the pet's main seating area. Canadian pet-owner information has noted hair turning up in household laundry and food, a useful reminder that containment works better than occasional rescue cleaning. Keep the cover, blanket, and roller ready so the next cleanup starts with less material spread through the cabin.
For allergy-sensitive homes, Ontario guidance recommends combining HEPA filtration, damp dusting, laundering fabrics in hot water, and more frequent cleaning. This Canadian allergy-cleaning guide explains why surface cleaning and filtration should work together instead of relying on one vacuum pass. In a vehicle, that means removing loose hair regularly, laundering removable covers, and avoiding practices that redistribute dander.
When DIY Stops Making Sense and a Detail Is Worth It
DIY is sensible when hair is limited to exposed fabric, there's no serious odour or matting, and you have a strong vacuum with the correct attachments. You can make good progress when you're willing to work slowly and follow the sequence instead of attacking the visible patches at random.
The calculation changes when hair is packed into seat rails, trunk corners, perforated leather, carpet backing, or deep seams. Add mud, dander, food, or accident residue and the job stops being simple hair removal. Long-haired pets, heavy shedders, and multi-dog households can turn a small-looking interior into a labour-intensive restoration.
Use your time as part of the cost
Stop and reassess if visible hair keeps returning after repeated vacuum passes. That usually means the surface still contains embedded hair, or that you're disturbing hidden areas without collecting what you loosen.
Professional help makes sense when:
- The odour remains: Hair and dander may be mixed with residue that dry vacuuming cannot remove.
- The material is delicate: Aggressive brushing can damage headliner fabric, velvet-like upholstery, leather finishes, or perforations.
- The equipment is missing: Buying or renting a wet/dry vacuum, extraction equipment, and suitable tools can erase the savings of doing it yourself.
- The interior needs more than dehairing: Shampooing, stain removal, vent and crevice blowout, extraction, and leather treatment may all be required.
- The vehicle is large: SUVs, vans, and trucks often have more carpet, cargo space, and seating to process, and pet-hair labour can affect the final service total.
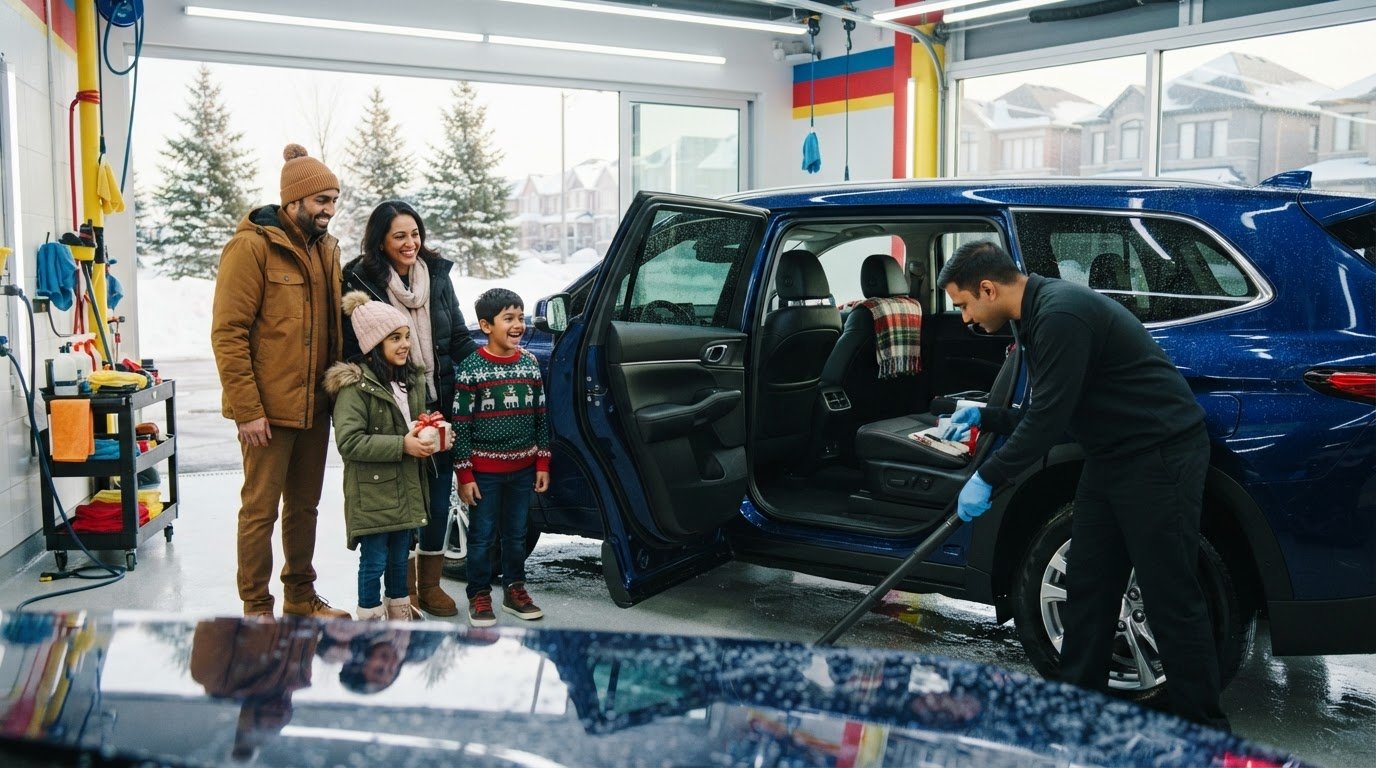
Nanak Car Wash offers interior and full detailing options that include vacuuming, carpet and seat shampooing, salt and stain removal, vent and crevice cleaning, and leather deep cleaning. Its detailing information also notes that SUV, van, truck, and pet-hair surcharges may apply, so ask for the current total and describe the shed level, stains, odour, and vehicle size before booking.
For frequent pet transport, a professional deep clean paired with quick maintenance vacuuming is more practical than waiting until every surface is saturated with hair. The right point to book isn't when the car looks hopeless. It's when the next DIY pass will consume your day and still leave the seams dirty.
Nanak Car Wash provides interior and full-service detailing for GTA drivers who need pet hair removed alongside vacuuming, shampooing, stain treatment, vent and crevice cleaning, or leather care. Visit Nanak Car Wash to review the available car wash and detailing options, then ask about the current pet-hair and vehicle-size charges before scheduling.

 6600 Finch Ave W, Etobicoke, ON M9V 3Z6
 647-703-8515
 MON – SUN 8 AM to 7 PM