
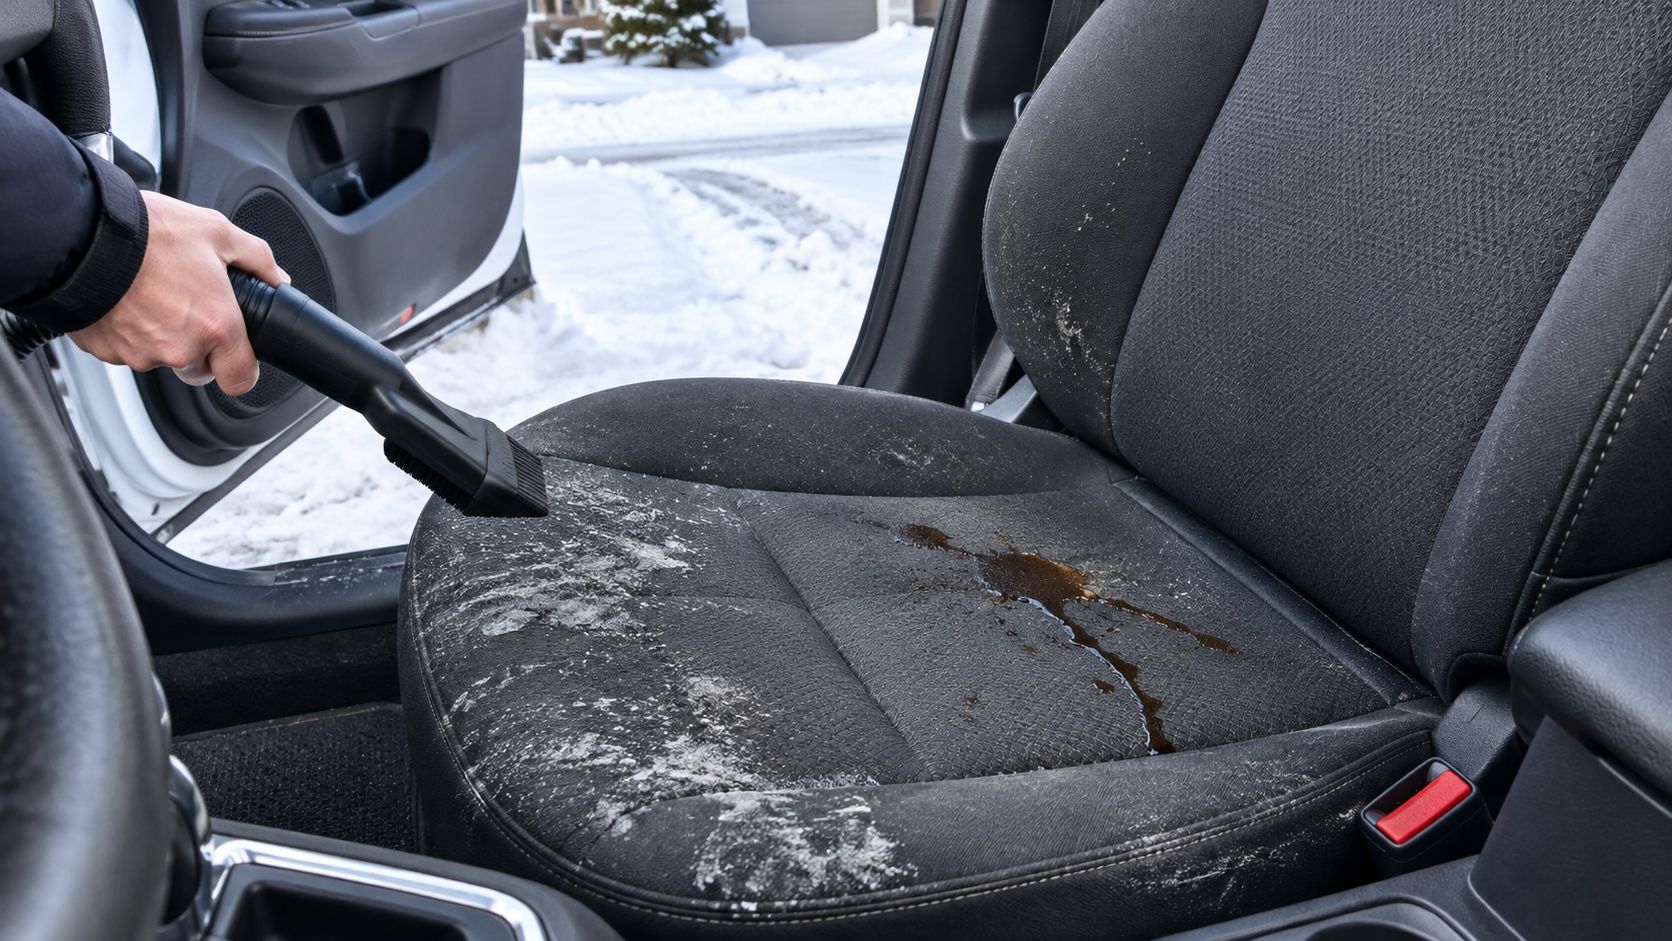
You've just pulled into the driveway after a GTA winter commute. The boots are salted, the back seat has a coffee mark, the dog has left a layer of hair in the fabric, and spring slush has worked its way into every seam. A quick vacuum removes the obvious mess, but it won't lift the residue and odour sitting deeper in the upholstery.
Learning how to shampoo car seats by hand helps you clean those interiors without turning the foam into a damp sponge. The important skill isn't pouring on more cleaner. It's controlling moisture, working in small areas, and extracting or blotting before water travels into the seat base.
Table of Contents
- Why Hand Shampooing Beats a Quick Vacuum in Ontario Winters
- What You Need Before You Start Shampooing
- How to Shampoo Car Seats by Hand Without Overwetting
- Fabric Leather and Vinyl Methods That Actually Work
- Tackling Tough Stains and Lingering Odors by Hand
- Drying Aftercare and Keeping Seats Fresh Longer
Why Hand Shampooing Beats a Quick Vacuum in Ontario Winters
A vacuum is the right first move, but it's only the first move. Loose crumbs, pet hair and grit come out dry. Salt film, drink residue, body oils and damp dirt usually need a light wet-cleaning pass to release from fabric.
Ontario makes the problem more stubborn. The province uses the most road salt in Canada, and Ontario-focused summaries estimate provincial and municipal use at roughly 1.5 to 3 million tonnes per winter in some summaries. A Canadian government assessment also reported 1,845,329 tonnes of sodium chloride loading in its compiled Ontario dataset. You can review the background in the Ottawa Riverkeeper road salt report.
That salt doesn't stay on the floor. Wet boots transfer it into carpets, then movement and moisture carry residue toward seat bases, stitching and lower bolsters. Toronto alone has been reported at about 127,000 to 150,000 tonnes of road salt per winter, which helps explain why GTA interior work often combines seat cleaning with carpet rinsing and rust-protection routines. The salt itself is also a corrosion concern, as outlined in Health Canada's road-salts assessment.
What DIY cleaning can handle
Hand shampooing works well for general grime, fresh food and coffee spills, light salt rings, ordinary odours and fabric that's dirty but structurally sound. It also gives you control. You can clean one stained panel without flooding the whole seat.
It won't repair torn fabric, remove every old dye transfer, fix foam that already smells mouldy, or safely clean seats containing delicate electronics when you can't protect the controls. If the cushion remains damp deep inside, professional equipment and controlled drying may be a better choice.
Key takeaway: Clean seats with the least moisture that gets the job done. A seat that looks clean but stays wet inside is not a successful detail.
What You Need Before You Start Shampooing
Gather everything before the first spray. The classic mistake is wetting a seat, then discovering the vacuum, towels or cleaner are still in the basement.
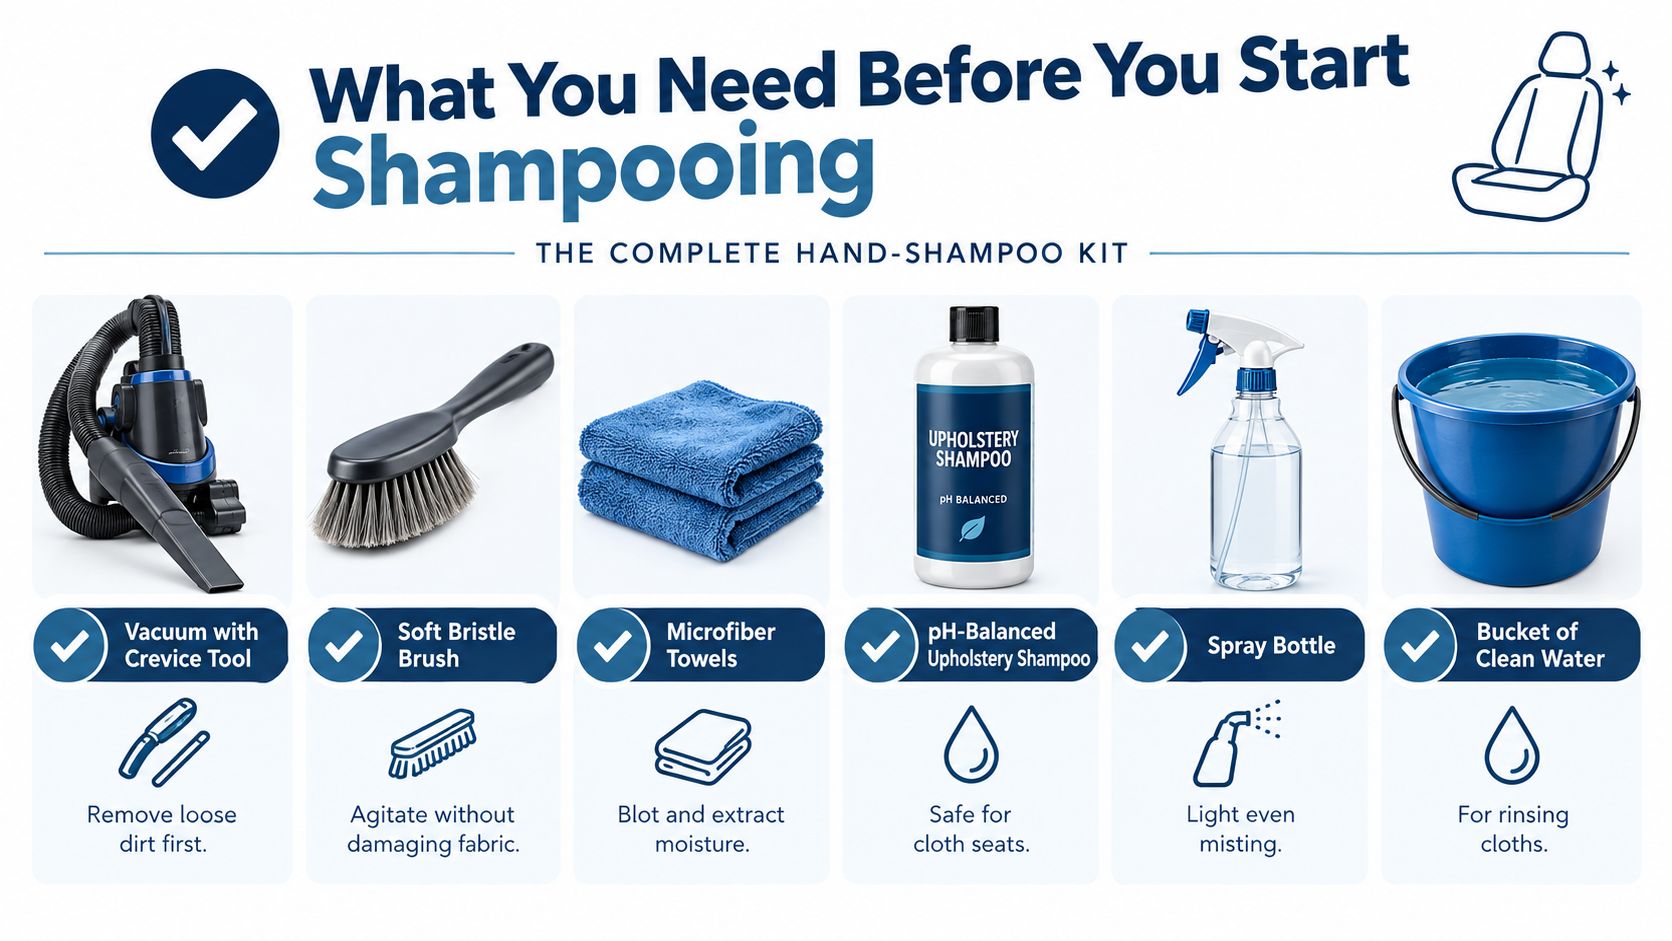
Your basic kit should include:
- Vacuum with a crevice tool: Remove crumbs, grit and pet hair before moisture turns them into paste. A narrow nozzle reaches stitching, rails and the gap between the seat and console.
- Soft-bristle brush: Choose upholstery bristles that agitate fabric without roughing up the weave. An old soft detailing brush works better than a stiff household scrub brush.
- Microfibre towels: Keep several dry towels nearby for pressing moisture out. Terry cloth can work, but microfibre is less likely to leave lint behind.
- Fabric-safe upholstery shampoo: Use a product labelled for automotive upholstery or fabric seats. A pH-balanced formula is preferable to an aggressive household degreaser.
- Spray bottle: Light misting is easier to control than dumping cleaner from a bucket.
- Bucket of clean water: Use it to rinse cloths, not to repeatedly pour over the seat.
Optional equipment that earns its space
A wet-dry vacuum or upholstery extractor can remove more moisture than hand blotting. It doesn't give you permission to overspray. Extraction works best when you apply a small amount of solution, agitate it, then pull it back promptly.
A fan is another useful upgrade. Even a household fan aimed through an open door improves airflow, provided the vehicle is parked somewhere safe and dry.
Patch-test the cleaner on a hidden fabric edge. Check for colour transfer and texture changes before treating the visible cushion. Disconnecting a seat or disturbing wiring can create safety problems, so don't remove seats or spray around seat controls, connectors and airbag areas unless you know the vehicle's service procedure.
Set up with doors open where possible. Keep the work area ventilated, avoid electrical equipment around standing water, and plan the job so the vehicle can remain open while the seats dry.
How to Shampoo Car Seats by Hand Without Overwetting
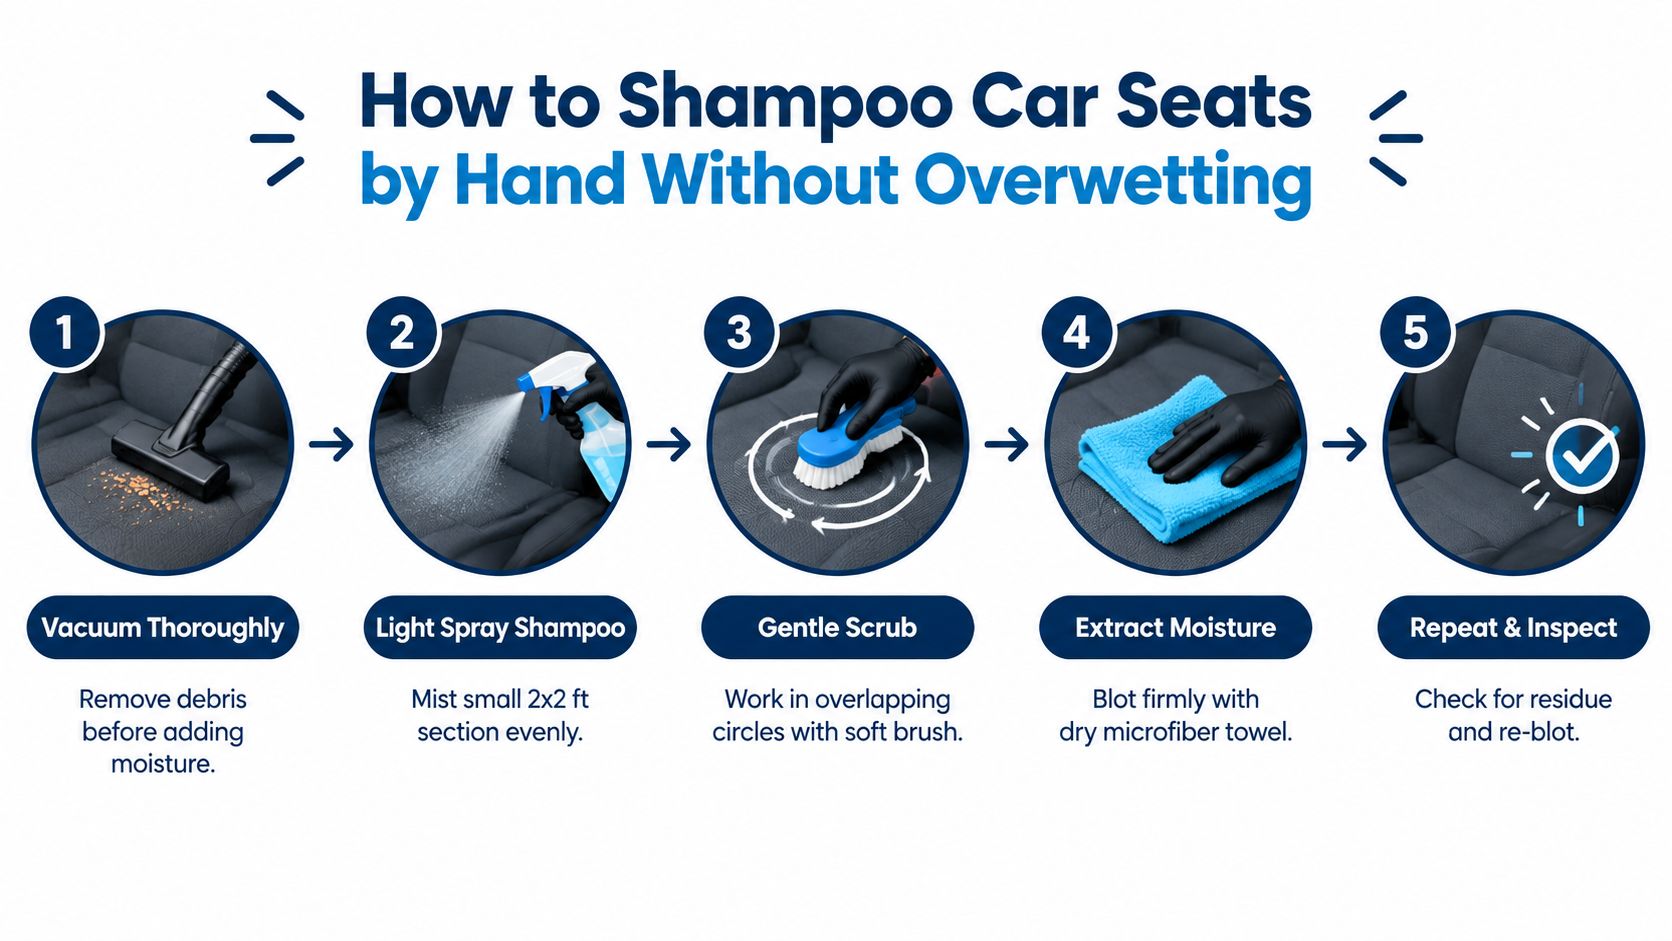
The reliable rhythm is vacuum, mist, scrub, extract, inspect. Work on a small section instead of wetting an entire cushion and hoping it dries.
Start by vacuuming slowly. Use the crevice tool around seams and run the nozzle in different directions across the fabric. Canadian upholstery-cleaning guidance also places vacuuming before wet cleaning because loose debris becomes harder to remove once soaked. The BISSELL guide to cleaning car-seat upholstery recommends this dry-first approach and describes repeated spray, scrub and extract passes for heavily soiled seats.
Build the cleaning pass in small sections
Divide the seat into manageable areas, roughly the size of a small cushion panel. Spray a light, even mist over one area. The fabric should look lightly damp, not glossy or saturated.
Let the cleaner sit briefly according to its label. Don't let it dry on the fabric. Work the brush with overlapping circles and moderate pressure, following the weave where the material appears delicate. Concentrate on seams and lower bolsters, but don't force liquid into stitching.
Now stop spraying and remove moisture. Press a dry microfibre towel firmly into the section, lift it, rotate to a dry area, and repeat. If you have an extractor, make slow passes until the machine stops pulling a visibly wet line. The goal is to remove loosened soil and solution, not move it deeper into the foam.
Know when the seat has had enough liquid
A darkening fabric colour is normal during cleaning. A cushion that feels heavy, squishes under your hand or releases moisture when pressed has received too much water. At that point, adding more shampoo only makes the drying problem worse.
For heavy soil, repeat a controlled light pass rather than flooding the section once. A second mist and extraction cycle can lift residue that the first pass loosened, while keeping the foam exposure lower than a soaking approach.
Practical rule: If the towel is coming away damp but the fabric is no longer releasing visible soil, switch from cleaning to drying.
Avoid aggressive scrubbing on raised seams, loose threads and worn side bolsters. A hard brush can create fuzz or pull fibres even when the cleaner itself is safe. Move slowly, inspect under good light, and leave stubborn discoloration for a professional assessment rather than escalating to stronger chemicals.
Fabric Leather and Vinyl Methods That Actually Work
The material changes the process. Fabric can tolerate controlled agitation and extraction. Leather and vinyl need surface cleaning, not a soaked shampoo treatment.
| Material | Cleaner to Use | Technique | Drying Tip |
|---|---|---|---|
| Cloth | Fabric-safe, foam-safe upholstery shampoo | Vacuum, lightly mist, brush gently, then extract or blot | Leave doors open and keep airflow moving until the cushion feels dry |
| Leather | pH-balanced leather cleaner | Apply to a cloth, wipe small areas, and use a soft brush only for textured grain | Wipe away residue, allow the surface to dry naturally, then condition if the product calls for it |
| Vinyl | Interior-safe all-purpose cleaner | Spray onto the towel rather than directly onto controls, then wipe and agitate textured sections gently | Remove cleaner film and keep the surface out of harsh direct heat |
Cloth seats need the most moisture discipline
Salt residue may wick upward from carpets into the lower seat base, particularly after wet winter use. That doesn't mean the whole cushion needs a rinse. Treat the affected area, use a clean damp cloth sparingly to remove residue, then blot aggressively.
Leather rewards restraint
Leather cleaner belongs on the towel or applicator in a controlled amount. Scrubbing can dull the finish or disturb surface coatings. Conditioner isn't a substitute for cleaning, and applying it over grime can leave a greasy film that attracts more dirt.
Vinyl is easy to over-polish
A glossy vinyl seat isn't necessarily a clean seat. Excess dressing can create slipperiness and leave a residue on clothing. Clean the surface thoroughly, wipe it dry, and use only an interior protectant that's compatible with the material.
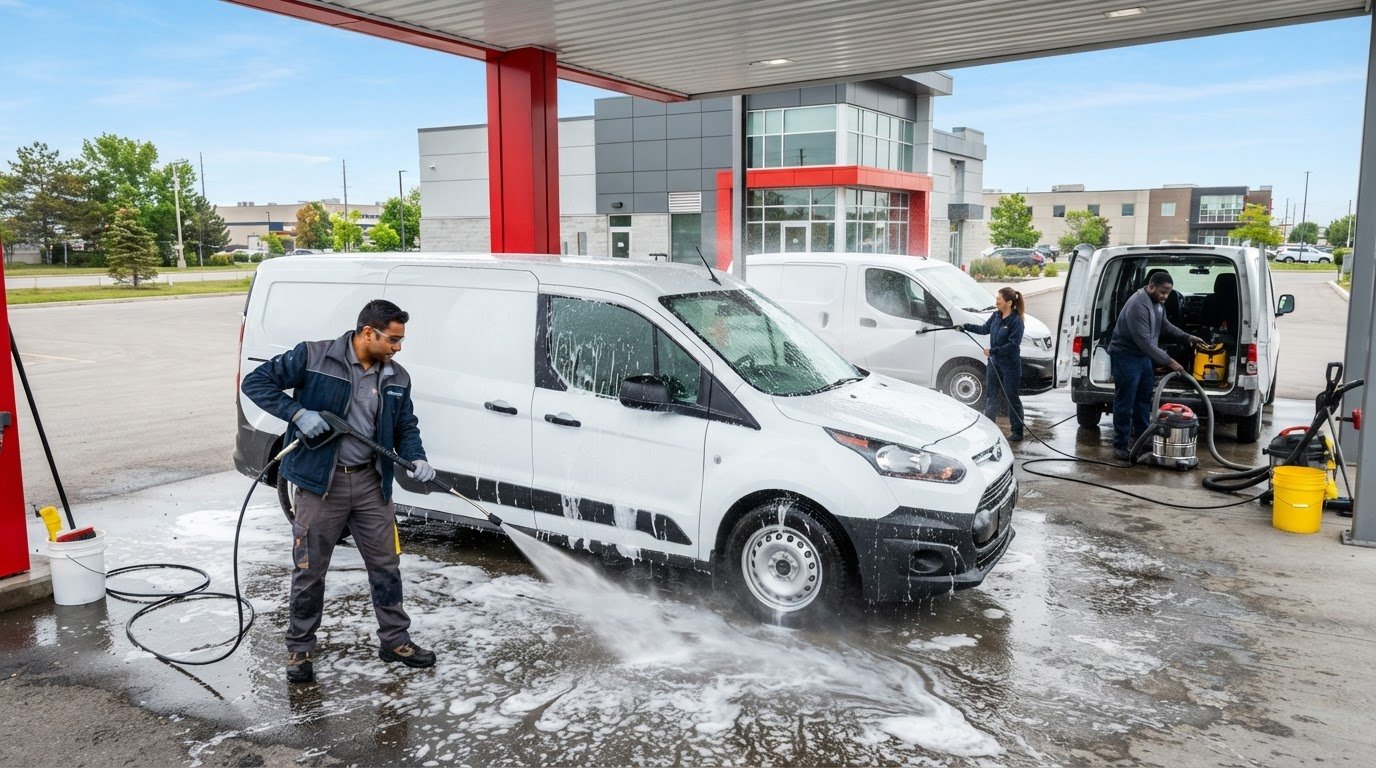
If a vehicle has seat heating, ventilation, occupancy sensors or integrated controls, keep liquid away from switches, seams leading into the cushion and electrical connections. When the material or construction is uncertain, a professional interior service such as Nanak Car Wash interior detailing can handle seat shampooing, salt and stain removal, vent and crevice cleaning, and leather care as part of an appointment-based package.
Tackling Tough Stains and Lingering Odors by Hand
Treat the stain you have, not the stain you wish you had. Coffee, grease, ink and road salt respond to different techniques, and none improves when you flood the seat.
Coffee needs blotting before agitation. Press with a clean towel, apply a small amount of diluted upholstery shampoo, and dab from the outside toward the centre. Rubbing outward can spread the edge and create a larger mark.
Food grease often needs dry absorption first. Apply a small amount of absorbent powder, let it collect surface oil, then brush and vacuum it away before using a light wet-cleaning pass. Don't chase grease with repeated sprays if the fabric is already damp.
Ink deserves caution. Test any alcohol-based spot treatment in a hidden area, then dab with a cotton swab rather than scrubbing. Colour transfer onto the swab means you should stop and reassess.
Salt rings usually need residue removal, not stronger fragrance. A lightly damp cloth with a suitable diluted cleaning solution can lift the edge, followed by immediate towel blotting. Avoid repeatedly wetting the same lower panel if the ring keeps returning, since that can indicate residue deeper in the padding.
Don't heat-set a stain. Hairdryers and high heat can make some spills more difficult to remove and can dry the surface while leaving the foam wet.
For pet odours and sweat, an enzyme cleaner can help with organic residue when it's labelled safe for the seat material. Apply sparingly, respect the product's dwell instructions, and ventilate instead of masking the smell with a heavy spray. Smoke odour often needs repeated cleaning of fabric, carpets, headliner-safe surfaces and ventilation paths, not one scented product.
Use this quick decision check:
- Fresh stain: Blot first, then use a small targeted application.
- Old stain: Expect gradual improvement and test every product.
- Colour transfer: Stop if the seat colour appears on the towel.
- Deep odour: Clean the source and dry thoroughly instead of covering it.
Drying Aftercare and Keeping Seats Fresh Longer
Drying is where many hand-cleaned interiors fail. CAA North & East Ontario warns against excess water because it can produce mould and recommends blotting seats dry before air-drying. Ontario-oriented DIY guidance suggests a 3 to 6 hour drying window, depending on humidity, as noted in CAA's ultimate car interior cleaning guide.
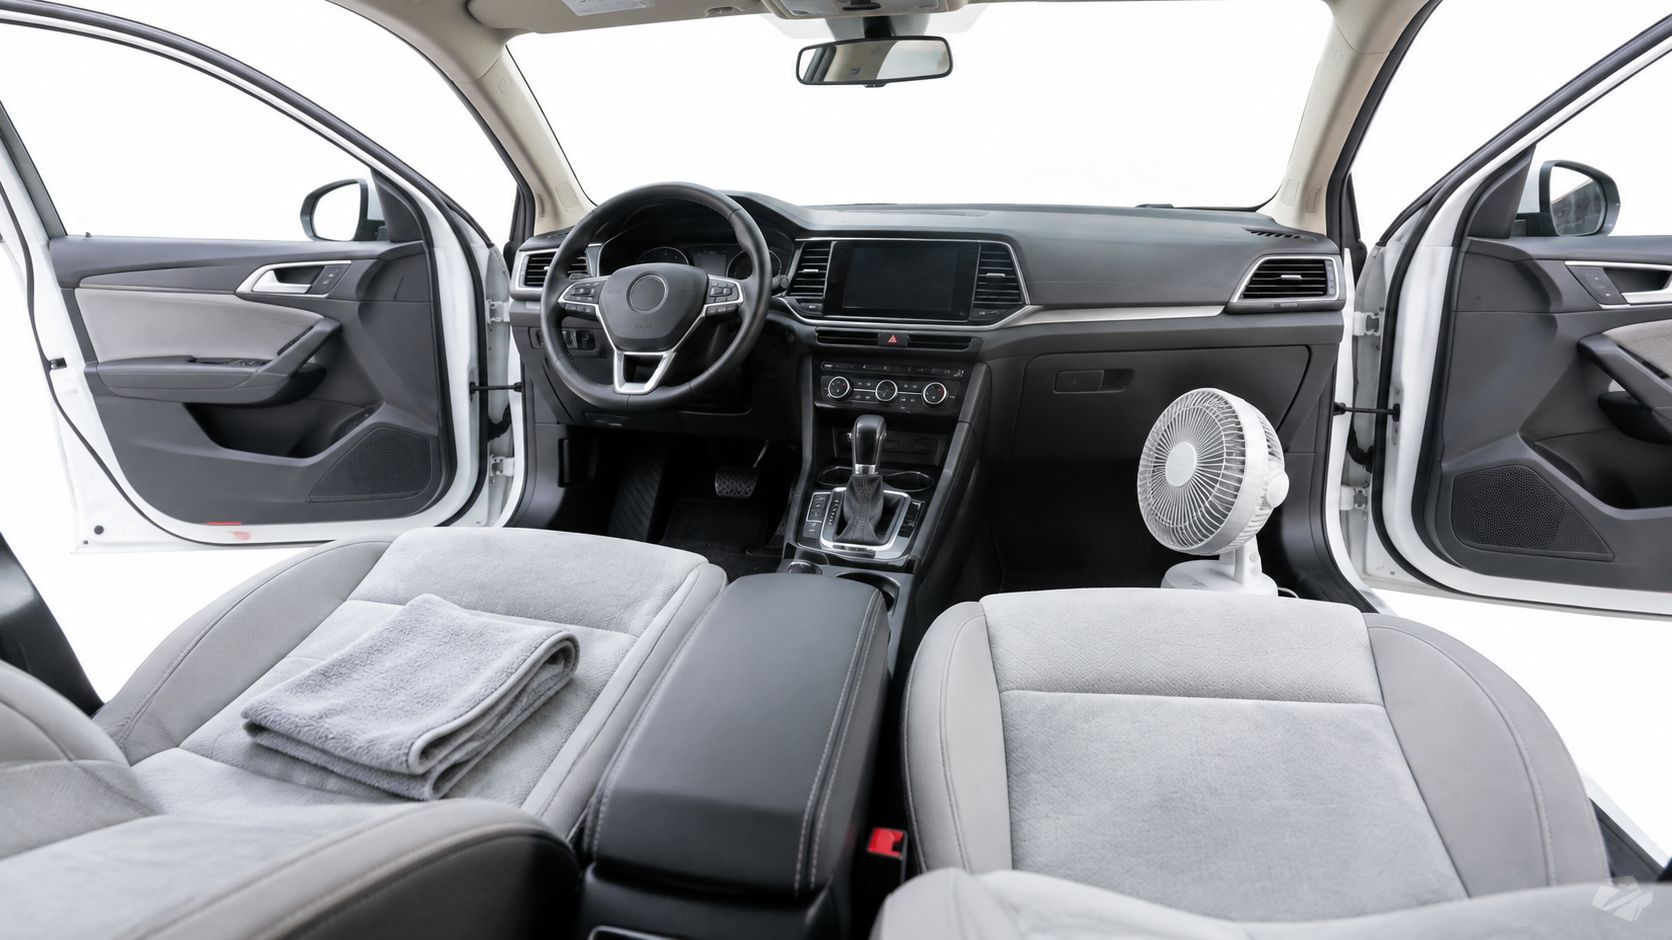
Press the cushions with dry towels immediately after cleaning. Open opposite doors or windows to create cross-ventilation, and position a fan so air moves through the cabin rather than blasting one wet spot. Don't close the vehicle just because the surface feels dry. Press the seat again, especially along seams and bolsters, and check whether the foam still feels cool or damp.
Cold, damp shoulder seasons and humid summer weather both slow evaporation. If you can't keep the car ventilated until the seats are properly dry, clean fewer sections or postpone the job. A smaller clean area that dries safely is better than a full interior left damp overnight.
Keep the next deep clean smaller
Vacuum regularly, especially after food, pet travel or wet-weather trips. Blot spills as soon as they happen, use removable mats to contain salt and mud, and spot-clean before residue spreads into seams. Light maintenance reduces the temptation to soak an entire interior later.
For winter, inspect the lower seat edges and carpet borders where salt accumulates. For summer, pay attention to odours that return after the cabin warms up. A recurring smell can signal contamination below the surface rather than a need for more fragrance.
If the seats hold moisture, the odour returns, pet hair is embedded throughout the fabric, or the vehicle needs carpet, seat and leather work at once, professional detailing can save time and reduce the risk of repeated overwetting. The winning routine is simple: vacuum dry, clean lightly, extract promptly, and keep air moving until the foam is dry.
Nanak Car Wash offers interior detailing with carpet and seat shampooing, salt and stain removal, vent and crevice cleaning, plus leather and vinyl care for GTA vehicles. If your winter-beaten seats need more controlled extraction and drying than a hand job at home allows, book an appointment or visit Nanak Car Wash for an interior service that matches the condition of your vehicle.


 6600 Finch Ave W, Etobicoke, ON M9V 3Z6
 647-703-8515
 MON – SUN 8 AM to 7 PM