
You're probably staring at a driver's footwell right now, wondering why the carpet still smells a bit sour even after a vacuum. In the GTA, that's usually not “dirty carpet” in the simple sense, it's embedded salt, slush, coffee, and road film sitting in the fibres and padding. The fix isn't just to shampoo harder, it's to remove dry soil first, control moisture, and dry the backing fast enough that mildew never gets a chance.
Table of Contents
- Why Car Carpet Gets Dirtier Than You Think
- Pre-Shampoo Prep That Protects Your Padding
- Hand Brush vs Extractor for Car Carpet
- The Shampooing and Extraction Sequence
- Drying Car Carpet Without Mildew
- Shampoo vs Low-Moisture Cleaning in Ontario
- Keeping Your Car Carpet Fresh Between Deep Cleans
Why Car Carpet Gets Dirtier Than You Think
A winter commute in Toronto can do more damage to a footwell than a whole month of casual use. Salt-crusted boots, a spilled coffee, and a toddler's juice box all land in the same place, then get pressed deeper every time someone steps in and out. That's why car carpet behaves differently from household carpet, especially over foam padding and along the pedal area where grime gets worked in rather than sitting on top.
The problem is embedded contamination, not loose dust. A quick vacuum can pull up crumbs and lint, but it won't reach the soil that's welded into the pile by moisture and foot traffic. In Ontario, that matters even more because winter slush brings salt into the fibres, then the cabin dries and re-wets that residue over and over.
Practical rule: if the carpet still feels gritty after vacuuming, shampoo alone won't fix it. You need dry removal first, or you'll just turn dirt into muddy liquid and push it deeper.
That's why a lot of GTA drivers who want in-garage convenience end up looking at services like AVOTTO Mobile in-garage interior care. The point isn't the brand name, it's the method, because interior care only works when the cleaning sequence respects what's already trapped in the pile.
Pre-Shampoo Prep That Protects Your Padding
Start by pulling the mats out and knocking loose grit off them before anything wet touches the cabin. Then vacuum the carpet with a crevice tool, especially along seat rails, pedal brackets, and the edge where the factory trim hides caked soil. Those are the places where a normal pass misses the stuff that later turns into brown rinse water.
Dry removal comes first
Hit the carpet twice. Use a brush attachment first to lift the fibres, then go back with the hose to pull out what surfaced. That second pass matters because the first one loosens bonded grit, and the second one removes it before water can lock it into the backing.
Visible stains should get pre-treated before shampooing. A dedicated automotive upholstery cleaner or a mild all-purpose cleaner works fine, as long as you work it in with a soft brush and give it a short dwell time so the chemistry can break the bond instead of forcing you to scrub harder. Wipe the area with a microfiber cloth before any water goes down.
Pulling out dry soil first keeps the padding from soaking up dirty liquid. That matters most after a January slush run, when salt is already sitting in the fibres and waiting to wick back up.
The sequence is simple. Mats out, loose grit knocked off, vacuum, pre-treat, wipe, then shampoo. Skip the dry work and the carpet turns into a sponge of dirty water.
Hand Brush vs Extractor for Car Carpet
A first-time detailer usually chooses between two realistic setups. One is a bucket, a stiff brush, and a wet-dry shop vac. The other is a carpet extractor with an upholstery wand, either rented or owned. Both can work, but they behave very differently once the carpet is wet.
| Factor | Hand Brush + Shop Vac | Hot-Water Extractor |
|---|---|---|
| Upfront cost | Lower | Higher |
| Control on a stubborn spot | Strong | Strong, but more machine-driven |
| Moisture left behind | More likely if you stop too early | Lower when used correctly |
| Effort level | More arm fatigue | Less manual scrubbing |
| Best use | Small spills, condo parking jobs | Salt-season footwells, full interiors |
The hand-brush route is cheap and easy to manage in a tight parking spot. It's also the more forgiving option if you're working around a single spill and want to control the agitation by feel. The catch is simple, the dirty water stays in the pad unless you follow with serious extraction.
The extractor route costs more, but it pushes shampoo into the pile and pulls it back out in the same cycle. That's why shops lean on it for winter work, where salty residue and damp padding are a bad mix. A shop vac can help, but it won't behave like a true extractor wand on heavily loaded carpet.
For a clean that has to dry quickly, the extractor wins. For a light stain in a cramped garage, the brush-plus-vac setup can be enough if you're disciplined about drying and don't over-wet the backing.
The Shampooing and Extraction Sequence
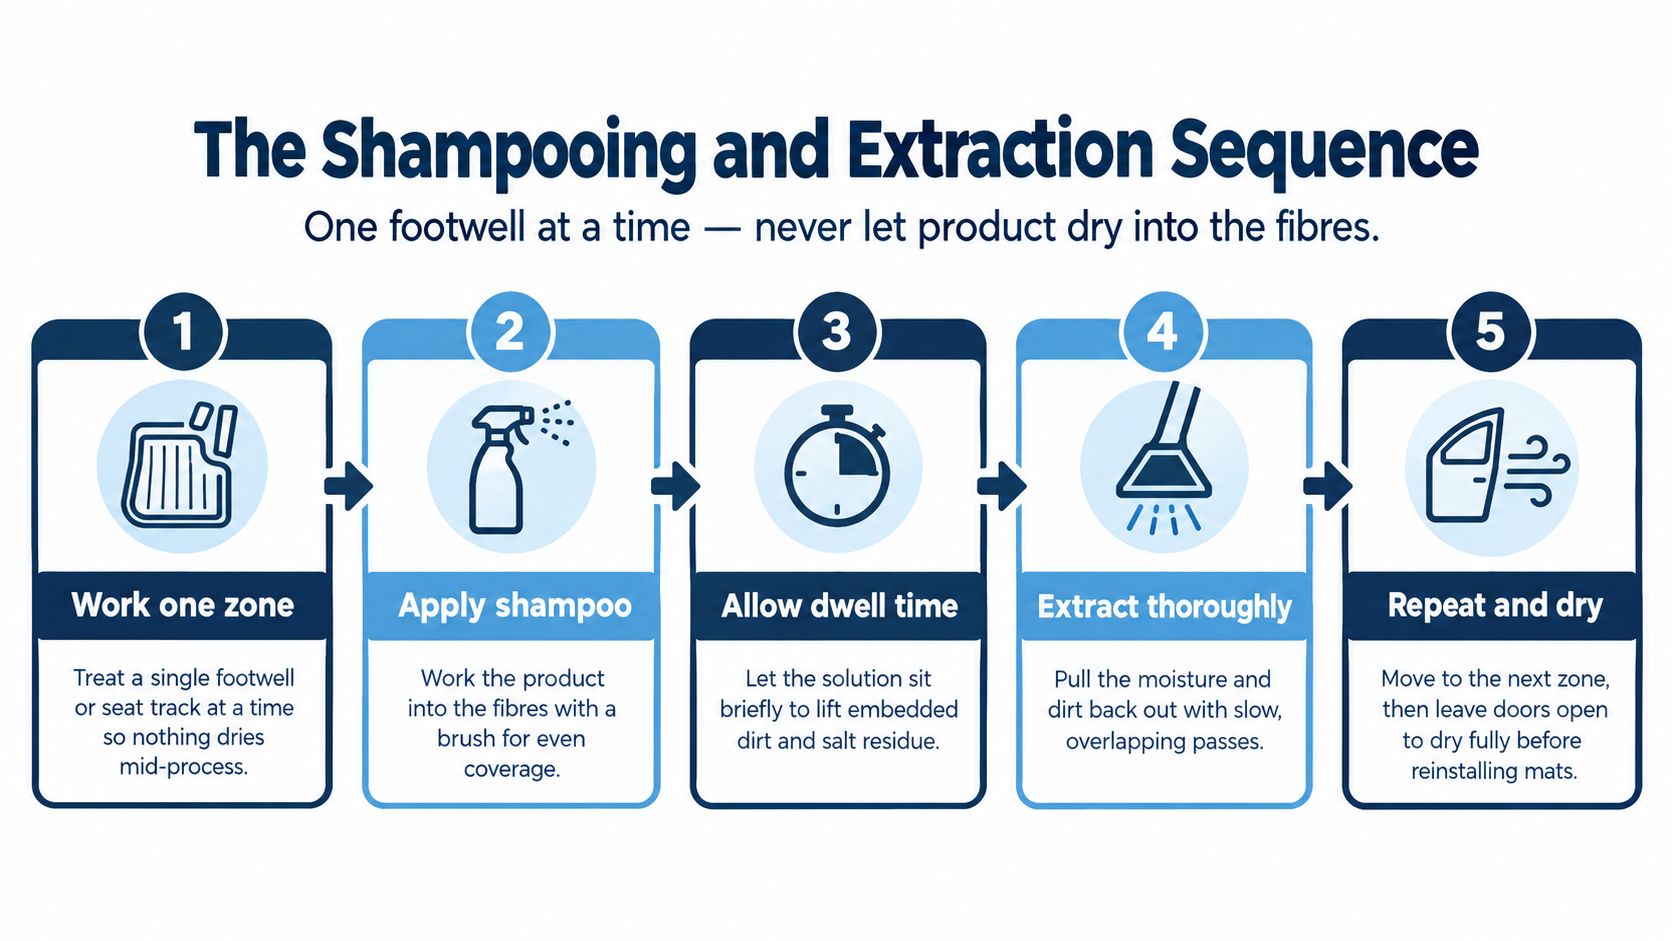
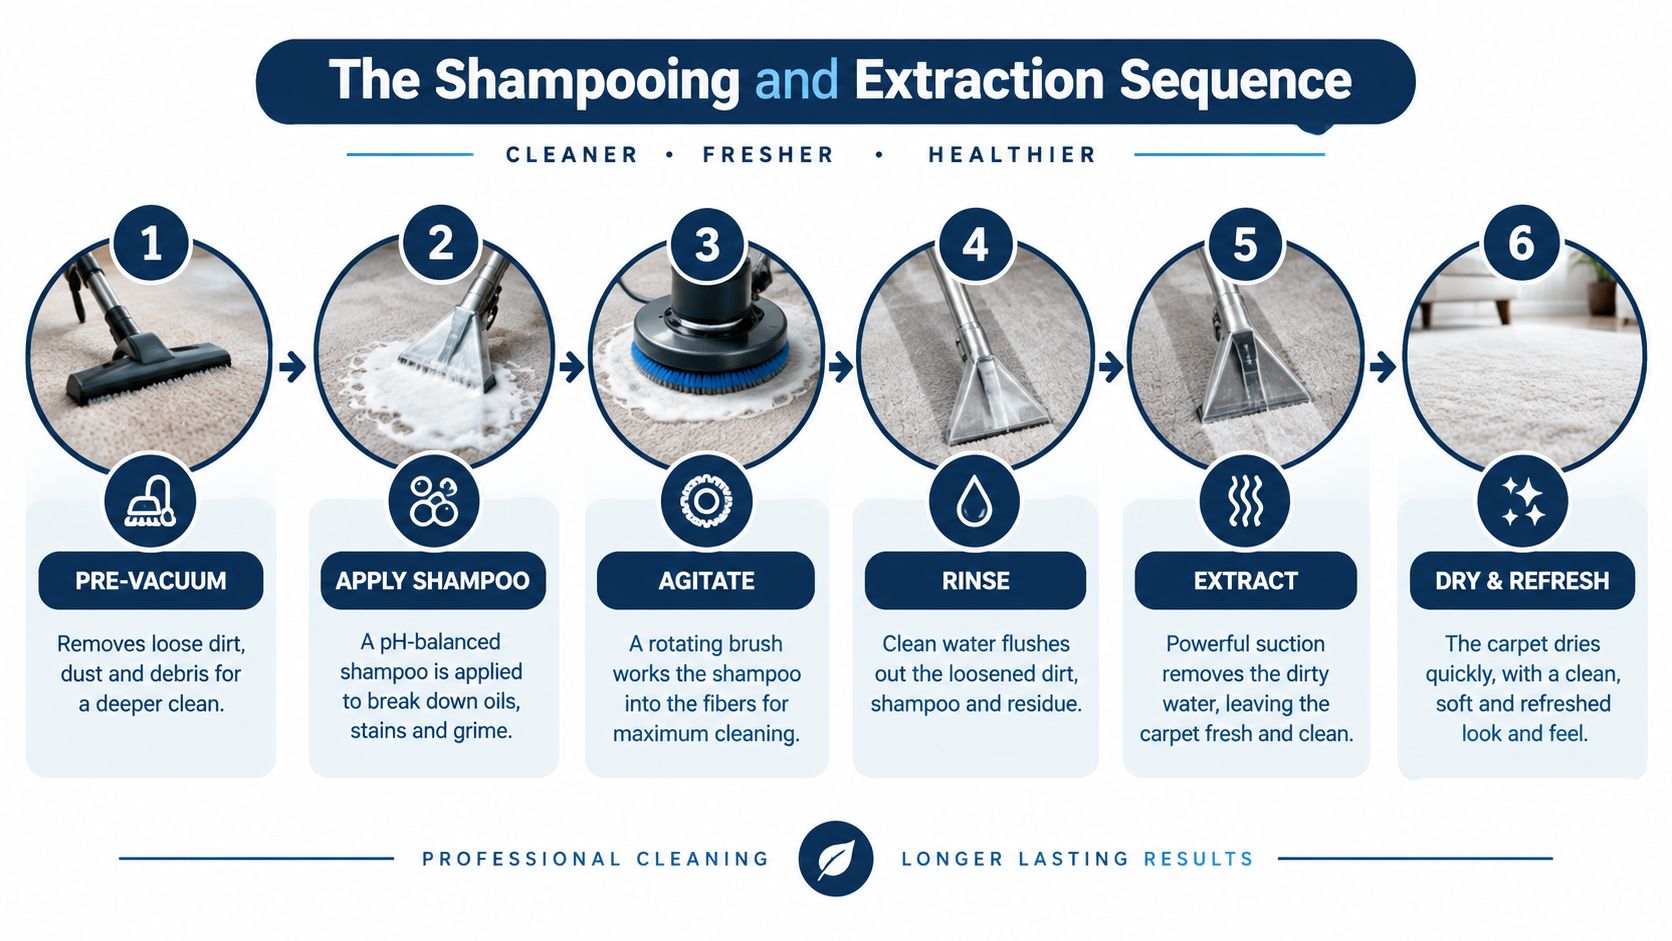
Work one footwell at a time so the product doesn't dry before you can extract it. That's the part many rush, then they wonder why the carpet looks clean for a day and dull again by the next morning. Controlled dwell time and clean extraction matter more than aggressive scrubbing.
Work, lift, extract
Apply the shampoo in a thin, even layer and brush it through the fibres. For enzymatic cleaners, a short dwell works well, while heavier degreasers need a bit more time to break down the film. The goal is to let the product loosen the grime, not sit there until it dries into the pile.
Blot, don't rub. Rubbing twists the loops and spreads soil around, while blotting with a microfiber cloth lifts contamination back to the surface where the extractor can grab it. On the driver side, do an extra dry pass because salt settles deeper there and usually leaves the worst residue.
Lionheart Detailing's interior shampooing guide is worth a look if you want another take on the professional sequence. The useful part is not the product hype, it's the reminder that extraction has to follow the chemistry before residue has a chance to reset in the fibres.
Rinse chemistry cleanly
After the main extraction, do a second pass with plain water or a pH-neutral rinse if the cleaner calls for it. That step matters because leftover surfactant can attract new dirt faster than the original soil did. Slow, overlapping strokes work better than fast ones, and the overlap keeps you from leaving stripes of wet and dry carpet side by side.
Clean carpet isn't just about appearance. If the residue stays behind, the footwell gets dirty again quicker and the odour comes back sooner.
Drying Car Carpet Without Mildew
A real drying setup looks a bit messy because it has to. Two box fans pointed into the footwells, one window cracked slightly, and the car parked where air can move around it usually does more than a hot cabin with no circulation. If you're in a cold March garage, resist the urge to blast the heater and walk away.
Cranking cabin heat feels sensible, but it often just warms humid air and leaves the moisture in the padding. When the car cools again, that moisture drops back down into the carpet backing, which is exactly where mildew starts to become a problem. A blower, an extractor vacuum pass, and microfiber blotting beat heat alone almost every time.
Watch the hidden traps
Seatbelt anchors, door sills, and the area under the seat rails are the sneaky spots. They can hold dampness even when the top of the carpet feels mostly dry. If the backing still feels cool to the touch, it isn't done.
A good drying routine is simple. Extract, blot, force air across the surface, and keep the doors or windows open enough for the humid air to leave the cabin. In a well-ventilated garage, that often means the carpet is serviceable in the same day, while a closed-up car usually needs a lot longer.
Smell matters too. If the carpet starts to develop a sour note, stop calling it “dry enough.” That smell usually means the backing or padding still has moisture in it, and that's when mildew becomes a real risk.
Shampoo vs Low-Moisture Cleaning in Ontario
Wet shampoo has a real job in Ontario. It handles heavy spring salt crust, ground-in winter grime, and the kind of dirty footwell that's been through one too many slush weeks. The trade-off is drying time, and if the car sits in a cold garage overnight, the moisture risk becomes part of the job, not an afterthought.
Low-moisture encapsulation and dry-foam methods take a different lane. They dry faster, work well for maintenance cleans, and leave less standing moisture in the backing. They're useful when the car gets weekly winter touch-ups, but they won't rescue a coffee stain that's already wicked deep into the carpet structure.
| Factor | Traditional Wet Shampoo | Low-Moisture Encapsulation |
|---|---|---|
| Best for | Heavy winter contamination | Regular maintenance cleans |
| Drying burden | Higher | Lower |
| Salt load handling | Strong | Moderate |
| Risk if overused | More moisture in backing | Less moisture, but less deep correction |
| Equipment need | Extractor or strong wet-vac setup | Foam or encapsulation products |
The sensible hybrid is straightforward. Use low-moisture cleaning for upkeep, then do a full shampoo after winter road salt season settles down. That way you're not soaking the carpet every time, but you're still giving the fibres and padding a proper reset when they've had enough.
Keeping Your Car Carpet Fresh Between Deep Cleans
The clean lasts longer when the habits around it change. Weekly vacuuming with a stiff-bristle brush attachment keeps salt from bonding to the fibres, and rubber floor mats over carpet during wet months catch the worst of the slush before it settles in. Fresh spills should get blotted within minutes, not after the stain has already had time to wick down.
For small spills, use a damp microfiber and a neutral pH cleaner rather than reaching straight for another round of shampoo. That keeps the fix local instead of flooding the whole footwell again. If the cabin picks up a stale, damp smell, activated charcoal sachets or baking soda left overnight can help pull some of that odour out of the air.
A simple habit list that actually gets used
- Vacuum weekly: use a brush attachment first so the fibres lift before the hose pass.
- Swap to rubber mats in wet months: they're easier to rinse and stop slush from grinding in.
- Blot spills fast: ten minutes is a much better window than “later tonight.”
- Keep a neutral cleaner in the glove box: a small bottle is easier to use than a full shampoo setup.
- Check for sour odour after drying: smell catches trapped moisture before you can see it.
For GTA commuters, a quick vacuum every week, spot cleaning as needed, and a full shampoo every few months keeps the carpet from turning into a winter project. Garaged cars can stretch longer, but the rule stays the same, the less dirty water you leave behind, the longer the cabin stays fresh.
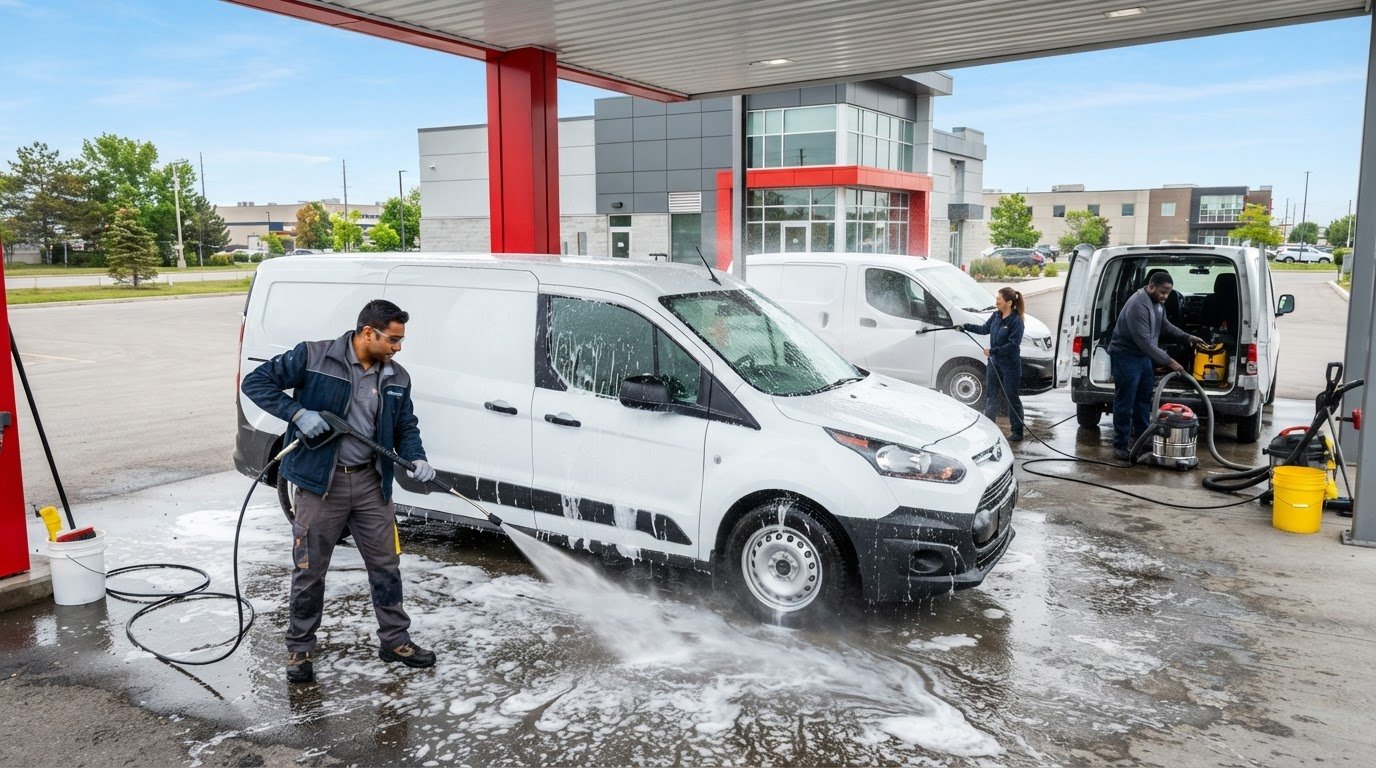
If your footwells need more than a quick vacuum and you want the work done with proper extraction and drying, Nanak Car Wash handles interior shampooing, salt removal, and full detailing across the GTA. Visit Nanak Car Wash to book a service that matches the condition of your carpet, not just the calendar.


 6600 Finch Ave W, Etobicoke, ON M9V 3Z6
 647-703-8515
 MON – SUN 8 AM to 7 PM