
You notice it when the morning light hits the seat at the right angle. A pale ring surrounds yesterday's coffee spill, white crystals cling to the bolster, and a few grains of road grit have worked their way into the seam. The car may look acceptable from the driver's seat, but the upholstery is storing the history of every commute, snack, wet boot, pet, and forgotten spill.
Detailing car seats isn't just a cosmetic exercise. In Ontario, salt and slush create a specialised cleaning problem, and the wrong amount of water can turn a manageable stain into a damp, sour-smelling seat. The aim is to remove contamination without driving it deeper into the foam.
Table of Contents
- The Hidden Reality of Your Daily Commute
- Building Your Interior Detailing Toolkit
- Restoring Cloth Seats and Neutralizing Winter Salt
- Cleaning and Conditioning Leather and Vinyl Surfaces
- Tackling Stubborn Stains and Lingering Odours
- Knowing When to Hire a Professional Detailer
The Hidden Reality of Your Daily Commute
A seat can look clean until you slide it forward. In the fold between the cushion and backrest, coffee sediment, crumbs, pet hair, denim dye, and road grit combine with moisture into a grey paste. The outer bolster collects skin oils and jacket fibres from repeated entry and exit. The lower edge receives whatever boots carry through wet parking lots.
Canadian drivers spend an average of five hours per week in their vehicles, according to a Canadian Tire survey of 1,003 Canadian adults who drive. The survey also found that 84% eat or drink in their vehicles, while 73% clean their interiors less than once every few months. A seat can therefore accumulate contamination gradually, without one obvious spill or accident.
A practical observation: The visible stain is usually smaller than the affected area. Clean the surrounding weave, seams, and seat edge rather than treating only the mark.
Why GTA seats develop a different kind of dirt
Ontario winter introduces mineral residue that ordinary commuter grime does not. Provincial road maintenance has used roughly 1.5 to 3 million tonnes of road salt each winter, and municipalities reported 2,218,609 tonnes in 2019, according to this Ontario-focused explanation of salt and upholstery cleaning.
Salt enters the cabin as dry crystals, wet brine, and slush. A boot contacts the seat edge, moisture evaporates, and minerals remain as a pale crust. Spray cleaner onto that residue too early and you create a muddy solution that can migrate farther through the fabric.
Moisture control determines whether the job stays clean. Vacuum loose crystals first, apply only enough solution to suspend the residue, then extract before it can settle into the backing or foam. Keep doors open when conditions allow, use airflow across the seat, and avoid returning the vehicle to service while the cushion still feels cool or damp. A dry surface can hide wet foam, where salt can wick back upward and persistent moisture can support mould growth.
Coffee and food leave organic residue that responds to suitable detergents. Salt requires dilution and removal, not aggressive scrubbing. Standard vacuuming lifts loose grit, but it cannot remove dissolved minerals from the textile or foam.
Neglect creates more than an ugly mark
A spill in a seam can remain tacky and attract fresh soil. Repeated scrubbing roughens fibres, while repeated soaking slows drying and drives contamination deeper. Odours may return after the surface appears clean because the source remains beneath the fabric.
A car seat is a layered filter. Loose debris sits on top, dissolved salt and drink residue occupy the weave, and absorbed moisture can reach the backing or foam. Detail each layer in sequence. If the seat foam has taken on brine, sour odour, or substantial liquid, a professional extractor may be needed to remove the moisture without flooding the cushion further.
Building Your Interior Detailing Toolkit
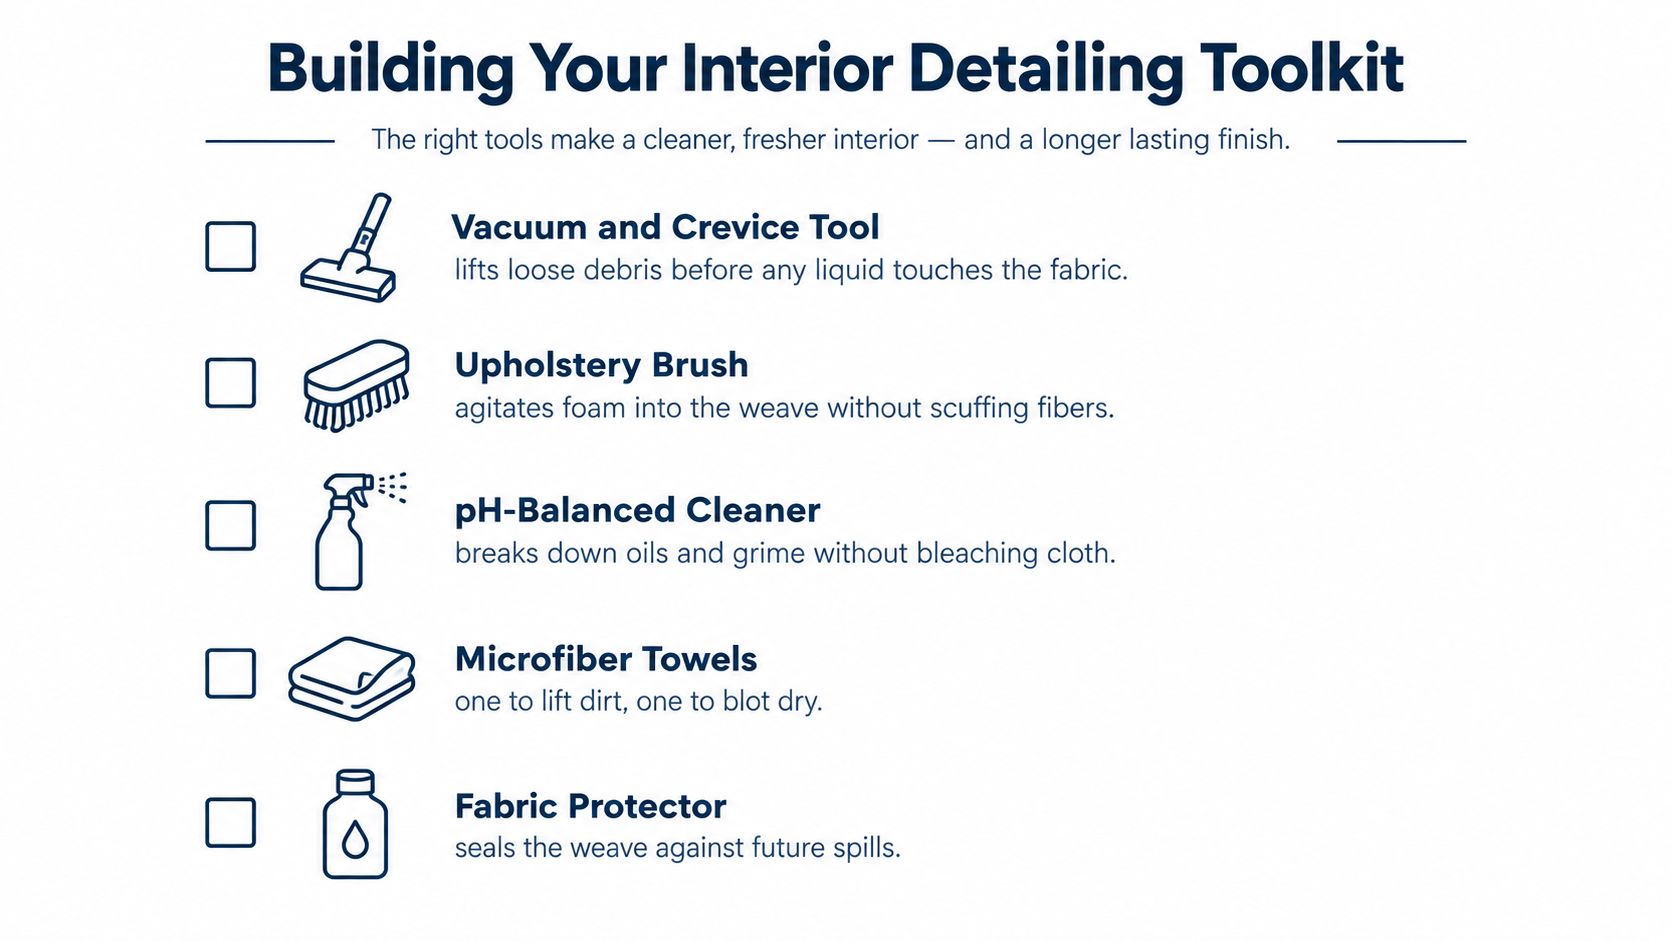
Before reaching for a spray bottle, identify the material and prepare the dry tools. A useful kit doesn't need to be elaborate, but every item should have a defined job. Household all-purpose cleaner is a poor shortcut because a strong formula may leave cloth bleached or stiff, and it can strip the finish from coated automotive leather.
Start with dry removal
Use a vacuum with a narrow crevice nozzle and an upholstery attachment. Work slowly across seams, stitching, seat rails, and the gap beneath the cushion. A soft-bristle brush can loosen grit from textured cloth while the vacuum captures it.
Add several light-coloured microfiber towels. One should be reserved for lifting soiled solution, another for blotting, and a clean towel for final drying. Dark towels can transfer dye to pale upholstery, especially when damp.
A wet-dry vacuum or dedicated extractor becomes valuable when the fabric has absorbed drink residue or winter brine. The machine should remove solution as quickly as you apply it. A household vacuum that isn't designed for liquid must never be used for extraction.
Match chemistry to contamination
Use a pH-balanced upholstery cleaner for general cloth grime. Organic marks, such as food oils and body soil, usually need a cleaner that can break down those residues without aggressive bleaching. Apply it sparingly, and follow the product's label rather than increasing concentration because a stain looks stubborn.
Mineral deposits require a different approach. A white-vinegar-and-water mixture can help loosen salt deposits when used in controlled amounts, but it isn't a universal seat cleaner. It should be followed by extraction, not left to dry in the textile.
For leather, choose a dedicated pH-neutral leather cleaner and a soft horsehair or leather brush. Vinyl can usually tolerate mild soap and water or a purpose-made vinyl cleaner, but greasy dressings create a slippery, shiny surface that attracts dust.
Keep protection separate from cleaning
Fabric protector belongs after the seat is clean and completely dry. Leather conditioner also comes later, after the surface has been cleaned and wiped dry. Combining cleaner, conditioner, fragrance, and dressing in one wet session makes it difficult to tell which product caused streaking or residue.
The rule that prevents most DIY damage: Remove dry contamination first, use the mildest suitable chemistry, and introduce only enough moisture for the extractor to recover.
Test every product on a hidden area. Check for colour transfer, gloss change, roughness, and sticky residue before treating the visible cushion. The few minutes spent testing are cheaper than replacing a damaged panel.
Restoring Cloth Seats and Neutralizing Winter Salt
Ontario winter salt rarely stays on the floor. Slush transfers onto seat edges, lower bolsters, and the area where wet clothing touches the cushion. Clean those zones with a low-moisture process, because flooding the foam can turn a visible mark into a drying and mould problem.
Use a controlled sequence
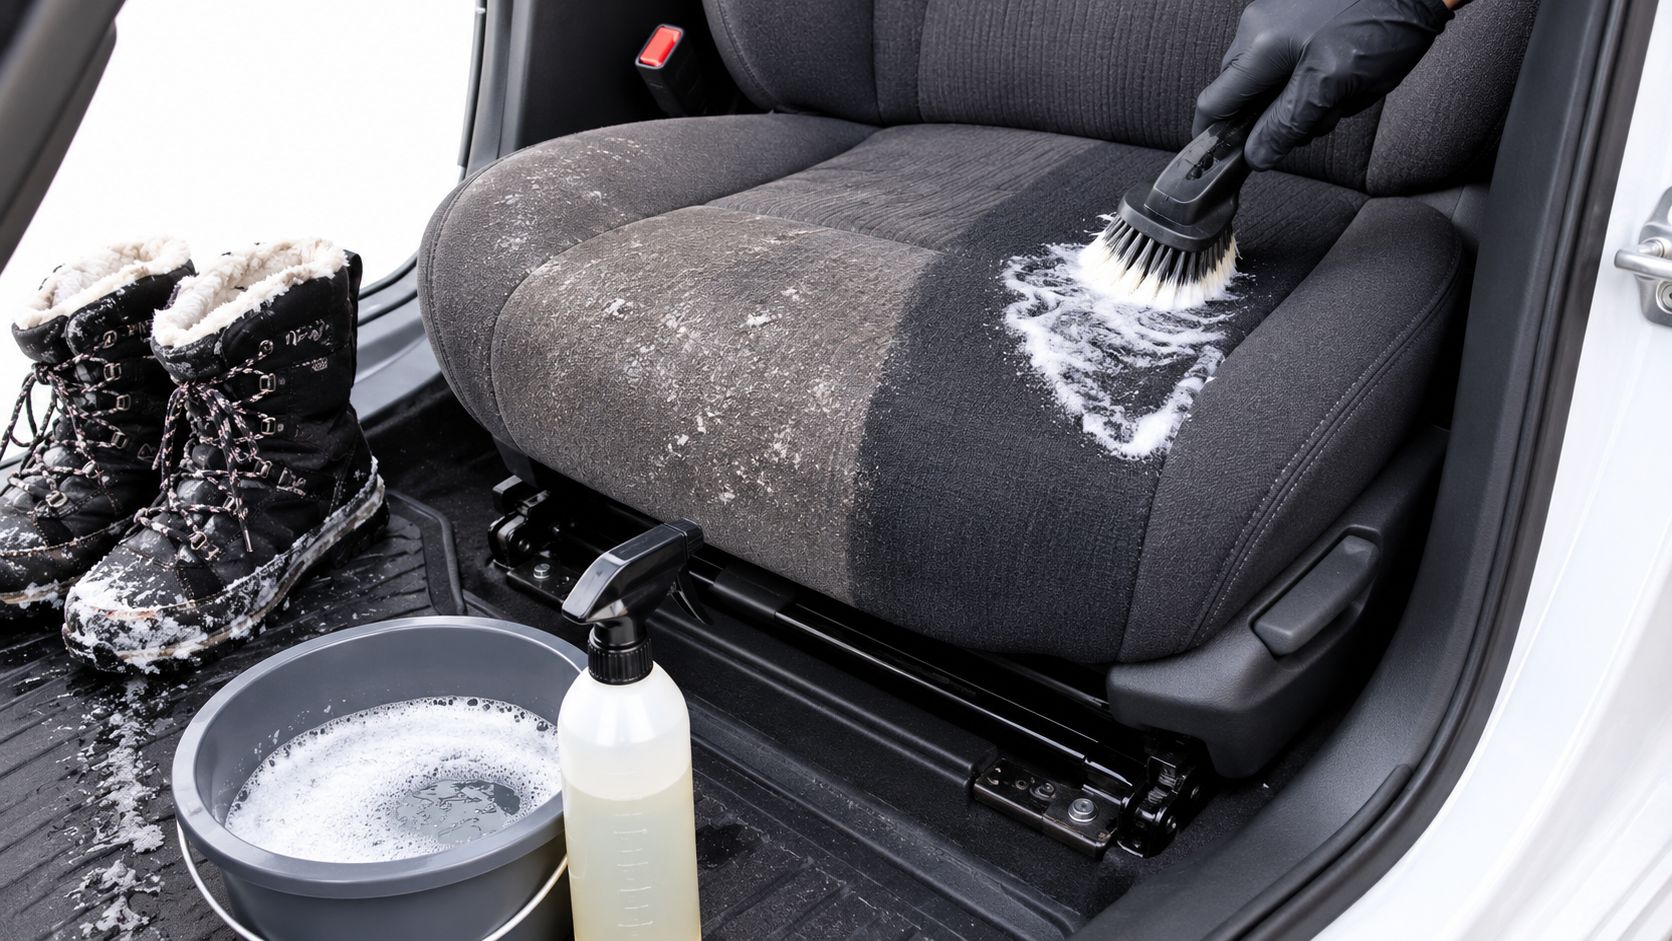
Vacuum the seat while it's dry. Follow seams, piping, bolsters, and the front edge with the nozzle. Loosen embedded salt crystals with a light brushing, then vacuum again. Spraying first makes salt, sand, and crumbs into a paste and drives them deeper into the weave.
Test the fabric. Apply a small amount of the intended solution in a hidden area. Stop if colour changes or transfers to the towel.
Pre-treat salt deposits. Mix white vinegar and water at a 1:1 ratio, mist the affected area lightly, and allow a 3–5 minute dwell time, following the salt-removal workflow described for vehicle upholstery. Dampening the surface is enough. Saturating the cushion sends moisture into the foam.
Agitate gently. Use a soft upholstery brush with short strokes. Let the dwell time loosen the mineral residue, then lift it from the weave instead of scrubbing aggressively.
Extract in controlled passes. Use an upholstery extractor or liquid-rated wet-dry machine. Apply a small amount of solution, make one slow extraction pass, and follow with suction-only passes. Check the fabric and cushion by touch as you work.
Force-dry the seat. Open doors or windows and direct fans across the cushion. Aim airflow at seams and the gap between the backrest and base, where trapped moisture dries slowly.
Damp is useful, saturated is dangerous
Moisture control determines whether the job stays clean. Excess water can move mineral residue into the backing, where it dries as a pale ring and later returns to the surface as a rebound stain. A seat that feels dry on top may still hold water below the fabric.
Keep extraction focused on recovery, not repeated soaking. If the cushion remains cool, damp, or sour-smelling after the final pass, stop applying product and increase airflow. Hidden moisture in seat foam can support mould growth, particularly when the vehicle is closed overnight.
Avoid directing hot water or steam at salt deposits. Heat and excess liquid can spread contamination and lengthen drying time. If you cannot recover the moisture with available equipment, a professional extractor is safer than adding more cleaner.
Treat the seat edges, floor-to-seat transfer zones, and lower trim together. Wet boots can carry remaining salt back onto a freshly cleaned cushion, undoing the work before the next drive.
Cleaning and Conditioning Leather and Vinyl Surfaces
Leather and vinyl can look almost identical until the wrong cleaner leaves one dull and the other greasy. Automotive leather is often coated, so the surface you touch isn't necessarily raw hide. Vinyl is synthetic and non-porous, which makes it more forgiving but also more likely to show streaks and dressing residue.
Identify the surface before cleaning
Check the vehicle manual or upholstery specification first. If you're still unsure, perform a cautious water-drop test on a hidden location. A drop that beads and remains on the surface suggests a coated or synthetic material, while absorption can indicate a more porous surface. The test is only an indication, not a substitute for the manufacturer's care instructions.
| Surface | Safer approach | Main risk |
|---|---|---|
| Automotive leather | pH-neutral leather cleaner, soft brush, light conditioner | Stripping the finish or leaving the surface dry |
| Vinyl | Mild soap and water or dedicated vinyl cleaner | Greasy dressing, streaking, and dust attraction |
Leather needs restraint
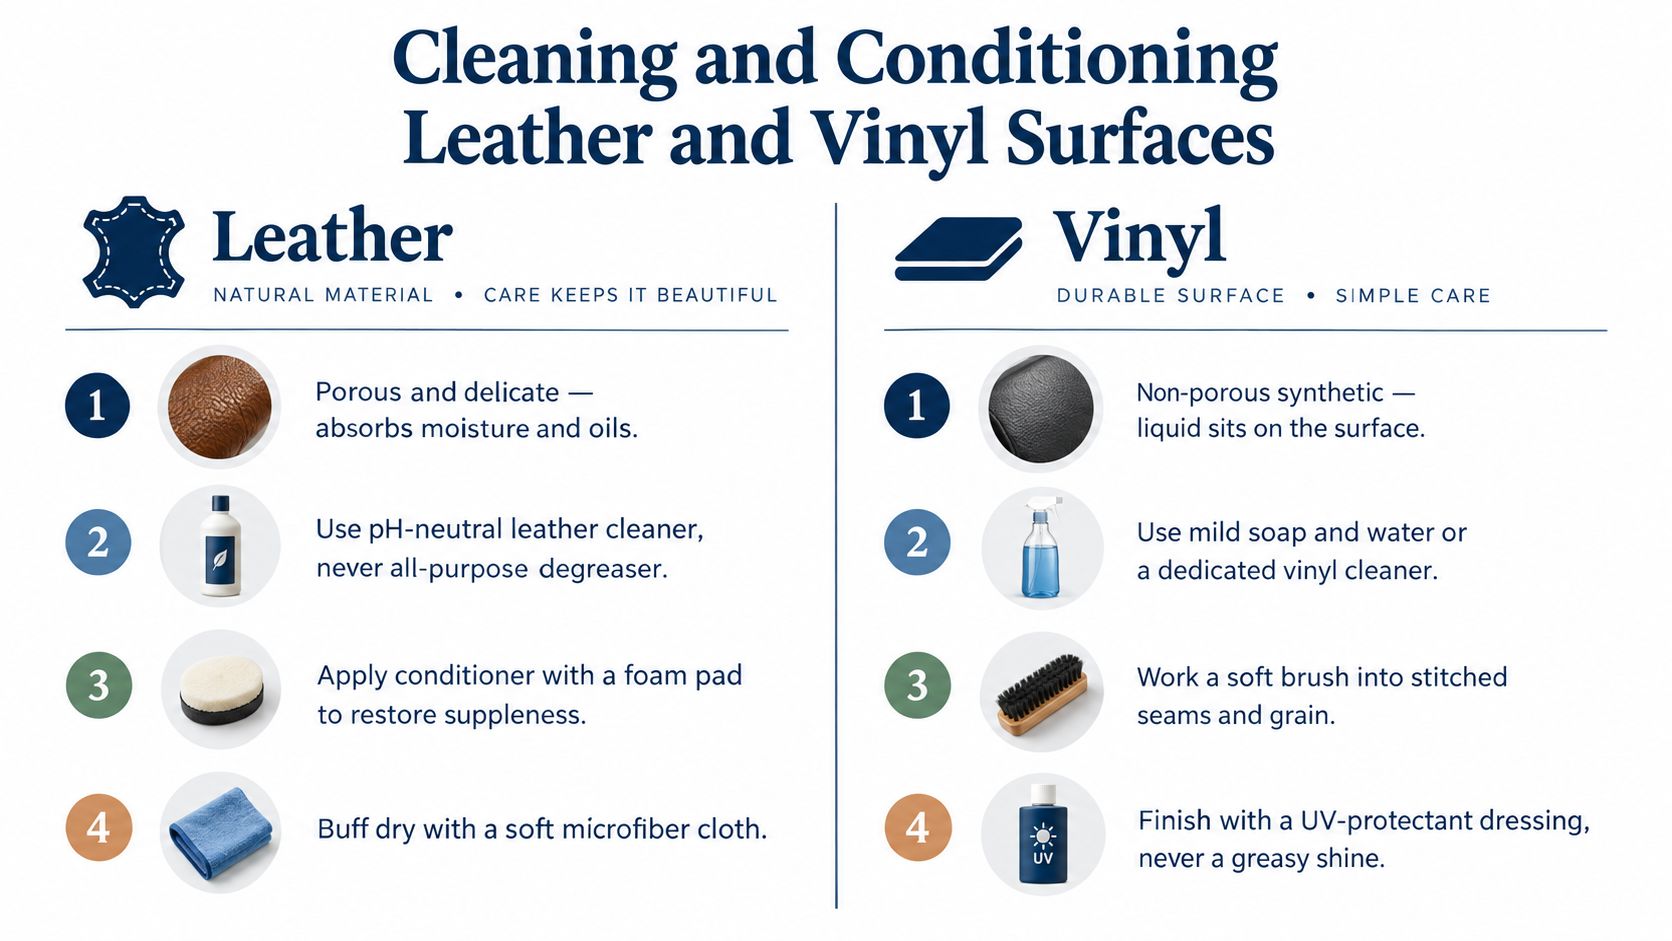
Vacuum seams first, then place a small amount of leather cleaner on a towel or brush rather than soaking the seat. Work a small section at a time, using a soft horsehair brush to reach the grain and stitching. Wipe the lifted soil away with a clean microfiber towel before it dries.
Leather conditioner belongs on a clean, dry surface. Apply a thin layer with a foam applicator, let it settle according to the product directions, and buff away excess. A breathable conditioner can help maintain suppleness, but more product isn't better. Heavy residue makes the seat slick and gives dust an oily surface to cling to.
Avoid household degreasers, abrasive sponges, and glossy interior dressings. They can change the factory appearance and make a previously matte seat look artificially shiny.
Vinyl tolerates more, but don't abuse it
Use mild soap and water or a dedicated vinyl cleaner. Work the brush into stitched seams and textured grain, then wipe the solution away immediately. Vinyl doesn't absorb liquid like cloth, but moisture can still enter through stitching, perforations, and seat joins.
Finish with a restrained UV-protectant product if the label approves it for seating surfaces. Choose a dry-to-the-touch finish rather than a greasy shine. A slippery driver's seat is a safety concern, and a shiny coating can make future dust more visible.
Tackling Stubborn Stains and Lingering Odours
A stubborn stain is a diagnosis problem, not a scrubbing competition. Coffee contains both water-soluble colour and oily residues from milk or cream. Grease from hands, food, or clothing behaves differently again. Spilled milk and pet accidents add organic material that can continue producing odour after the visible mark has faded.
Give chemistry time to work
Blot fresh liquid with a clean towel. Press down and lift, rather than rubbing outward and enlarging the wet zone. For an older organic stain, select an upholstery-safe cleaner suited to the material and allow the label-specified dwell time before gentle agitation.
Enzymatic cleaners can be useful for protein-based contamination because they target organic residue rather than just covering the smell. Use them cautiously on a test area, keep the application controlled, and extract the treated section after the dwell period. Don't combine an enzyme product with a disinfectant or strong oxidizer unless the labels specifically permit it, because you may neutralize the chemistry before it has done its job.
Brute force is usually a downgrade: A soft brush, correct dwell time, and extraction will outperform aggressive scrubbing that frays the fabric.
Steam can refresh fabric when used in short bursts and followed immediately by wiping, but it isn't a universal stain remover. Keep the nozzle moving, avoid holding heat over one spot, and don't direct steam into leather. Heat can loosen residue while the towel removes it, but steam without recovery merely relocates moisture.
Find the odour source
Freshener sprays are useful only after the contamination has been removed. Otherwise, you get perfume over sour milk, wet dog, or old brine. Inspect the areas people skip:
- Seat tracks: Hair, crumbs, and damp grit collect around the rails.
- Backrest gap: This narrow channel receives spills and is difficult to reach with a broad nozzle.
- Under-seat carpet: Odour can remain below the cushion even when the seat surface looks clean.
- Stitching and perforations: These openings can hold residue and release odour when the cabin warms.
- Child-seat contact zones: Compression can trap slush, crumbs, and moisture against the upholstery.
Clean in small sections and compare the treated area with an untouched section. If the odour returns after drying, the source is probably deeper than the surface. Repeatedly adding fragrance or cleaner will only increase the moisture load.
A professional extractor becomes sensible when liquid has reached the foam, when pet urine has spread beyond one seat, or when you can't dry the interior promptly. The objective isn't to make the car smell strongly of cleaner. It's to remove the material producing the smell.
Knowing When to Hire a Professional Detailer
DIY detailing car seats works well for loose dirt, fresh spills, and limited salt marks when you can control moisture and drying. It becomes a poor bargain when the seat needs repeated soaking, the foam has absorbed contamination, or the material is unusually delicate.
Professional extraction equipment can apply measured solution and recover it through staged passes. That matters because the quality benchmark isn't how much foam appears on the seat. It's whether the detailer neutralizes the contamination, removes the dirty solution, and dries the assembly completely.
Use the condition of the seat as your decision test
Book professional help when you see any of the following:
- Deep odour: Pet urine, spilled milk, or damp smells return after the surface dries.
- Persistent rebound staining: White salt rings reappear after cleaning because residue remains below the fabric.
- Heavy embedded soil: The seat is dark in seams, piping, and foam-facing edges despite careful vacuuming.
- Mould concerns: The cushion has stayed wet, smells musty, or shows visible growth.
- Delicate materials: Alcantara, perforated leather, or unusual trim can spot or distort with excess liquid.
- High-use interiors: Ride-share, delivery, fleet, and child-seat vehicles need consistent contamination control rather than occasional masking.
Canadian pricing provides a useful planning benchmark. A basic interior detail commonly costs C$150–C$250, while heavy-soil restoration is often C$300–C$500 or more, according to Canadian interior detailing pricing guidance. A standalone deep carpet or seat shampoo with hot-water extraction is often quoted at roughly C$80–C$180, depending on vehicle size, from the same source.
DIY versus professional seat detailing
| Factor | DIY approach | Professional detailing |
|---|---|---|
| Equipment | Household vacuum, brushes, towels, and possibly a rented extractor | Commercial extractor, purpose-made tools, and controlled recovery |
| Moisture control | Depends on operator technique and drying conditions | Staged extraction and deliberate drying process |
| Best suited to | Fresh spills, light soil, and isolated surface salt | Embedded contamination, odour, heavy salt, and foam involvement |
| Main trade-off | Lower direct cost, but more time and greater risk of over-wetting | Higher service cost, but less equipment investment and more predictable recovery |
| Stubborn contamination | May improve the surface without reaching the source | Better suited to deep extraction and repeated controlled passes |
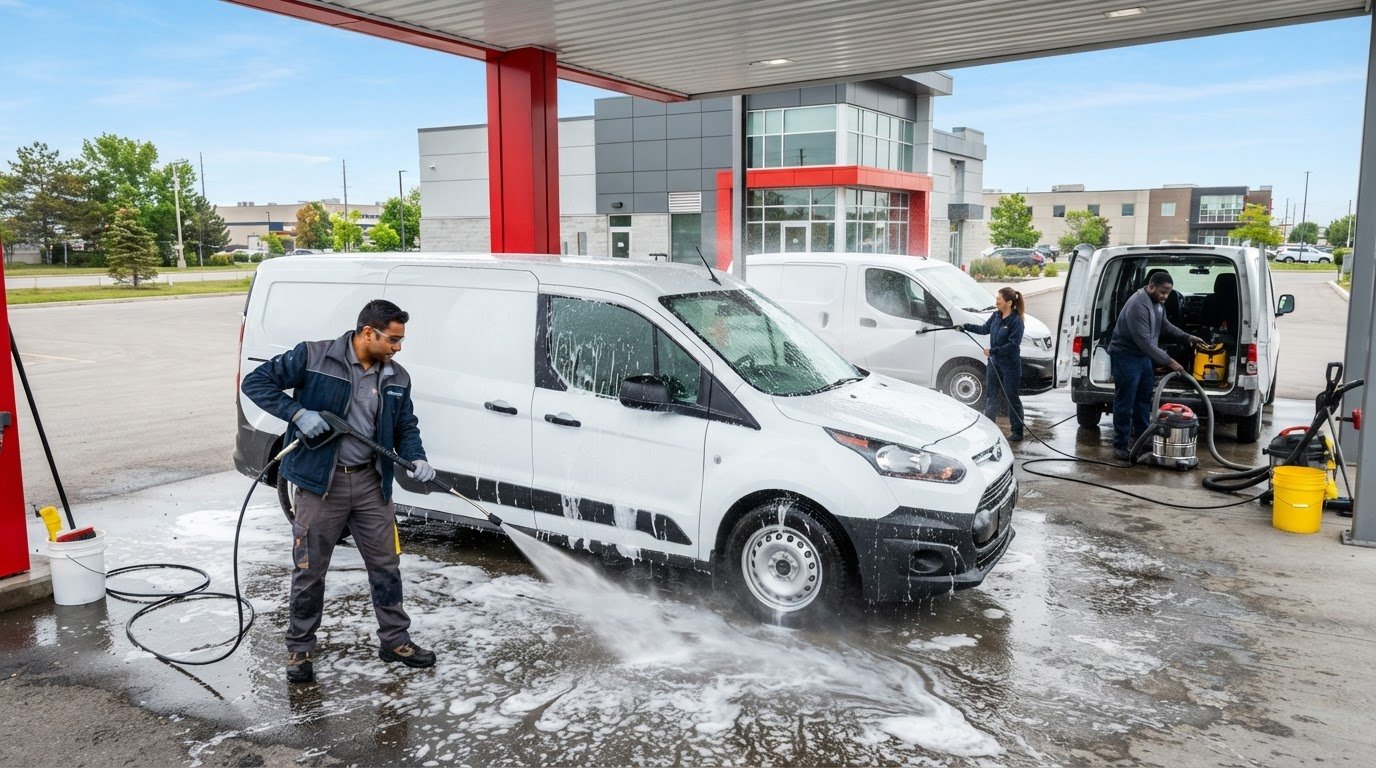
The stated restoration range can take most of a working day, particularly when the vehicle has heavy soil, pet hair, embedded salt, stains, and odours. Nanak Car Wash lists appointment-based interior and exterior detailing with carpet and seat shampooing, salt and stain removal, vent and crevice cleaning, and leather deep cleaning. If you're also responsible for dealership inventory, the separate issue of car lot glass maintenance shows why repeatable cleaning routines matter across high-use vehicles.
Don't hire a professional just because a seat has one small mark. Hire one when the risk of trapped moisture, recurring odour, or damaged material outweighs the cost of proper equipment and controlled drying. A good provider should be able to explain what will be extracted, how the fabric will be dried, and which areas are included before work begins.
For Ontario drivers dealing with salt rings, slush residue, stained cloth, or leather seats that need careful cleaning, Nanak Car Wash offers appointment-based interior detailing with seat and carpet shampooing, salt and stain removal, and leather deep cleaning. Book an assessment before adding more water to a problem seat, and let the team match the process to the material and level of contamination.


 6600 Finch Ave W, Etobicoke, ON M9V 3Z6
 647-703-8515
 MON – SUN 8 AM to 7 PM