
You switch on the air conditioning after the car has sat through a humid GTA morning, and the first breath from the vents smells like wet towels, dust, or yesterday's road trip. A quick wipe makes the dashboard look cleaner, but the odour returns the next time the fan runs. That's because the visible vent slats are only the entrance to a larger HVAC path.
Learning how to clean air vents in a car properly means separating surface dust from deeper problems involving the ducts, evaporator area, air intake, and cabin filter. Ontario's humidity, road salt, construction dust, pollen, and stop-and-go traffic can all make the ventilation system work harder. The right process removes loose debris without forcing it deeper, then checks whether moisture or a contaminated filter is causing the smell.
Table of Contents
- Why Your Car Vents Smell Bad Even After Cleaning
- Gathering the Right Tools and Preparing Your Vehicle
- Three Cleaning Methods From Quick Touch-Up to Deep Deodorizing
- The Cabin Air Filter Connection Most Guides Miss
- Building a Vent Maintenance Routine for Ontario Drivers
- When to Call in Professional Detailing Services
Why Your Car Vents Smell Bad Even After Cleaning
The usual complaint sounds simple: “I cleaned the vents, but they still smell.” A driver wipes the louvers with a cloth, perhaps sprays a little interior cleaner nearby, and expects the cabin to smell fresh. Instead, the mustiness returns as soon as the blower starts.
That happens because vent surfaces collect visible dust, while the HVAC system can hold contamination out of sight. Dust may sit inside the narrow channels behind each louver, but odours can also originate farther back in the ductwork, around the evaporator, or at the cabin air filter. A clean-looking vent face doesn't prove that the air path is clean.
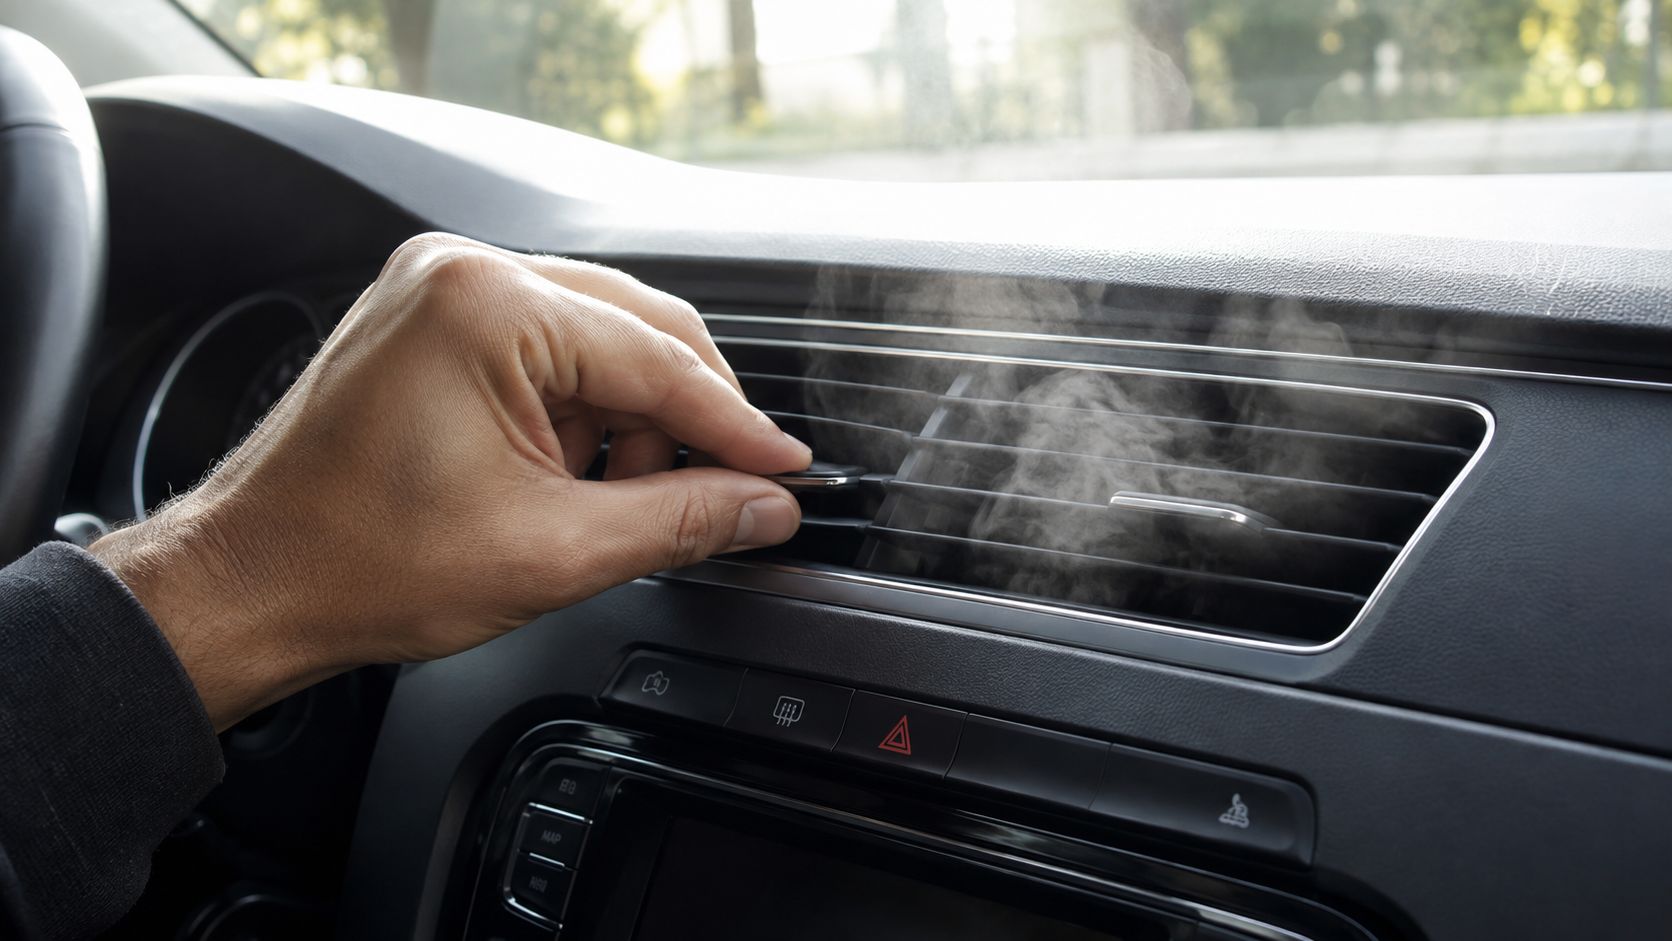
Dust versus moisture contamination
Ontario's driving conditions make the distinction important. Humid summer air and frequent air-conditioning use can leave moisture in the HVAC path. Road salt and grime add more residue around the vehicle's exterior intake areas, while urban traffic exposes the cabin filter to exhaust-related pollution and fine particles.
A dusty louver usually responds to dry vacuuming and gentle brushing. A musty smell at startup, weak airflow, strange fan noise, or heating and cooling that feels less effective points toward a restricted or contaminated ventilation path. Ontario service guidance identifies reduced airflow, unusual odours, and less-effective heating or air conditioning as signs that the cabin ventilation system needs attention. Ontario cabin air filter service guidance also notes that replacement intervals vary with vehicle use and conditions.
Practical rule: If the smell appears only when the fan starts, clean the visible vents, but don't stop there. Check the filter and moisture pathway before applying more fragrance.
Mould on a filter is a particularly useful warning. Canadian guidance explains that mould generally can't be cleaned off a cabin filter, and it may signal standing moisture caused by a slow air-conditioning condensate drain. If you want prevention ideas beyond surface wiping, this guide to prevent mold in air vents provides useful background on moisture control.
The quick diagnostic is simple. After the air conditioner has run for several minutes, look under the passenger side of the vehicle for water dripping beneath the car. If there's no expected condensate, or if the cabin remains damp and the odour keeps returning, surface cleaning isn't sufficient.
Gathering the Right Tools and Preparing Your Vehicle
Good vent cleaning starts before the brush touches the dashboard. The aim is to lift and capture dry debris first, then use only controlled moisture on surfaces that need it. Spraying liquid directly into a vent can send it toward electronics, duct insulation, or controls.
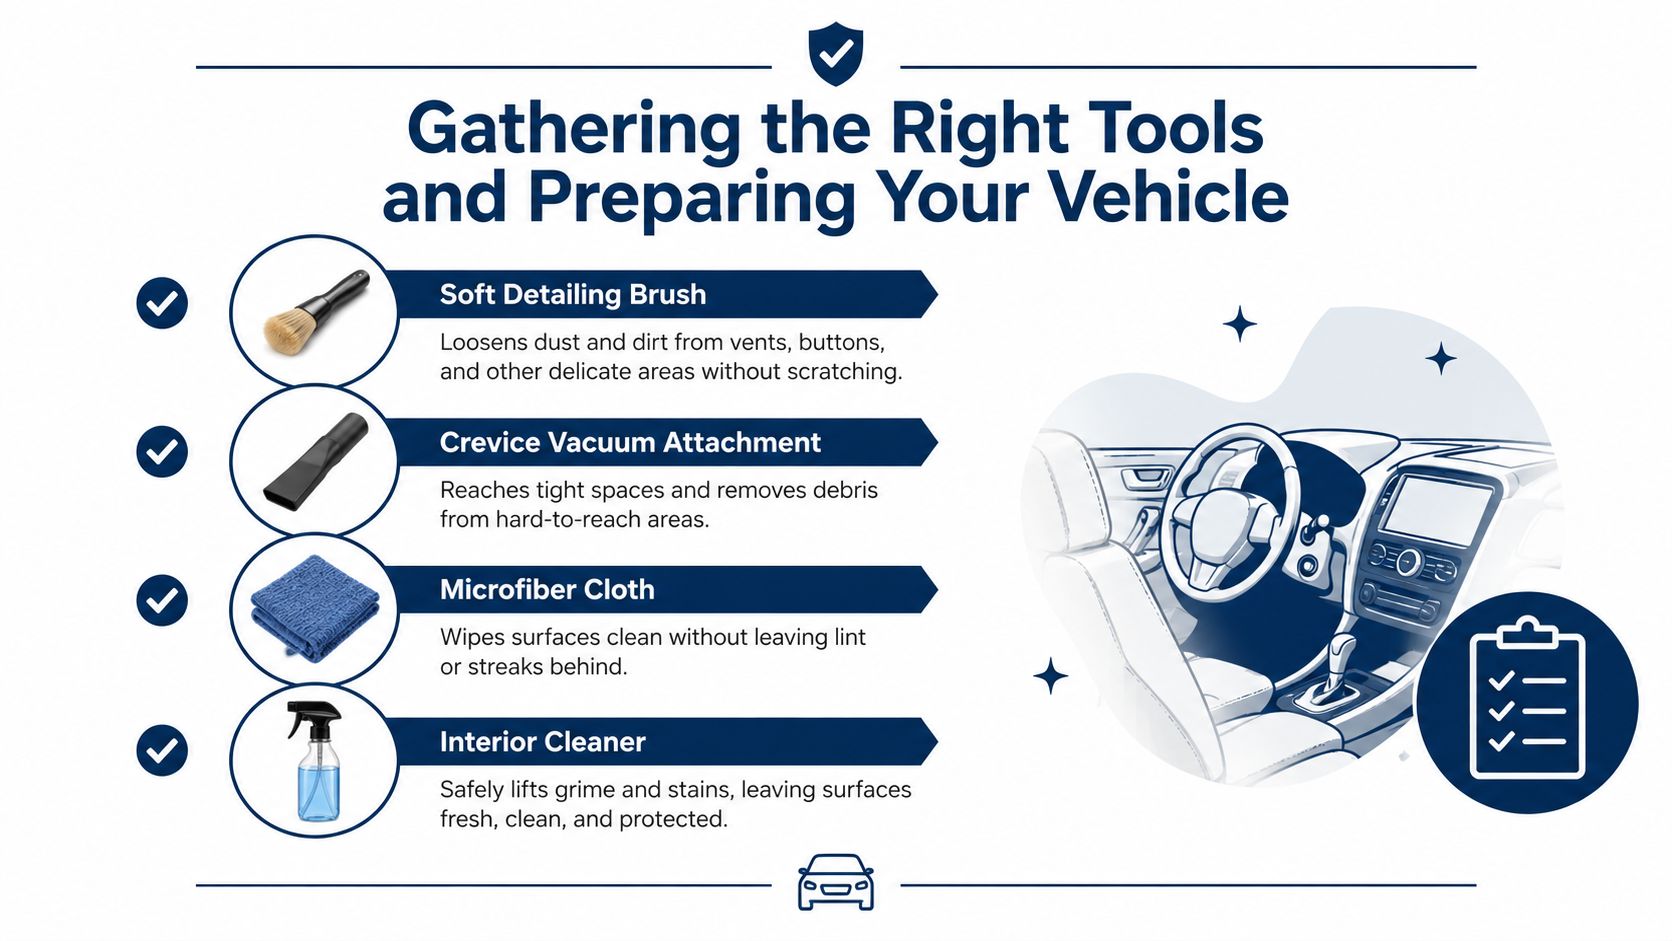
What to have ready
- Soft detailing brush: Choose fine, flexible bristles that can reach between slats without scratching textured plastic.
- Crevice vacuum attachment: A narrow nozzle lets you hold suction close to the brush and collect loosened dust immediately.
- Microfibre cloths: Use one lightly damp cloth for the final pass and another dry cloth for residue and drying.
- HVAC-safe cleaner: Select a product approved for automotive interior and ventilation use. Test it on an inconspicuous area first.
- Optional blower or compressed air: Useful for stubborn debris, but only when you can control the direction and keep the nozzle away from delicate surfaces.
A soft foam swab can help around narrow vent edges, but it should support the dry-removal process, not replace it. Rough bristles can scratch or crack vent slats, and harsh chemicals may dull or soften interior finishes.
The preparation routine
Park somewhere ventilated, switch off the engine and accessories, and remove loose items from the cabin. Set a towel over the centre console, display area, and nearby trim to catch falling debris. If you're using an HVAC cleaner, follow its label and the vehicle manufacturer's instructions.
Start with the fan off while you vacuum the vent face. Then brush each louver while keeping the vacuum nozzle close. Don't wipe first. A wet or even slightly damp cloth can turn dry dust into paste and push it into the vent channel. CAA North & East Ontario's interior-cleaning guidance also recommends a duster or microfibre towel for vent surfaces, but the order matters. Dry removal comes before the finishing wipe.
Keep the cloth damp rather than wet. Apply cleaner to the cloth or brush instead of flooding the vent, and never force a tool deep into an opening. Adjustable louvers can break when twisted or pried, so support them lightly and work with their movement.
Three Cleaning Methods From Quick Touch-Up to Deep Deodorizing
Choose the method according to the symptom. A light dust film doesn't justify a full HVAC treatment, while a persistent musty smell won't be solved by polishing the louver faces.
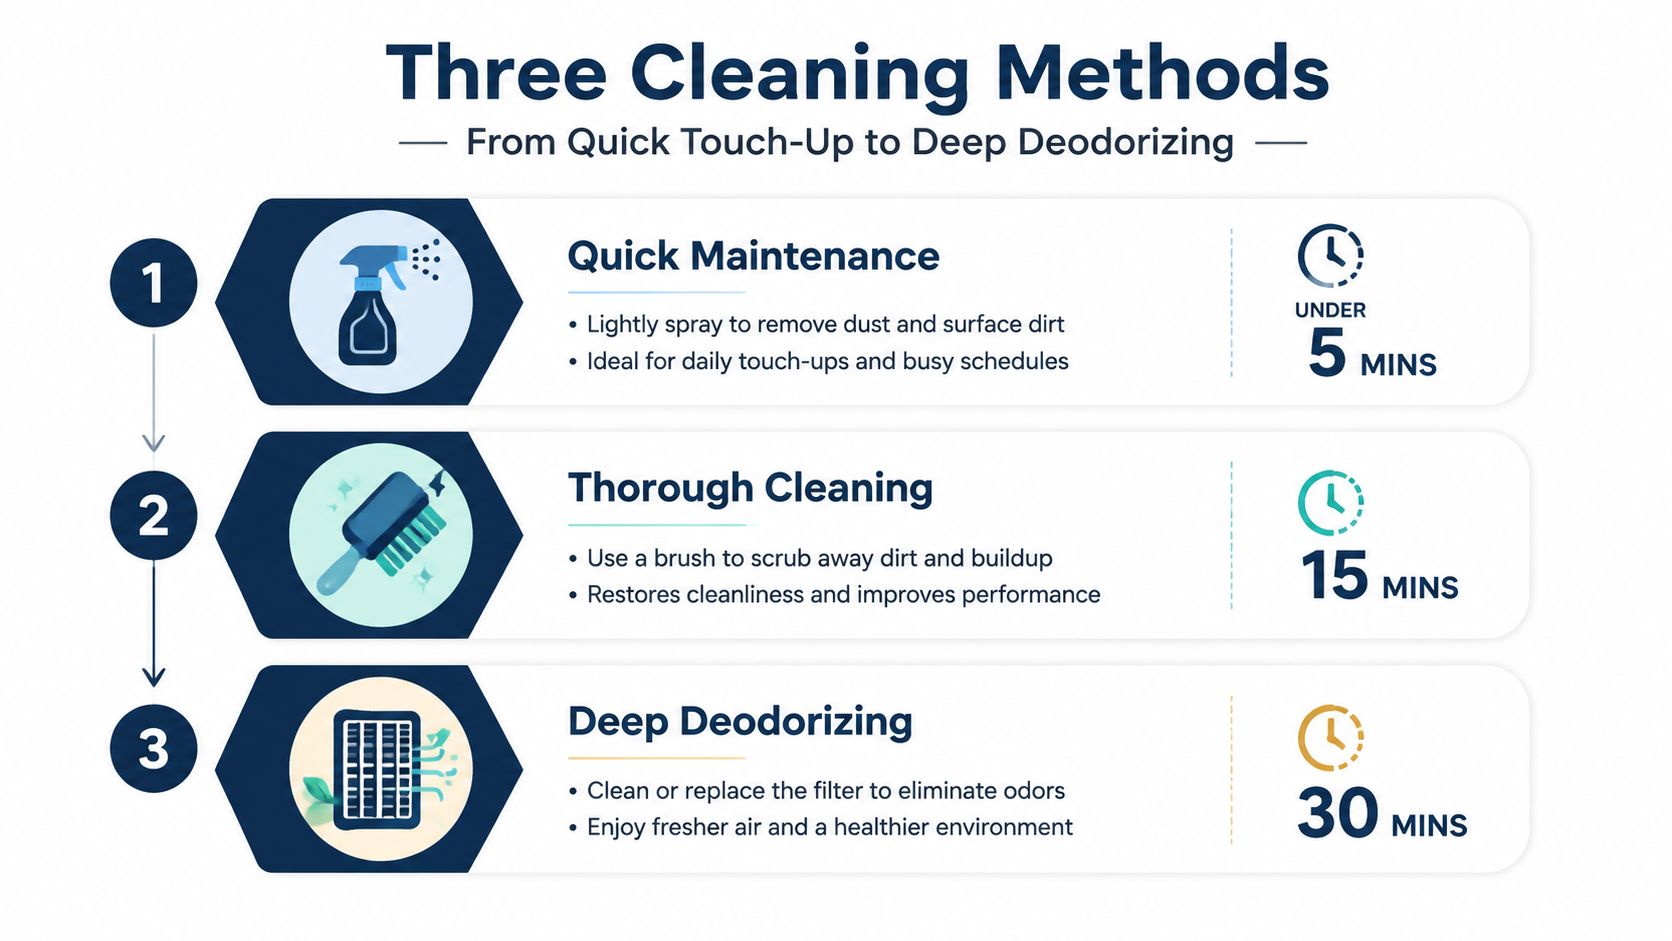
Method one for routine dust
Use this for vents that look dusty but don't produce a recurring odour.
- Turn off the fan and vacuum the vent face with a crevice tool.
- Sweep a soft detailing brush across and between the slats.
- Keep the vacuum close as the brush lifts debris.
- Finish with a lightly damp microfibre cloth.
- Dry the slats with a clean section of cloth.
This approach is gentle and repeatable. It works well after ordinary interior use, especially when dust has collected on the dashboard but the airflow and smell remain normal.
Method two for debris in the channels
Use a blower or compressed air when dust sits behind the louvers. Open the vent as far as the design allows, direct the air outward rather than farther into the dash, and keep the vacuum positioned nearby to catch what comes loose. Follow with the soft brush and a damp microfibre wipe.
Compressed air can save time, but it can also redistribute debris throughout the cabin. It isn't a substitute for extraction. If the dust lands on the dashboard, seats, or console, vacuum those areas before finishing.
Method three for recurring odour
A deeper HVAC treatment targets the intake path rather than only the dashboard. Set the blower to maximum on recirculate, then apply an HVAC-safe cleaner into the cabin-air intake below the glove box and the cowl intake near the windshield. Let the product dwell according to its label, run the system as directed, and air out the vehicle thoroughly.
The product must be compatible with the vehicle and used exactly as instructed. Avoid improvised household chemicals, excessive liquid, and direct spraying into electronic vents. This process may reduce odour in the duct path, but it won't correct a wet filter or blocked condensate drain.
The broader principle is similar to other duct-cleaning decisions. Understanding home air quality benefits can help explain why removing contaminants from an airflow path matters, but a car's HVAC system still requires vehicle-safe products and model-specific care.
The Cabin Air Filter Connection Most Guides Miss
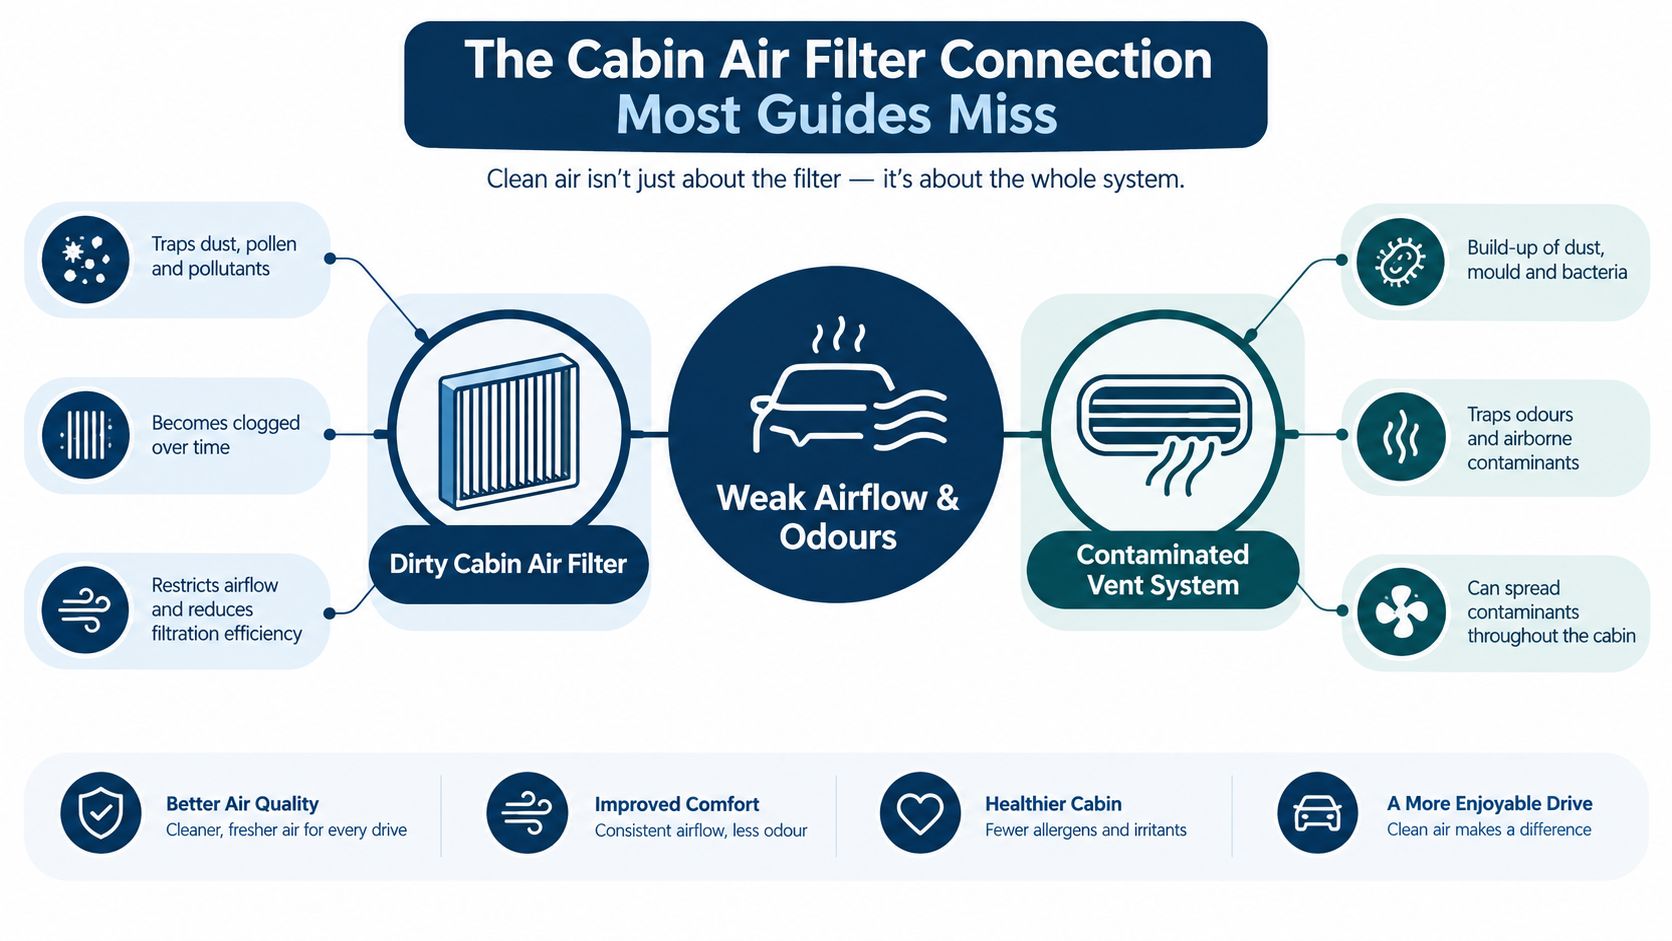
A cabin filter sits upstream of the passenger compartment and helps screen incoming air. Health Canada says a properly maintained cabin air filter helps reduce outside pollutants, including fine particulate matter and traffic-related air pollution, from entering the vehicle, and recommends replacement according to the manufacturer's instructions. Health Canada-related cabin filter guidance for Ontario drivers also connects filter maintenance with cleaner cabin air.
When the filter loads with dust, pollen, exhaust particles, or other debris, the symptoms can look like a dirty vent. Airflow weakens, the fan may sound different, and odours can return soon after cleaning. Ontario service guidance lists replacement intervals commonly ranging from 25,000 to 40,000 km, while some Toronto-area guidance places typical replacement closer to 15,000 to 24,000 km. Another Ontario source gives roughly 20,000 to 30,000 km, so the manufacturer's schedule and actual driving conditions should guide the decision.
Inspect before assuming
The filter location varies, but many vehicles place it behind or below the glove box. Consult the owner's manual before removing panels, then inspect the filter in good light. Look for heavy grey loading, leaves, dampness, a sour smell, or visible mould.
A clogged filter should be replaced, not beaten clean and put back. If mould is present, replacement is especially important because wiping doesn't restore the filter media or remove the moisture source.
Check the condensate path
Run the air conditioner for several minutes, then inspect beneath the passenger side. Water dripping under the vehicle generally indicates that the system is shedding condensation. If the area stays dry while the cabin smells damp, or if you find wet carpet, the condensate drain deserves attention.
That check can save you from repeating the same vent detail over and over. For a broader set of DIY car AC diagnostic steps, use a diagnostic guide that covers airflow, cooling, and moisture symptoms, then stop if the inspection requires disassembly or electrical testing.
Building a Vent Maintenance Routine for Ontario Drivers
A vent stays cleaner when the surrounding cabin stays organised. Crumbs, wet floor mats, damp footwear, and dusty dashboards all feed the same cycle of debris and odour. The most practical routine combines light cleaning with filter checks and drying habits.
A simple seasonal approach
In spring, inspect the cabin filter and clear leaves from the cowl intake near the windshield. This is a useful time to address winter debris before pollen becomes a larger concern.
Summer deserves attention to moisture. Run the air conditioner normally, watch for expected condensate beneath the passenger side, and air out the cabin after washing if mats or upholstery become damp. A deep vent and HVAC clean makes more sense when a smell persists, rather than as a replacement for fixing a blocked drain.
In fall, brush and vacuum the vent faces, remove leaves from intake areas, and check whether heating airflow feels even. Winter maintenance focuses on keeping heater vents clear of dust and ensuring wet floor mats aren't left inside the vehicle.
Adjust for the way you drive
The interval that suits an occasional driver may not suit someone commuting daily through construction zones. Ride-hailing and delivery drivers spend long hours recirculating cabin air, so they should respond quickly to weak airflow, startup odours, fogging, or unusually fast dust buildup instead of waiting for a calendar date.
Use the filter schedule as a baseline, then shorten it when the vehicle regularly travels through heavy traffic, dusty corridors, or areas with significant road work. Jiffy Lube Ontario's service guidance places common replacement timing at 25,000 to 40,000 km, while Toronto-area guidance can be closer to 15,000 to 24,000 km. Those ranges show why driving conditions matter, not that one interval applies to every vehicle.
Seasonal habit: After washing the interior, leave the cabin open in a safe, ventilated place until carpets, mats, and trim are dry. Moisture left behind is more troublesome than a vent that simply needs dusting.
When to Call in Professional Detailing Services
DIY cleaning is appropriate when the problem is visible dust and the airflow remains normal. It reaches its limit when the smell persists after the filter has been replaced and the accessible vents have been cleaned, or when the HVAC path shows signs of moisture contamination.
Book professional help when you find visible mould on the filter or intake area, persistent mustiness, wet carpet near the passenger side, or significantly reduced airflow despite a fresh filter. Allergy symptoms that continue after surface cleaning also justify a more thorough inspection, although vent cleaning shouldn't be presented as a medical treatment.
Professional detailing can reach more crevices and remove loosened debris with a coordinated blowout and vacuum process. It can also address surrounding carpets, seats, and trim, where odours may remain even after the vents themselves are clean. Nanak Car Wash's interior detailing packages include vent and crevice blowout, carpet and seat shampooing, salt and stain removal, and leather deep cleaning, with vehicle-size options relevant to SUVs, vans, and trucks.
Surface cleaning still has value, but it isn't a repair for a blocked drain, wet evaporator area, or contaminated filter. A professional detailer can improve the cabin's cleanliness, while an automotive HVAC technician may be needed for diagnosis and repair.
Nanak Car Wash offers interior detailing that includes vent and crevice blowout, carpet and seat shampooing, salt and stain removal, and leather deep cleaning for GTA vehicles. If your vents keep smelling musty after a careful DIY clean, visit Nanak Car Wash to arrange a more thorough interior service.



 6600 Finch Ave W, Etobicoke, ON M9V 3Z6
 647-703-8515
 MON – SUN 8 AM to 7 PM