
You head out for work, toss your bag on the passenger seat, and catch a glimpse of the cabin in full daylight. There's dust on the dash, a dried coffee ring in the cupholder, crumbs in the seat seams, and that grey film on the inside of the windows that somehow appears every season in the GTA. Suddenly the car doesn't feel like a car. It feels like a storage locker on wheels.
That's usually the moment people start searching for an interior car cleaning kit. Not because they want concours-level perfection, but because they want their space back. A good kit can absolutely get you from “I'm embarrassed to offer someone a ride” to “this feels civilised again.” The trick is knowing what a kit can handle, what GTA weather throws at your interior, and when a deeper professional clean makes more sense than another Saturday with a spray bottle.
Table of Contents
- That Moment You Realize Your Car Is a Mess
- Deconstructing the Kit Whats Actually Inside
- Choosing Your Arsenal What to Look For in a Kit
- From Grimy to Gleaming A High-Level DIY Cleaning Plan
- The Great Debate DIY Kit vs Professional Detailing
- When to Call Nanak Car Wash Your Professional Partner
That Moment You Realize Your Car Is a Mess
It usually sneaks up on you.
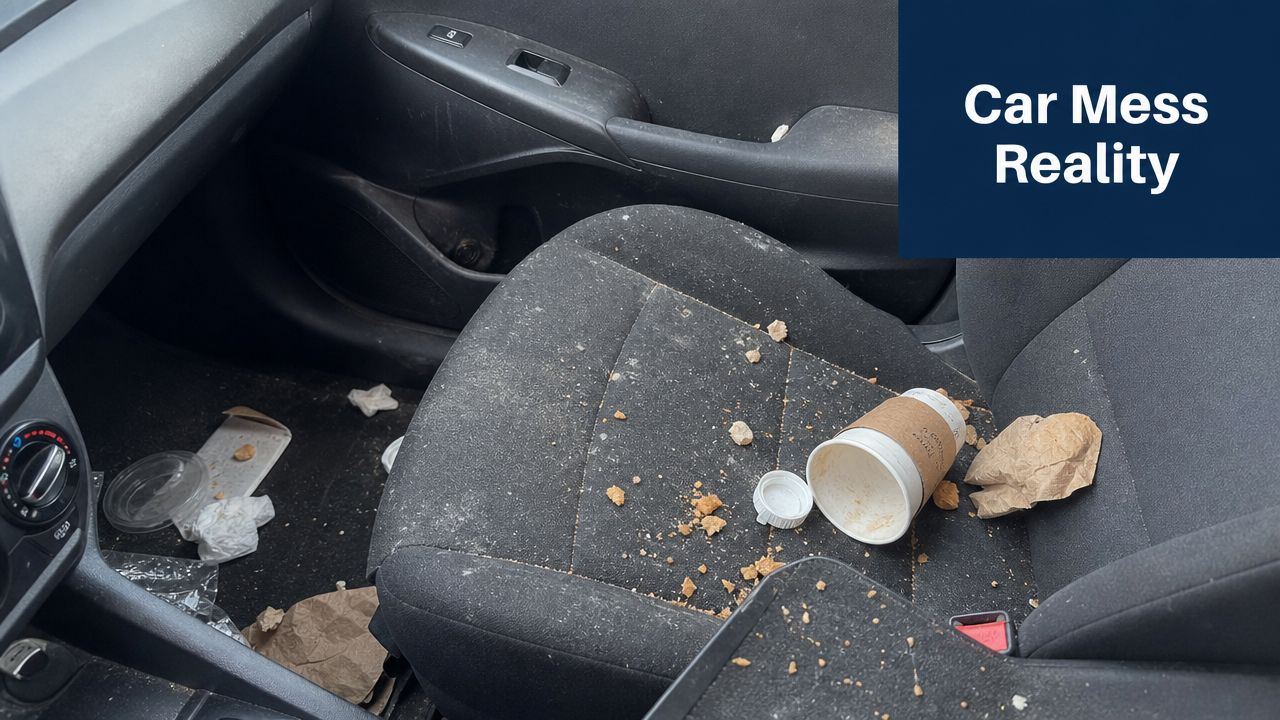
One week it's just a receipt in the door pocket. Then it's a scattering of snack crumbs, some dust in the vents, salt marks from old boots, and a stain on the seat you've been pretending not to see. If you've got kids, a long commute, a dog, or a side hustle that keeps you in the car all day, the interior can go from “lived in” to “what happened here?” fast.
Why this hits harder in the GTA
In the Greater Toronto Area, the mess has layers. Winter brings road salt. Spring brings grime. Summer brings heat, humidity, and that sticky feeling on high-touch surfaces. By autumn, your carpets and seats have collected a full year of whatever you tracked in.
That's why the humble cleaning kit matters. It gives you a first response. You don't need a full detailing bay to handle dust on plastics, fingerprints on glass, or a fresh spill on upholstery. You need the right basics and a bit of method.
Practical rule: If the mess is new, dry, and on the surface, a DIY kit usually has a fighting chance.
Plenty of Canadian drivers are clearly thinking the same way. The Canadian car care products market generated USD 350.2 million in 2024, and interior care products are projected to grow at a faster CAGR of 5.26% through 2031, showing strong interest in interior upkeep among owners, including those in the GTA, according to Grand View Research's Canada car care products outlook.
A kit is a starting point, not magic
People get confused here. They buy one box of products and expect it to solve every problem from dusty vents to old salt staining buried in the carpet. That's not how it works.
An interior car cleaning kit is best thought of as your maintenance toolkit. It helps you stay ahead of buildup, tackle routine dirt, and stop small messes from becoming permanent ones. That alone makes a huge difference. A car that gets quick, regular attention is easier to live with and easier to deep-clean later.
Deconstructing the Kit Whats Actually Inside
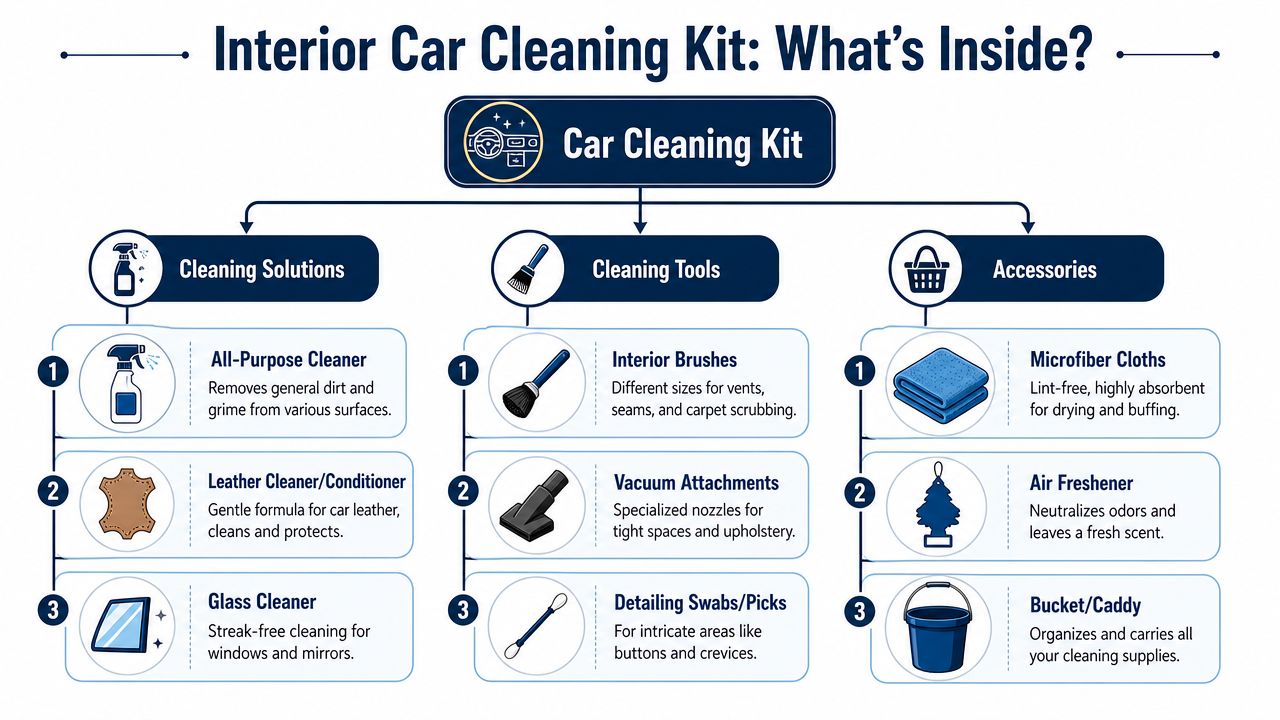
Open a typical interior kit after a Toronto winter and the contents make more sense right away. Every item is there to do one of three jobs: clean, treat, or protect. Once you sort the bottles and tools into those buckets, the kit stops feeling like a grab bag of random supplies.
Cleaning solutions
These handle the mess itself.
An all-purpose cleaner is usually the workhorse for plastics, vinyl, door panels, and cupholders. A glass cleaner targets the film that builds up on windows and mirrors. A dedicated fabric cleaner or leather cleaner is for seats and other soft-touch surfaces that need a gentler product.
The catch is material sensitivity. Cloth holds moisture. Leather dries out. Glossy trim and infotainment screens scratch easily. If a kit gives you one harsh cleaner and suggests using it everywhere, that is a warning sign, especially in the GTA where road salt residue and humid summer air can turn a small mistake into staining, haze, or mildew.
If you also want to sanitize high-touch areas, check the product label first and follow contact-time directions. For a plain-language overview of what kills viruses on surfaces, it helps to understand that cleaning and disinfecting are related jobs, but they are not the same job.
Cleaning tools
Tools decide whether the dirt leaves safely or just gets pushed around.
A microfibre towel lifts loosened grime. A soft detailing brush reaches vents, seams, stitching, and buttons. A vacuum crevice tool pulls grit out of tight gaps before that grit gets rubbed across plastic or leather. That order matters more than people expect. If you wipe first and vacuum later, trapped sand and salt can leave fine scratches behind.
Cheap kits often fall short. They include a bottle or two, then skimp on the parts that determine the result. Good towels should feel soft and dense, not slick and thin. Brushes should have gentle bristles that flex instead of scraping. In a family car or rideshare vehicle around the GTA, those small differences show up fast on piano black trim, gauge covers, and worn seat edges.
Soft tools protect surfaces while they clean. That is a big part of what separates routine upkeep from accidental wear.
Protectants and finishing items
Protection is what helps your work last longer than a weekend.
A UV protectant helps interior plastics handle summer sun. A leather conditioner helps seats stay supple instead of drying and cracking. An odour neutraliser deals with the source of stale smells better than a perfume-heavy spray. Even the small caddy earns its place because organized supplies are far more likely to get used after a spill, a slushy commute, or a damp week in July.
This is also the point where DIY has limits. A protectant can help after cleaning, but it will not reverse deep salt staining in carpet, water trapped in underlay, or odours that have soaked into padding. Those are common GTA problems, and they are often the line between a kit that helps and a professional service that is worth the money.
Here's a quick way to sort the contents:
| Category | What it includes | What it's for |
|---|---|---|
| Cleaners | APC, glass cleaner, leather or fabric cleaner | Removes dirt, oils, fingerprints, spills |
| Applicators | Microfibre towels, brushes, vacuum tools | Lifts debris safely and reaches tight spots |
| Protectants | UV dressing, leather conditioner, odour treatment | Helps surfaces stay cleaner and age better |
A good kit is really a maintenance system. It handles fresh grime, routine dust, and the kind of everyday mess that comes with commuting through Mississauga slush, downtown humidity, or a Tim Hortons mishap in the cupholder.
Choosing Your Arsenal What to Look For in a Kit
A generic kit can be fine for generic conditions. The GTA is not generic.
If your car spends winter parked on slushy streets, summer baking in a lot, and the rest of the year hauling coffee, groceries, hockey gear, or rideshare passengers, your kit needs to match that reality. Label-reading becomes useful here.
Buy for the mess you actually have
Start with the glass cleaner. In the GTA, winter leaves a stubborn film on interior glass, especially if road salt gets tracked in and dries out. An alcohol-based glass cleaner with at least 70% isopropyl alcohol is technically better suited to removing salt residue on windows than a water-based option, according to the CAA NE Ontario interior cleaning guide.
That same guide points to another GTA-specific issue. For leather interiors exposed to hot summer swings inside parked vehicles, a conditioner containing 10–15% lanolin or beeswax is needed to maintain flexibility. Without it, leather faces a 40% increase in crack propagation risk after 12 months of exposure. If your kit includes a leather product but doesn't tell you what's in it, that's a clue to be cautious.
What should be on your checklist
A smart buyer looks for a few things:
- Surface match: The product should clearly say whether it's for leather, cloth, vinyl, plastics, or glass.
- Safe application: You want directions that explain dilution or usage, not vague “spray and wipe” promises for every material.
- Low-residue finish: Interiors attract dust fast when products leave greasy residue behind.
- Test-first instructions: Any decent kit should encourage spot-testing in an inconspicuous area.
A lot of drivers also care about sanitising high-touch points like steering wheels, shifters, and door pulls. If you want a plain-language refresher on the broader topic, this guide on what kills viruses on surfaces is helpful for understanding why contact time and product type matter. Just remember that “disinfecting” and “safe for every car surface” aren't automatically the same thing.
Don't buy the kit with the most bottles. Buy the one that tells you exactly which bottle goes on which surface.
One non-negotiable habit
Test every new product somewhere hidden first. Under a seat edge, low on a door panel, or on a small section of trim is enough. That tiny pause can save you from discolouring leather, hazing a screen, or leaving a blotchy patch on fabric.
The best interior car cleaning kit isn't the one with the loudest packaging. It's the one that respects materials, handles local grime, and gives clear instructions a normal person can follow.
From Grimy to Gleaming A High-Level DIY Cleaning Plan
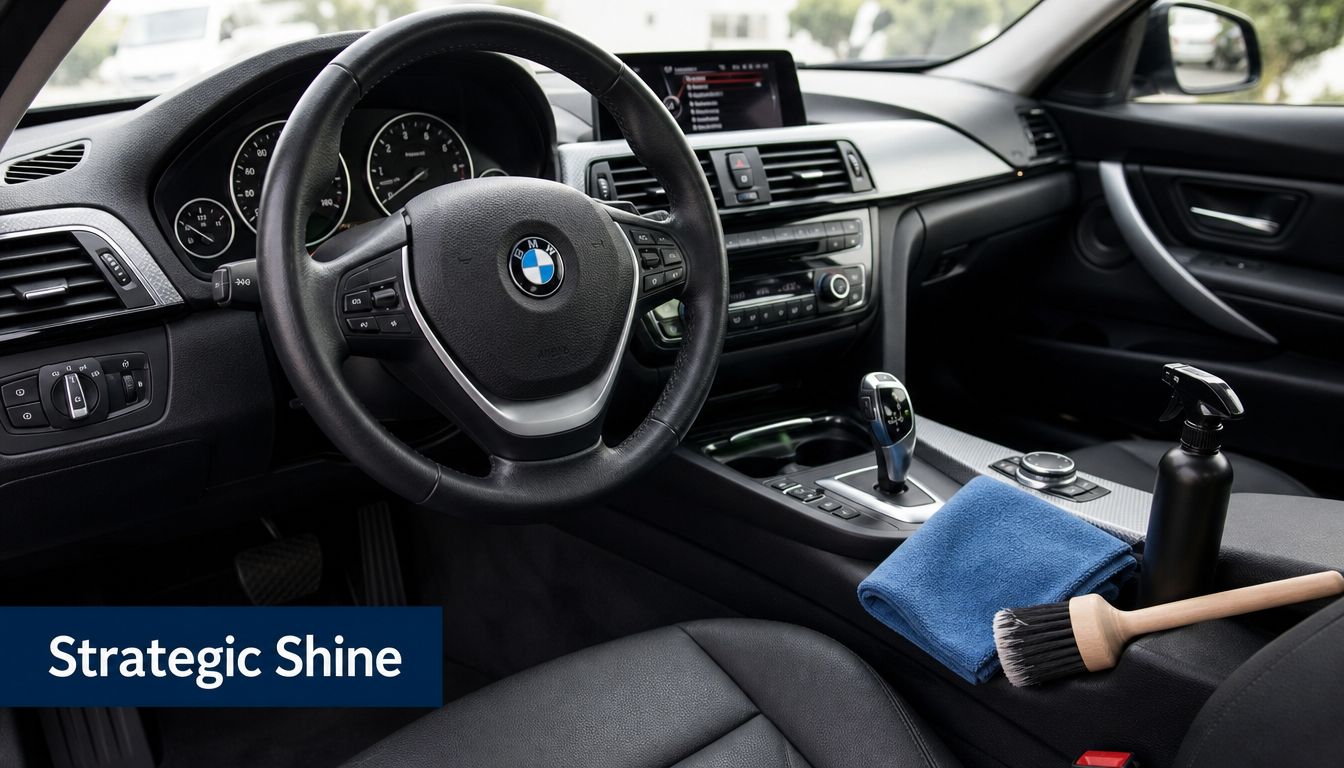
You open the door on a March afternoon in Mississauga, and the cabin tells the whole winter story. Salt dust along the mats. Coffee dots on the console. A damp, stale smell that showed up after a few slushy weeks. At that point, the order you clean in matters more than the brand name on the bottle.
A good DIY plan works like sweeping a garage floor. You pull loose mess out first, then deal with what is stuck on. If you start with sprays and scrubbing, dust turns to paste, grit gets pushed into fabric, and the job gets longer for no good reason.
Two rules keep the whole process under control.
Work from top to bottom. Dust and grit always fall.
Keep the early stages dry. Vacuuming, brushing, and picking up debris should happen before you bring in cleaners.
A cleaning order that saves time
Use this sequence:
Empty the cabin
Remove cups, receipts, charging cables, floor mats, hockey wrappers, and the coins wedged beside the seat. You need a clear surface before you can tell what is dirt and what is just clutter.Start with a full vacuum
Vacuum the seats, seat tracks, carpet edges, mats, and tight seams. In the GTA, this step matters even more after winter because road salt crystals sit in the carpet like tiny bits of sandpaper.Brush vents, seams, and buttons
A soft detailing brush loosens debris from places a vacuum misses. Follow right behind with the vacuum so the dust leaves the car instead of landing somewhere else.Clean hard surfaces next
Wipe the dash, console, door panels, cupholders, steering wheel, and shifter. Use a light hand. Interior plastics and screens do not reward aggressive scrubbing.Leave glass for near the end
By then, the floating dust is mostly gone, so you are less likely to chase haze around the inside of the windshield.Finish with fabric or leather care
Treat stains only after the loose grime is out. On cloth, use cleaner sparingly and avoid soaking the seat. On leather, use a dedicated cleaner first, then a conditioner if the product instructions call for it.
The moisture part is where plenty of DIY jobs go wrong in Southern Ontario. Humid summer air slows drying, and a seat that feels only a little damp can stay that way longer than you think. If cloth upholstery ends up wet to the touch, back off on product, blot with a dry microfiber towel, and get airflow through the cabin.
Where GTA conditions change the plan
Salt and humidity are the two local troublemakers.
Salt leaves a chalky residue that can cling to carpet fibres and mat edges even after a quick vacuum. That usually means a careful second pass with a fabric-safe cleaner and towel, not a flood of product. Humidity creates the opposite problem. It turns over-wetting into lingering odours, especially in cloth seats and under floor mats.
That is the line between a smart DIY refresh and a job that may need professional extraction. If you are maintaining the interior every couple of weeks, a kit is usually enough. If the carpets are stiff with salt residue, the seats smell musty, or spills have soaked deep below the surface, home cleaning can only go so far.
Common mistakes that make interiors worse
One is using too much liquid on fabric.
Another is treating leather like vinyl. Leather responds better to gentle cleaning and restraint. The same basic habit used for furniture applies here: light product, soft cloth, and no soaking. If you want a simple household comparison, this guide on how to clean your leather sofa mirrors the same approach.
Another mistake is trying to do the whole car in one pass without checking what changed. Stop after each stage. If the mats still look white with salt, they need more attention. If the windshield still hazes in afternoon sun, it needs one more clean towel, not more spray.
A solid DIY clean is not about working harder. It is about following the right order, keeping moisture under control, and knowing when GTA grime is still in maintenance territory and when it has crossed into professional-detail territory.
The Great Debate DIY Kit vs Professional Detailing
Some interiors need a quick refresh. Some need a rescue mission.
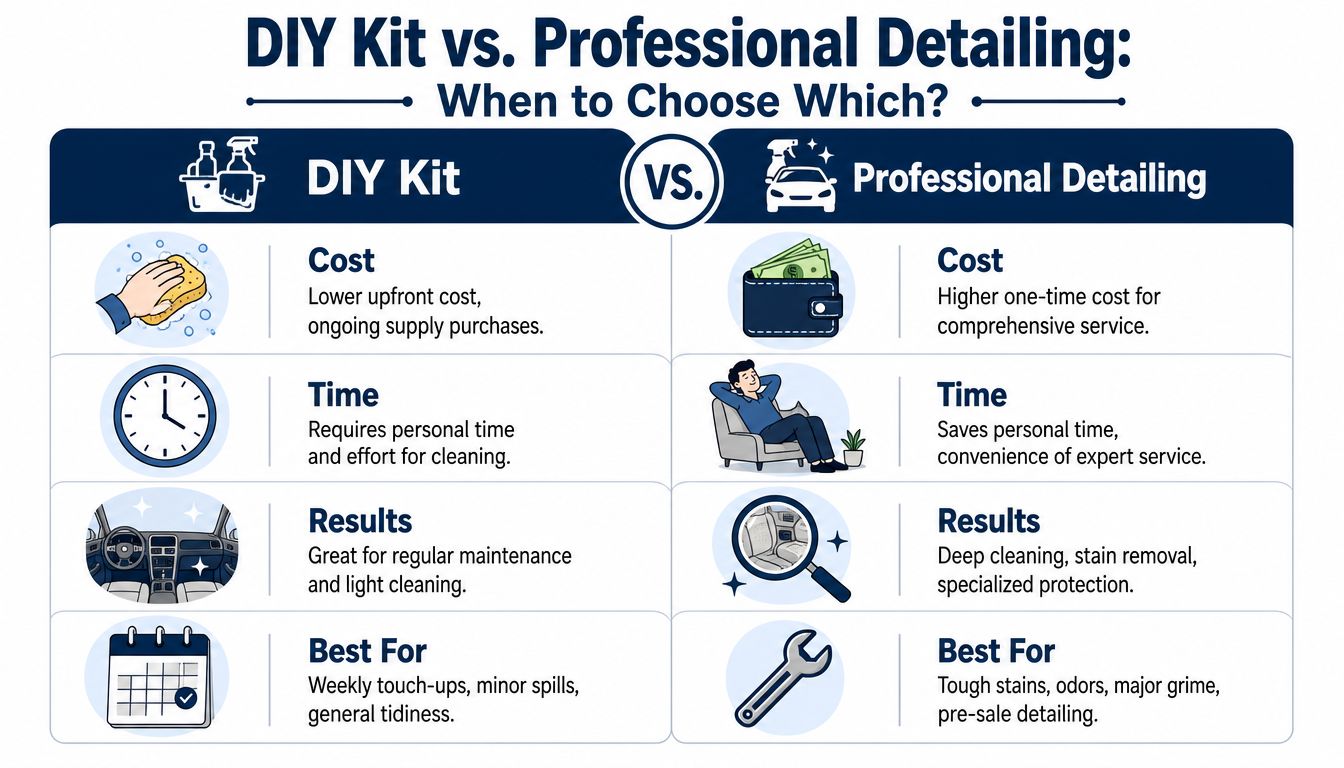
That's the core difference between using an interior car cleaning kit and booking a professional detail. One is maintenance. The other is correction. Both have their place, and most drivers end up needing both at different times.
Where DIY shines
DIY is hard to beat for ordinary upkeep. If you're dealing with dust, fresh crumbs, light fingerprints, a recent spill, or routine wipe-downs, your own kit is perfect. It's convenient, it's satisfying, and you can do a little bit whenever the car starts looking scruffy.
It also helps you stop small problems from turning into expensive ones. Weekly touch-ups keep debris from compacting into carpet, oils from building up on the steering wheel, and glass from getting that hazy film drivers hate.
Where pros earn their keep
Ontario winter contamination changes the conversation. Most DIY kit guides don't explain how to neutralise the province's road salt and anti-corrosion residues properly. Those residues can penetrate carpet fibres and often require specialised alkaline cleaners that standard consumer kits don't include, as noted by Alpha Shine's interior detailing overview.
That's one of the biggest blind spots in generic advice. Salt staining isn't just a cosmetic issue. It can settle deep into mats, carpets, and lower trim areas, and the products in many off-the-shelf kits aren't built for that kind of cleanup.
A simple decision table
| Situation | DIY kit | Professional detailing |
|---|---|---|
| Dust, crumbs, light smudges | Good fit | Usually unnecessary |
| Fresh spill caught early | Often manageable | Helpful if it has spread deep |
| Winter salt in carpets and crevices | Limited | Better choice |
| Deep odours or long-neglected interior | Frustrating | Strong fit |
| Regular weekly upkeep | Ideal | Overkill for most drivers |
| Pre-sale cleanup or major reset | Partial improvement | Better finish |
A kit removes what you can reach and manage. A professional service handles what has settled in.
The sweet spot for many GTA drivers is simple. Use a kit for regular care. Bring in a pro when the issue is chemical, firmly embedded, or time-consuming enough that you keep putting it off.
When to Call Nanak Car Wash Your Professional Partner
Some interiors reach a point where a kit starts feeling like a toothbrush against a muddy hockey bag.
You wipe the dash, vacuum the mats, hit the seats with cleaner, and the car still feels tired. That usually happens when winter salt has worked its way into carpet fibres, humidity has left a stale smell hanging in the cabin, or the vehicle gets used hard every day for work, school runs, errands, and long GTA commutes. A DIY kit helps with upkeep. Restoration is a different job.
The cases where professional help makes sense
Heavy-use vehicles are the clearest example. Cars used for rideshare, delivery, client visits, or constant family hauling collect more grime in more places, faster. More shoes, more spills, more moisture, and more time with the doors opening and closing means the interior wears down like a busy front hallway in February.
Professional interior service makes sense when you're dealing with:
- Salt that keeps coming back: White crusts and grey shadows in carpets and mats often sit deeper than a home vacuum can reach.
- Lingering odours: Coffee, food, damp boots, smoke, and pet smells can settle into fabric and ventilation areas.
- Seats and carpets that need shampooing: Surface sprays help with fresh messes, but older buildup usually needs extraction and proper drying.
- Leather that feels dry, shiny, or dirty: Leather needs cleaning that removes body oils and grime without leaving it stiff.
- Commercial or high-traffic use: Frequent passengers and constant in-and-out use can make regular DIY deep cleaning unrealistic.
- Tight vents, rails, and trim gaps: These areas trap dust and debris that basic household tools often miss.

Why this matters for busy GTA drivers
GTA conditions make the DIY-versus-pro decision more practical than philosophical. Road salt in winter is stubborn. Summer humidity can turn a small spill or damp floor mat into a musty interior before you know it. If your car lives outside, carries kids or customers, or doubles as a work vehicle, those local conditions stack the odds against a quick weekend cleanup.
The goal is a clean car without turning every Saturday into a recovery mission. When the problem is deep in the fabric, spread through the cabin, or too time-consuming to keep chasing, a professional partner is often the better answer.
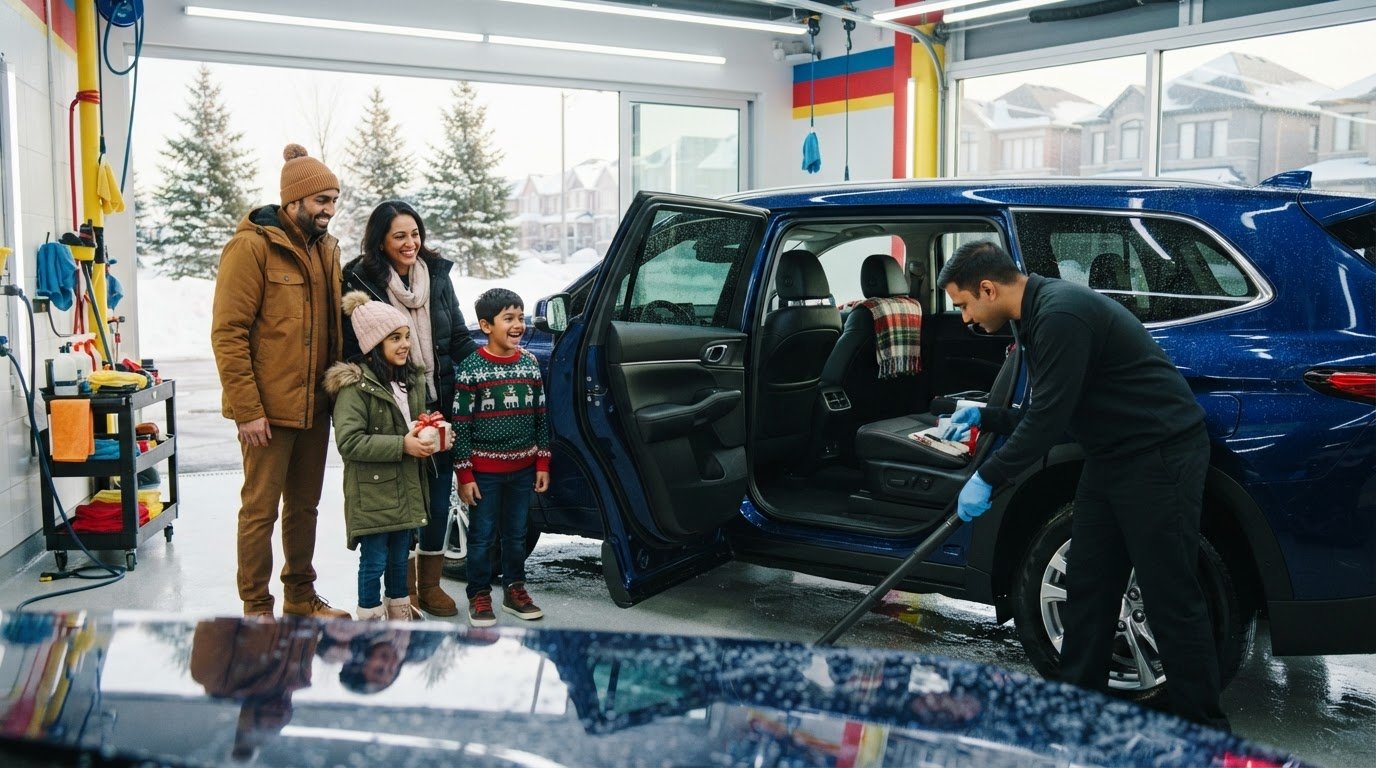
If your interior needs more than a basic reset, Nanak Car Wash offers interior detailing, carpet and seat shampooing, salt and stain removal, leather deep cleaning, and wash options across the GTA, including locations from Etobicoke to Oshawa. For daily drivers, rideshare operators, and anyone fed up with fighting salt, odours, and buildup by hand, it's a practical way to get the cabin properly clean and keep it that way.

 6600 Finch Ave W, Etobicoke, ON M9V 3Z6
 647-703-8515
 MON – SUN 8 AM to 7 PM