
The coffee cup is still in the holder, salt has dried into a white ring on the carpet, and every time you turn on the heater, the cabin releases that familiar damp smell. After an Ontario commute through slush, the interior can look merely untidy while holding grit, moisture, food debris, and road residue in places you can't see.
That's why interior cleaning of a car shouldn't be treated as a cosmetic luxury. For GTA drivers, it's contamination control. A sensible routine removes loose salt before it works deeper into carpets, limits trapped moisture, and keeps small spills from becoming permanent stains or persistent odours.
Table of Contents
- Why Interior Cleaning Is Contamination Control
- Executing the Dry-First Preparation Sequence
- Material-Specific Surface and Upholstery Care
- Tackling Stubborn Salt Stains and Trapped Odors
- Comparing DIY Maintenance and Professional Detailing
- Building a Sustainable Seasonal Cleaning Routine
Why Interior Cleaning Is Contamination Control
A quick wipe over the dashboard makes the cabin look better, but it doesn't address the material that arrives on your boots. Ontario roads carry salt and slush into floor mats, carpet edges, seat rails, and door sills. GTA-focused detailing guidance estimates that Ontario uses roughly 1.5 to 3 million tonnes of road salt each winter, while Toronto is often cited at about 130,000 to 150,000 tonnes annually. These estimates are discussed in Nanak Car Wash's guide to auto interior cleaning.
Salt isn't just an ugly white mark. Tracked-in chlorides remain behind as slush dries, and damp carpet can hold contamination underneath the surface. Food crumbs, dust, pet hair, and moisture then combine in the seams and fibres where a casual wipe-down can't reach. The cabin becomes a high-traffic zone that needs removal and controlled drying, not a quick fragrance spray.
Practical rule: If salt is visible on the mat, assume more has travelled beyond the mat.
The damage isn't always dramatic or immediate. Repeated moisture can leave carpets damp, encourage unpleasant biological growth, and contribute to corrosion around hidden metal components. Excess liquid in seats creates another problem. CAA North & East Ontario warns that too much water in seats can cause mould, which is one reason professional detailers avoid flooding upholstery during extraction. Their automotive interior cleaning guidance also recommends full-cabin vacuuming, microfiber cleaning for hard surfaces, and attachments for crevices and cup holders.
That contamination-control mindset changes the order of work. You don't start by making everything wet. You remove loose particles, treat the affected material, extract or wipe with restraint, and dry the cabin thoroughly. A clean interior should feel dry and neutral, not merely shiny and heavily perfumed.
Toronto providers commonly frame a full interior detail as preventive maintenance. Packages may include deep vacuuming, steam cleaning or shampooing, vents, consoles, door panels, and interior glass, with the work taking about 1.5 to 8 hours depending on vehicle size and condition. Full interior details in the GTA commonly fall between roughly $119 and $300, depending on package depth and vehicle size, as outlined by GTA interior detailing service benchmarks. The range reflects the actual labour involved, not just the cost of spraying a cleaner.
Executing the Dry-First Preparation Sequence
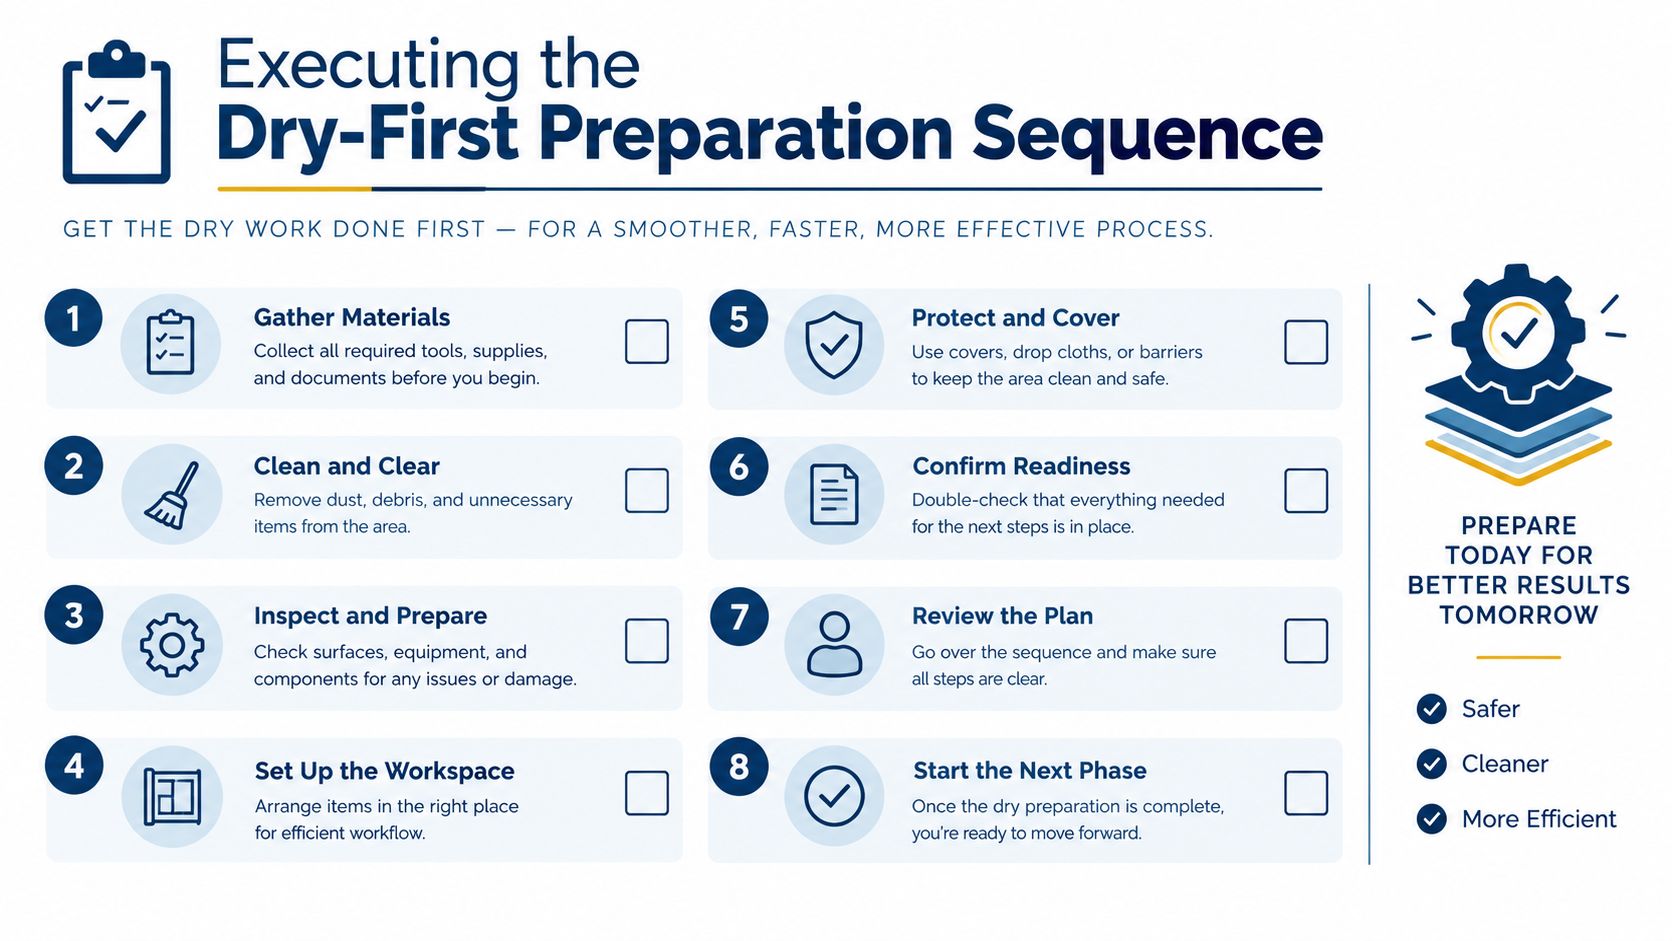
The most common DIY mistake is reaching for a spray bottle before removing the debris. Cleaner turns loose grit into paste, pushes crumbs into upholstery seams, and makes salt residue harder to lift. Professionals start dry and work top to bottom, so dust from the dashboard and vents doesn't fall onto areas that have already been cleaned.
Clear the cabin before touching a product
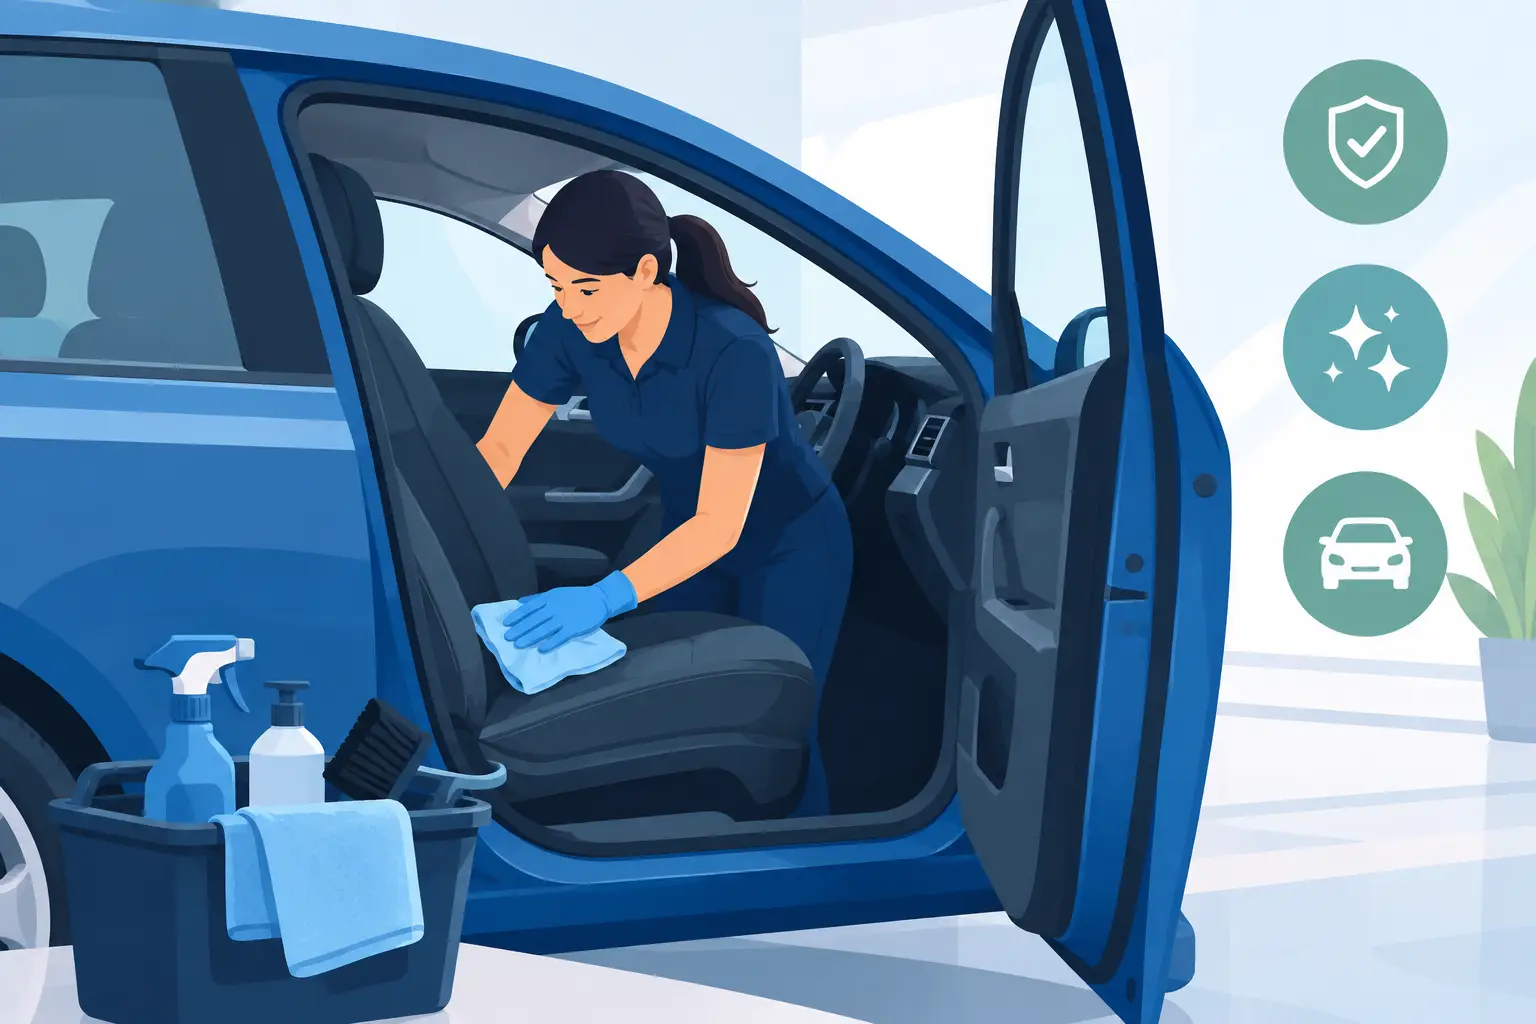
Remove rubbish, bottles, chargers, receipts, toys, and anything stored in door pockets or the centre console. Take out the floor mats, open the doors, and inspect the footwells before vacuuming. Carpet mats should be handled separately, while rubber mats can be shaken or rinsed away from the vehicle and dried fully before they return.
Use your hands to pick up larger debris first. Pebbles, leaves, twigs, and hardened clumps can clog a narrow nozzle or scratch trim when you drag them across a surface. This small preparation step also exposes the dirt line along the carpet edges, where winter grit tends to collect.
Vacuum slowly, not aggressively
A strong vacuum with a crevice attachment is more useful than speed. Run the nozzle along seat rails, under the front edge of the seats, between the seat base and backrest, around cup holders, and where carpet meets plastic trim. For fabric seats, use an upholstery attachment. For leather, remove grit gently before you apply any conditioner.
Work in overlapping passes, especially in the driver's footwell and on carpet mats. A fast pass lifts the obvious crumbs but leaves fine salt and sand embedded in the pile. Use a soft detailing brush to loosen dust from vents, seams, buttons, and textured plastic, then vacuum the loosened material rather than blowing it into another part of the cabin.
Work from the highest surfaces downward, and from the cabin's inner areas toward the door openings. That way, falling dust has somewhere left to go.
Don't force the nozzle into a seat seam or drag it over delicate trim. Gently open the seam with your fingers where appropriate, hold the crevice tool close, and let suction do the work. Vacuum the trunk after the passenger cabin, then clean the mats separately. Only once the loose contamination is gone should you introduce a damp towel, brush, extractor, or steam tool.
Material-Specific Surface and Upholstery Care
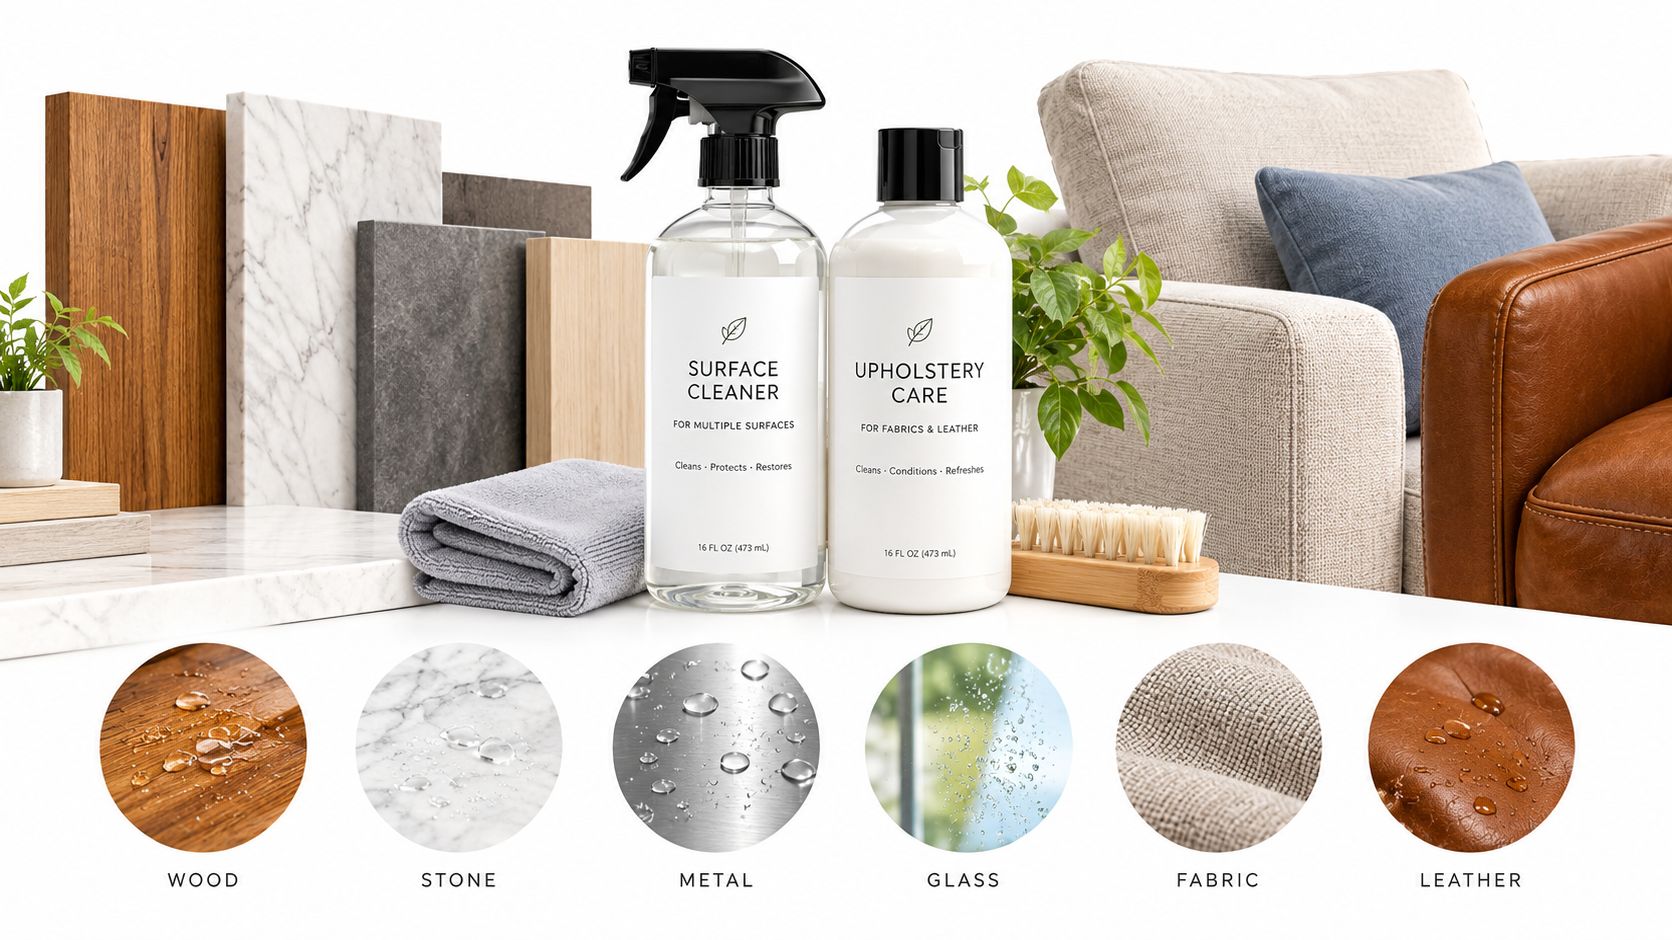
A car cabin contains several different materials, and they don't all respond well to the same cleaner. Fabric, vinyl, leather, plastic, seatbelts, tinted glass, and electronic controls each need a controlled approach. The safest general principle is simple: apply product to a towel or brush, not directly onto the surface.
Hard surfaces and controls
For dashboards, door panels, consoles, steering-wheel trim, and vinyl, use a lightly damp microfiber towel with a mild soap-and-water solution. Wring the towel so it's damp rather than wet, then work in small sections. A soft brush helps lift dirt from vent vanes and textured seams, but hard scrubbing can polish or mark soft-touch coatings.
Never flood switches, screens, speaker grilles, or the area around the instrument cluster. Spraying directly onto the dashboard gives liquid a straight route into electronics and narrow gaps. Put a small amount on the towel, wipe, and follow with a dry side of the cloth.
Seatbelts need restraint as well. Pull the belt out, wipe it with a mild solution, and leave it extended until dry. Don't saturate the webbing or retract it while damp, because moisture can remain inside the mechanism.
Cloth, vinyl, and leather
Cloth seats and carpet respond best to targeted pre-treatment followed by controlled agitation. Test the cleaner on a hidden area first, use a soft or medium upholstery brush according to the fabric, and avoid soaking the foam beneath the surface. A damp fabric can be cleaned. A dripping fabric can become a drying and odour problem.
Leather needs a different sequence. Remove loose grit, clean with a suitable leather product or mild soap-and-water method, and apply conditioner sparingly once the surface is clean and dry. Buff off residue so the seat doesn't become greasy and slippery. A heavy coating may look glossy, but it can attract dust and transfer onto clothing.
Glass belongs at the end
Interior glass collects dust and film from the cabin, creating glare and haze that becomes especially distracting at night. Clean it after the dashboard, seats, and trim so you don't put fresh dust back onto the windows.
Use an automotive glass cleaner and spray it onto a microfiber towel rather than the glass. Wipe with the damp side, then turn to a clean, dry side for the final pass. Keep product away from surrounding trim and electronic displays, and use separate towels for glass and interior dressings to prevent greasy streaks.
The finish isn't judged by shine alone. A properly cleaned cabin has dry upholstery, clean contact surfaces, clear glass, and no chemical residue. If a seat still feels cool and damp after cleaning, the job isn't finished.
Tackling Stubborn Salt Stains and Trapped Odors
Salt stains usually appear as pale rings or crusty patches on carpet and fabric mats. Vacuuming removes loose crystals, but it won't always lift residue that has dissolved into the fibres and dried again. The answer isn't more force. It's controlled rehydration, agitation, and extraction.
Start by removing the mat or exposing the affected carpet. Vacuum thoroughly, then test the chosen cleaner on a hidden section. Apply a small amount to a towel, brush, or affected area according to the product instructions. Work the stain from the outside toward the centre so you don't spread the ring into clean fabric.
For deeper contamination, use an upholstery extractor or wet-dry vacuum after agitation. Make deliberate passes and remove as much liquid as you introduce. A carpet that feels soaked may look clean for the moment, then develop a damp smell as moisture remains below the surface. CAA's interior cleaning advice for Ontario drivers specifically cautions against excess water in seats because mould can follow.
Odours require source removal, not perfume. Check beneath mats, around seat rails, inside cup holders, under child seats, and near areas where food or drink may have spilled. Pet hair and organic residue can remain even after the surface appears tidy. Steam sanitization, hot-water extraction, or a material-safe enzyme treatment may help, but the treatment must match the surface and the source.
Drying determines whether the work lasts
Leave doors open in a safe, ventilated place and use airflow when possible. Don't reinstall wet mats or close the vehicle immediately after a substantial upholstery treatment. In winter, plan the job so the cabin has enough time to dry before the vehicle returns to cold, damp conditions.
A clean scent can hide a problem for a short while. A genuinely clean interior smells neutral because the residue has been removed and the materials have dried. If the odour returns, look for the moisture source instead of adding another air freshener.
Comparing DIY Maintenance and Professional Detailing
DIY upkeep is ideal for loose dirt, fresh spills, and routine vacuuming. It gives you control over the products and lets you respond before salt and grit settle into the fibres. Professional detailing earns its place when the vehicle needs extraction, stain treatment, pet-hair removal, steam work, or careful cleaning around neglected crevices.
The GTA market has moved beyond the old vacuum-and-wipe model. Local providers now promote multi-step packages that can combine steam sanitization, hot-water extraction, deep stain treatment, leather conditioning, vent cleaning, and pet-hair removal. That evolution reflects a practical change in what owners expect from interior cleaning, sanitation and material care now sit alongside appearance.
Toronto-area guidance commonly recommends a professional deep interior service every 3 to 6 months, with lighter maintenance cleaning every 4 to 6 weeks for vehicles exposed to regular use. These service cadences and the market's shift toward bundled interior care are described in Toronto interior detailing guidance.
| Feature | DIY Maintenance | Professional Detailing |
|---|---|---|
| Loose dirt and crumbs | Quick vacuuming with a crevice tool handles regular debris | Thorough vacuuming reaches seat rails, seams, mats, and difficult gaps |
| Salt and stains | Suitable for fresh marks with careful pre-treatment | Extraction, agitation, and targeted stain removal handle deeper contamination |
| Moisture control | Depends on your equipment and drying space | Technicians can control product volume, extraction, and drying more systematically |
| Tools | Microfiber towels, brushes, vacuum, and material-safe cleaners | Commercial vacuums, extractors, steam equipment, brushes, and trained labour |
| Time | Convenient for small jobs, but slow when the cabin is heavily soiled | A full interior service may take about 1.5 to 8 hours, depending on size and condition, as noted by GTA detailing benchmarks |
| Cost | Lower direct cost, with your time and products as the trade-off | GTA full interior details commonly range from roughly $119 to $300, depending on vehicle size and package depth, according to local pricing guidance |
| Best use | Frequent prevention between deeper cleans | Seasonal resets, severe salt buildup, odours, stains, and neglected interiors |
The table shows the trade-off. DIY cleaning is cheaper and more responsive, but it can become frustrating when you lack an extractor or can't dry upholstery properly. Professional work costs more at the visit, yet it can be sensible when replacing stained mats, repeating failed cleaning attempts, or spending a weekend on a cabin that needs specialist equipment.
Nanak Car Wash offers full-service wash packages with interior vacuuming, dashboard and window cleaning, plus appointment-based detailing that includes carpet and seat shampooing, salt and stain removal, vent and crevice blowout, and leather deep cleaning. For repeat drivers, prepaid wash options, memberships, or routine maintenance visits can make more sense than waiting until the cabin needs a complete rescue.
Building a Sustainable Seasonal Cleaning Routine
A sustainable routine matches the vehicle's condition, not an arbitrary idea of perfection. Winter demands fast removal of salt and slush. Spring calls for a reset after months of tracked contamination. Summer shifts the focus toward dust, spills, sunscreen, and odours. Fall is the time to clear the cabin before wet weather starts again.
Use a small maintenance routine between deeper services:
- After messy drives: Remove wet mats, shake out loose grit, and wipe door sills before residue dries.
- During regular upkeep: Vacuum footwells, seats, cup holders, and cargo areas, then wipe high-contact surfaces with a damp microfiber towel.
- After spills: Blot first, test the cleaner, treat the material, and dry it fully. Don't rub a liquid deeper into the upholstery.
- Before winter: Clean and dry the mats, inspect carpet edges, and deal with existing stains before salt season adds another layer.
- After winter: Book a deeper reset if salt rings, damp odours, or embedded grit remain after routine vacuuming.
Toronto-area operators commonly recommend a 3- to 6-month cycle for full interior cleaning, while maintenance cleans every 4 to 6 weeks help reduce the labour required for a deeper reset. Those intervals come from local GTA detailing recommendations, and they should be adjusted for commuting, passengers, pets, food, and winter exposure.
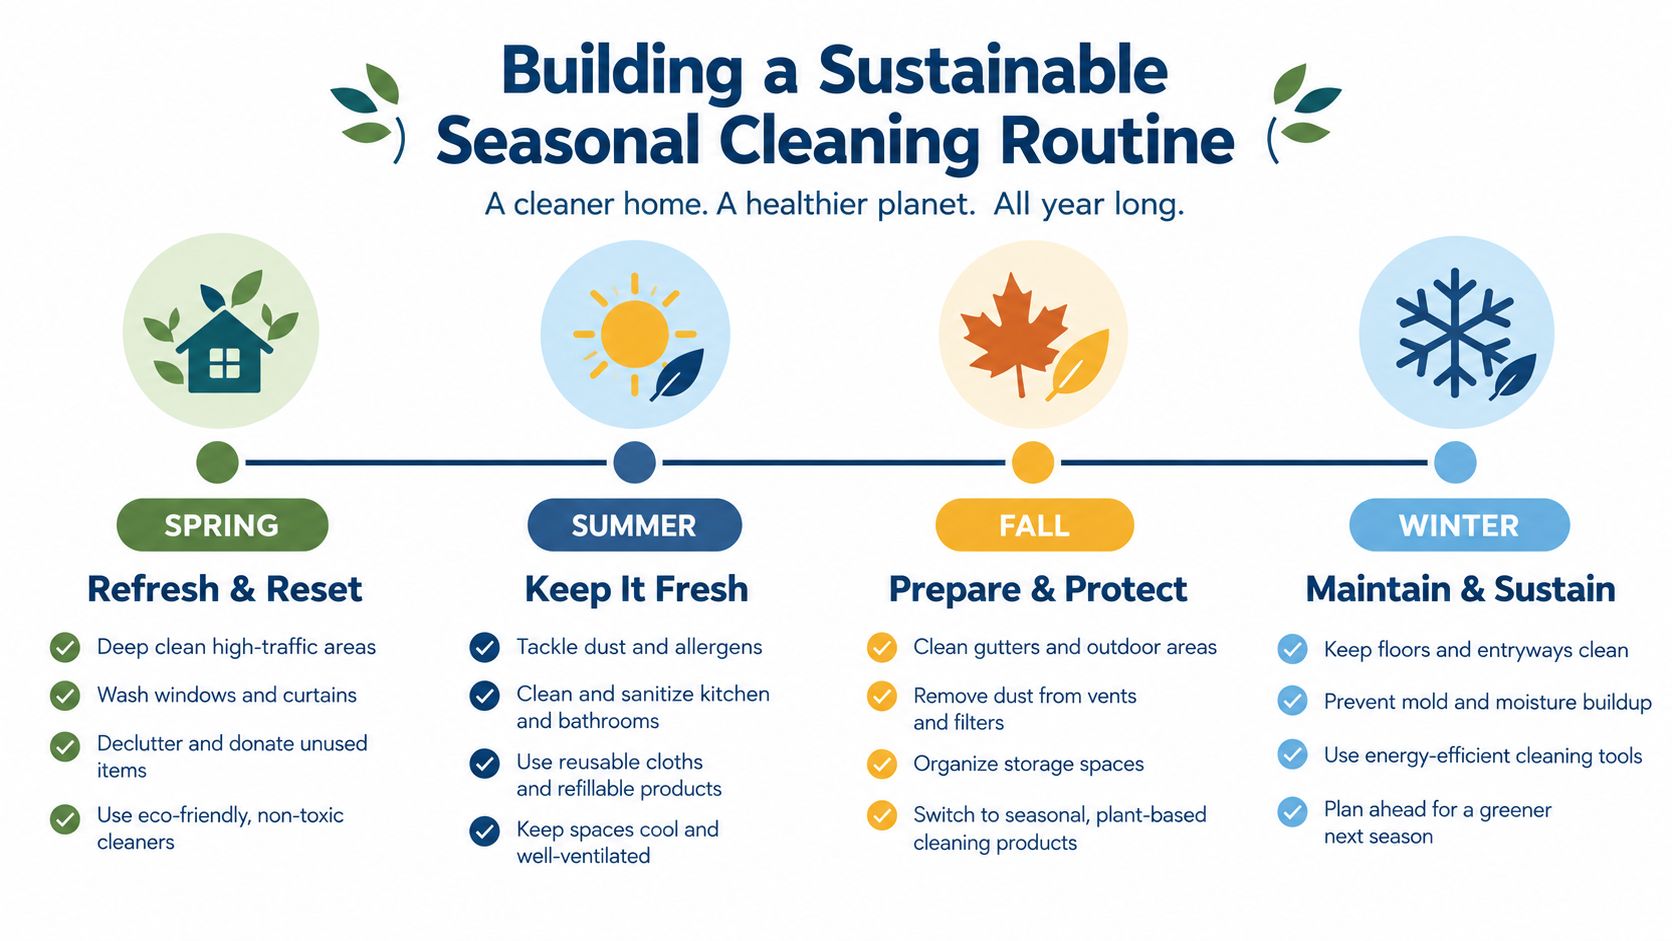
The most effective schedule is not complicated. Vacuum before dirt becomes embedded, remove salt before it dries into a crust, use the least moisture needed, and give every damp material enough time to dry. When the cabin stays manageable, professional detailing becomes a preventive reset rather than an emergency repair job.
For Ontario drivers dealing with salt, slush, stains, and trapped odours, Nanak Car Wash provides interior vacuuming, dashboard and window cleaning, and appointment-based detailing with carpet and seat shampooing, salt and stain removal, vent cleaning, and leather care. Visit Nanak Car Wash to choose a practical wash or detailing service and get your cabin back into a dry, clean maintenance routine.


 6600 Finch Ave W, Etobicoke, ON M9V 3Z6
 647-703-8515
 MON – SUN 8 AM to 7 PM