
A typical rust proofing application in Ontario runs roughly $119.95 to $149.95 plus tax, depending on vehicle size, and an annual or semi-annual schedule is standard in the GTA because chloride brines keep working long after the last snowfall. If you drive a salt-exposed commuter, that recurring treatment is usually more sensible than waiting for visible rust and paying for structural repairs.
Late February on the QEW is a perfect example. The road looks merely wet, but the spray thrown up by transport trucks is a thin, sticky mixture of water and de-icing chemicals. By the time you reach Oakville, Mississauga, or the Gardiner, it has worked into wheel wells, seams, subframes, and brake-line brackets. The top of your car may still look showroom clean while the underside is carrying a chemical film.
That's the practical reality behind rust proofing Ontario. It isn't a beauty treatment, and it isn't a magic shield. It's one part of a maintenance routine that reduces chloride exposure, protects hidden metal, and gives you a better chance of avoiding corrosion-related safety work later.
Table of Contents
- Why Ontario Roads Hit Your Car Harder
- How Salt Eats Metal
- Rust Proofing Methods Available in Ontario
- When to Get It Done and How Often
- What It Costs and What You Get Back
- Choosing a Rust Proofing Provider in the GTA
- Keeping the Protection Working All Year
Why Ontario Roads Hit Your Car Harder
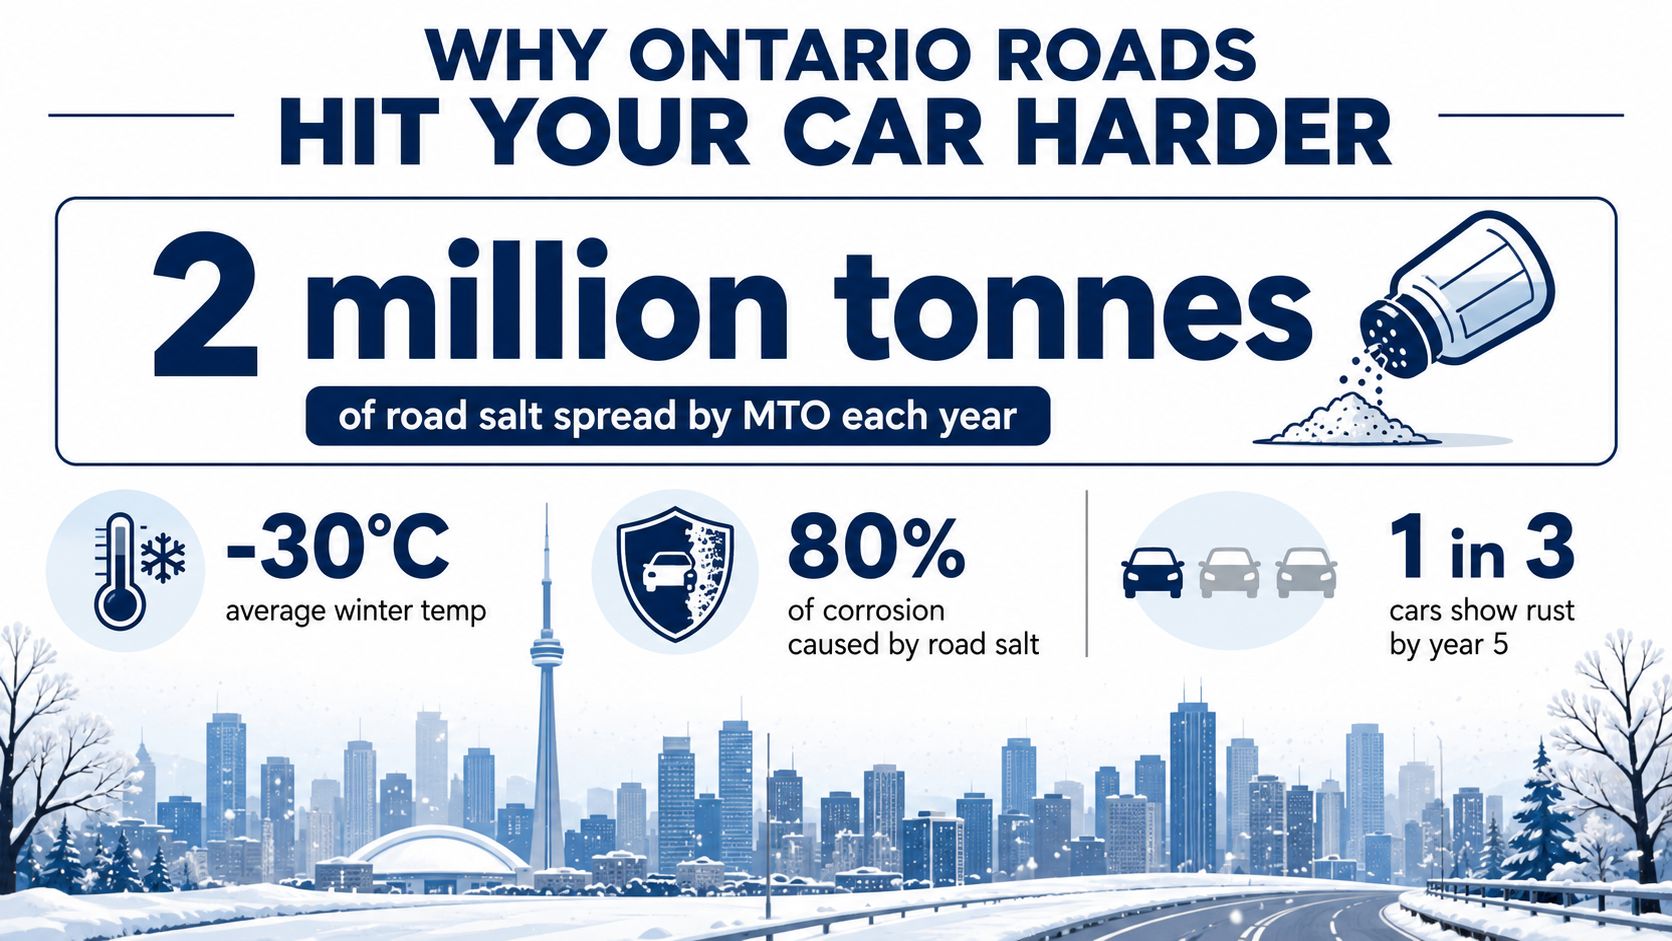
Leave Burlington for Toronto on a wet freeze-thaw morning and the QEW can put more than road grime on your car. Repeated salt and brine applications follow you onto the 401, while spray on the Gardiner and Don Valley Parkway reaches wheel arches, seams, and underbody cavities. Near Lake Ontario, humidity can keep those areas damp after the pavement appears dry.
Ontario's corrosion pressure comes from chloride brine, water spray, gravel, and road chemicals working together. They keep exposed steel wet and electrically active. A Transportation Research Board study measured atmospheric corrosion in Toronto at 5,108 mg/dm² over a 19-month exposure period, placing the city among the highest-corrosion locations examined in that research Transportation Research Board study on Toronto atmospheric corrosion.
The underside tells a different story
A clean bonnet and polished doors reveal little about what is happening below. Salt-laden water reaches lower control arms, subframe edges, exhaust hangers, fuel-line clips, and rocker-panel drains. Slush dries on exposed surfaces while moisture stays behind plastic shields, inside folded metal, or around fasteners.
That gap between appearance and structure is routine in GTA service bays. A vehicle can look presentable in the driveway while scaling develops around brake-line runs or corrosion starts at a subframe mounting point. Ontario inspection guidance treats visible corrosion in safety-critical areas seriously, so neglecting the underside can turn a cosmetic concern into a roadworthiness problem.
Factory coatings help, especially on newer vehicles, but they do not make an Ontario car immune. EVs and hybrids also have exposed fasteners, suspension parts, subframes, and mounting hardware that face the same salt spray. Their powertrain changes the maintenance details, not the need to inspect vulnerable metal.
Ontario evidence supports prevention
A University of Windsor engineering study, summarized in 2018, observed rust patterns on hundreds of Ontario vehicles. Vehicles treated with rust control had 6.8 times less visible body rust than untreated vehicles, while untreated underbodies showed 3.6 times more corrosion than treated underbodies University of Windsor rust-control study summary.
Those findings do not make any treatment a permanent shield. They support a practical cost-versus-resale decision for drivers travelling between Whitby, Vaughan, Oakville, and downtown Toronto. Slowing hidden corrosion can protect future resale value and reduce the chance that a neglected underbody becomes an expensive repair.
How Salt Eats Metal
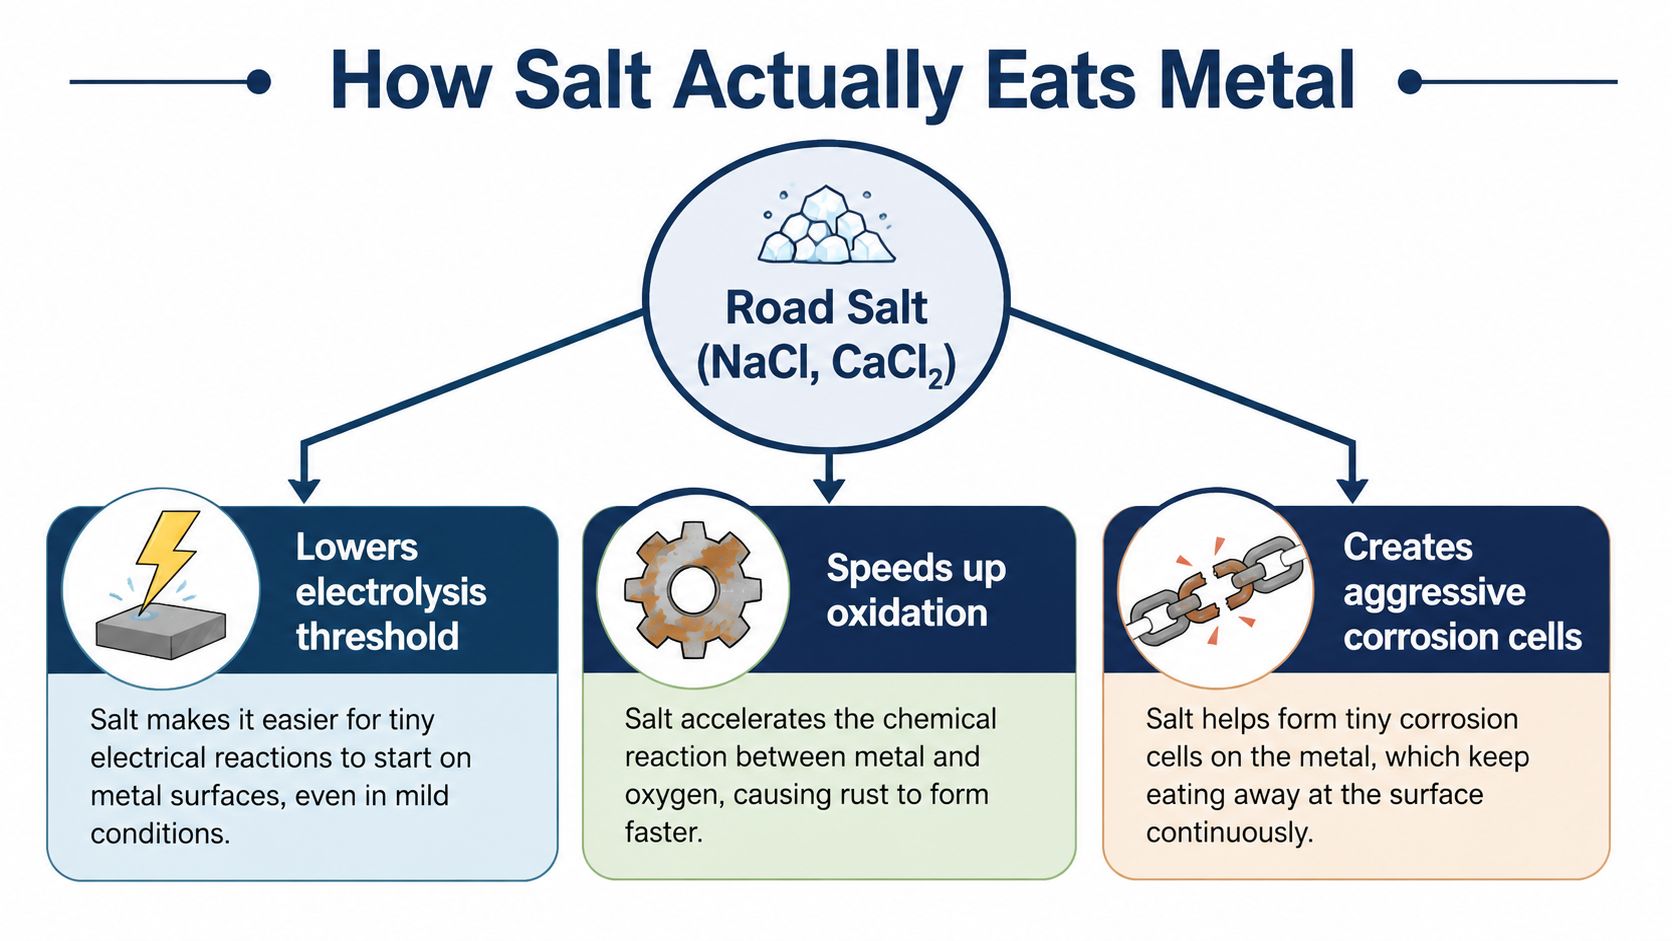
Steel corrodes when moisture and oxygen permit an electrochemical reaction. Road salt accelerates that process. Sodium chloride and calcium chloride dissolve into conductive brine, allowing charged particles to move across the surface and form small corrosion cells.
The underside behaves like countless tiny batteries. Moisture carries the electrical charge, contaminated steel provides the active surface, and contact between different metals creates areas that corrode at different speeds. Chloride also travels into seams, crevices, fasteners, and damaged coatings, where it keeps metal damp long after a vehicle leaves the QEW or 401.
Why salt keeps working after the road dries
Salt residue is hygroscopic, so it draws moisture from surrounding air. Corrosion can continue inside a seam, rocker cavity, or frame section even when the vehicle looks dry. Under moist conditions, corrosion may begin within 48 to 72 hours of salt contact, and residue can remain active after visible drying Ontario road-salt corrosion explanation.
Spring creates another corrosion cycle. Warm afternoons, damp evenings, and repeated thawing reactivate salt trapped through winter. A car driven along the Don Valley Parkway or lakefront roads can keep losing metal into April or May, even after snowbanks disappear.
Where a normal wash falls short
A touchless wash removes loose contamination, but it may not clear compacted residue from rocker panels, behind splash guards, or around spot welds. Careless high-pressure washing can push grime deeper into a seam rather than flush it away.
Inspect these salt-exposed areas first:
- Brake and fuel-line runs, especially where clips hold lines against the body.
- Subframe pinch points, where folded steel collects wet grit.
- Lower suspension brackets, including control-arm mounting areas.
- Wheel wells and rear quarter cavities, where slush can remain hidden.
- Rocker-panel and tailgate drains, which can clog with mud and salt residue.
Rust proofing works best after cleaning. Removing chloride from hidden surfaces comes first, followed by a protective product that separates cleaned metal from moisture and oxygen. That sequence matters more than a dark, uniform finish that only makes an undercarriage appear protected.
Rust Proofing Methods Available in Ontario
The GTA market offers several approaches, but they don't protect the same way. The right choice depends on the vehicle's condition, how it's driven, and whether the treatment can reach enclosed cavities.
Oil-based drip treatments
Penetrating oil treatments are thin enough to creep into seams, overlaps, fasteners, and internal cavities. They can remain mobile and may offer some self-healing after minor movement or abrasion. The trade-off is mess. Drip-style products can leave marks on a driveway and attract dirt around exposed areas.
For an older vehicle with early surface corrosion, an oil treatment is generally more forgiving than a hard coating. It can wet porous rust and displace moisture, but it won't restore metal that has already perforated.
Wax and paraffin coatings
Wax products create a thicker film and work well on clean, enclosed or boxed sections. They're less likely to drip than a very fluid oil, and they can provide useful coverage on factory-coated surfaces. Their weakness is brittleness. Road debris, temperature changes, and flexing can create cracks, so the coating needs inspection and renewal.
Petroleum or rubberized underbody sealants
Thick sealants look convincing because they create a dark, uniform finish. That appearance can be misleading. If salt or existing rust sits underneath, a cracked coating can trap moisture against the metal and hide the damage from view.
I'm cautious with these products on used vehicles unless the surface has been properly inspected, cleaned, and prepared. A sealed problem is still a problem.
Electronic modules
Electronic rust-control modules are passive devices intended to influence the corrosion process through an electrical circuit. They don't physically coat seams, brake-line brackets, frame cavities, or crevice surfaces. In a GTA winter, that limitation matters. A module shouldn't be treated as a substitute for cleaning and chemical protection.
Factory coatings and restoration work
Factory e-coating and paint provide important baseline protection, but they don't guarantee complete cavity coverage. Fasteners, drilled access points, tow-hook areas, repair zones, and exposed edges can become weak spots. Professional restoration can clean compromised areas and add targeted sealant without blindly covering active corrosion.
| Method | Typical Cost | Best For | Limitations in Ontario Winters |
|---|---|---|---|
| Oil-based drip | $119.95 to $149.95 plus tax for many cars and crossovers | Annual cavity and seam protection | Can drip, attract dirt, and require regular reapplication |
| Paraffin wax | Varies by vehicle and coverage | Clean boxed sections and exposed surfaces | Can crack or become incomplete if not renewed |
| Petroleum or rubberized sealant | Varies by preparation and vehicle condition | Clean, inspected underbodies | May trap salt and conceal corrosion if applied over contamination |
| Electronic module | Varies by system and installation | Supplementary use for owners who want a passive device | Doesn't coat hidden surfaces or stop crevice corrosion |
| Professional restoration and touch-up | Varies with preparation and damage | Vehicles needing targeted repair and coating renewal | More preparation is required, and it can't replace perforated metal |
For a typical GTA commuter, my practical preference is an annual penetrating treatment, with wax used selectively on clean boxed sections. EVs and hybrids need careful application around battery enclosures, cooling lines, sensors, and high-voltage components. Low-odour products can be more comfortable for owners, but correct masking and coverage matter more than a pleasant smell.
When to Get It Done and How Often
Timing affects the result. The product needs reasonably clean metal and open cavities before sustained brine reaches routes such as the 401, QEW, Gardiner, and Don Valley Parkway. In the GTA, late fall is usually the practical window. Booking after the first major storm can mean applying protection over salt, wet grime, and chloride already sitting inside seams.
Local corrosion evidence supports recurring maintenance rather than a one-time appointment. University of Windsor observations found substantially less visible body and underbody corrosion on treated vehicles, while Toronto corrosion research showed how aggressive the regional environment can be. Those findings support reducing exposure repeatedly, not assuming any coating makes a vehicle permanent-rust-proof.
A workable GTA schedule
- Late October to early November: Apply the main treatment after a thorough underbody rinse and adequate drying.
- January through March: Remove accumulated salt with regular underbody cleaning, especially after wet highway trips.
- Late April to mid-May: Consider a spring touch-up for an older vehicle, daily commuter, work truck, SUV, or car exposed to lakefront humidity.
- Summer: Inspect drains, coating damage, and areas struck by gravel or curb contact.
Annual treatment generally suits a newer vehicle with moderate use and indoor overnight parking. A semi-annual schedule fits high-mileage commuters and vehicles that spend much of winter outdoors. EV and hybrid owners should schedule treatment with a provider that can identify battery enclosures, cooling lines, sensors, and high-voltage components before spraying.
Practical rule: Clean first, treat before the salt cycle, then inspect after the thaw.
A salty commute should not be followed by an appointment that sprays over the underside. Request an underbody flush first, or arrange one before the service. Contaminated grime can block penetration and hold chloride against the steel.
Rust proofing also does not replace winter washing. Salt inhibitors can reduce corrosion under test conditions, yet their benefit is limited when only salt-driven corrosion is addressed. Protection lowers exposure. It cannot cancel GTA conditions, including brine on the 401, repeated wet-dry cycles on the QEW, or salt spray near the lakefront. Short rinse intervals through winter and a post-thaw inspection keep the treatment doing useful work.
What It Costs and What You Get Back
A rust-proofing appointment is easier to judge when you separate the service from the financial risk it addresses. For many sedans and crossovers, the typical application range is $119.95 to $149.95 plus tax. Larger trucks and three-row SUVs may cost more because they have greater underbody area and more cavities to access. These prices are service information supplied for this guide, so confirm the current quote, vehicle-size category, preparation, and tax before booking.
A proper appointment should involve more than spraying the visible frame rails. Ask whether the price includes:
- Undercarriage preparation, including removal of loose salt and grime.
- Cavity access, covering rocker panels, doors, frame sections, and wheel arches.
- Targeted protection, around exposed brake and fuel-line areas without coating components that shouldn't be treated.
- Coverage documentation, such as an inspection note or photographs.
- Written warranty terms, including exclusions and reapplication requirements.
The calculation for newer vehicles
A newer car may already have sound factory coatings, so rust proofing isn't automatically necessary for every owner. If the vehicle is lightly driven, parked indoors, and washed underneath regularly, the factory protection may be adequate for an initial period. That doesn't mean factory coatings cover every seam or remain untouched after road impacts, repairs, and accessory installation.
For an EV or hybrid, the decision deserves a careful inspection rather than a generic package. Battery enclosures, connectors, underbody shields, cooling lines, and sensors need appropriate clearance. A shop that treats every vehicle identically isn't giving you a serious assessment.
The calculation for older vehicles
On an older vehicle, skipping treatment is a choice to accept continued exposure. An oil-based application won't repair a perforated subframe or restore a failed brake line, but it can help preserve metal that remains structurally sound. The sensible first step is an inspection. If the vehicle has holes, soft mounting points, or severe scaling, repair comes before coating.
The best return isn't a guaranteed resale premium. It's reduced exposure to preventable deterioration and a better chance of catching problems before they become inspection failures. Keep invoices and inspection records. They won't erase existing rust, but they show a future buyer that you maintained the vehicle deliberately.
Choosing a Rust Proofing Provider in the GTA
The product name on the invoice tells you less than the application process. A thin oil can be useful when it reaches the right cavities, while an expensive coating can fail if the shop sprays over salt, mud, or active corrosion. Before booking in Brampton, Scarborough, Mississauga, Vaughan, or Oakville, ask questions that force the provider to explain the work.
Questions to ask before you book
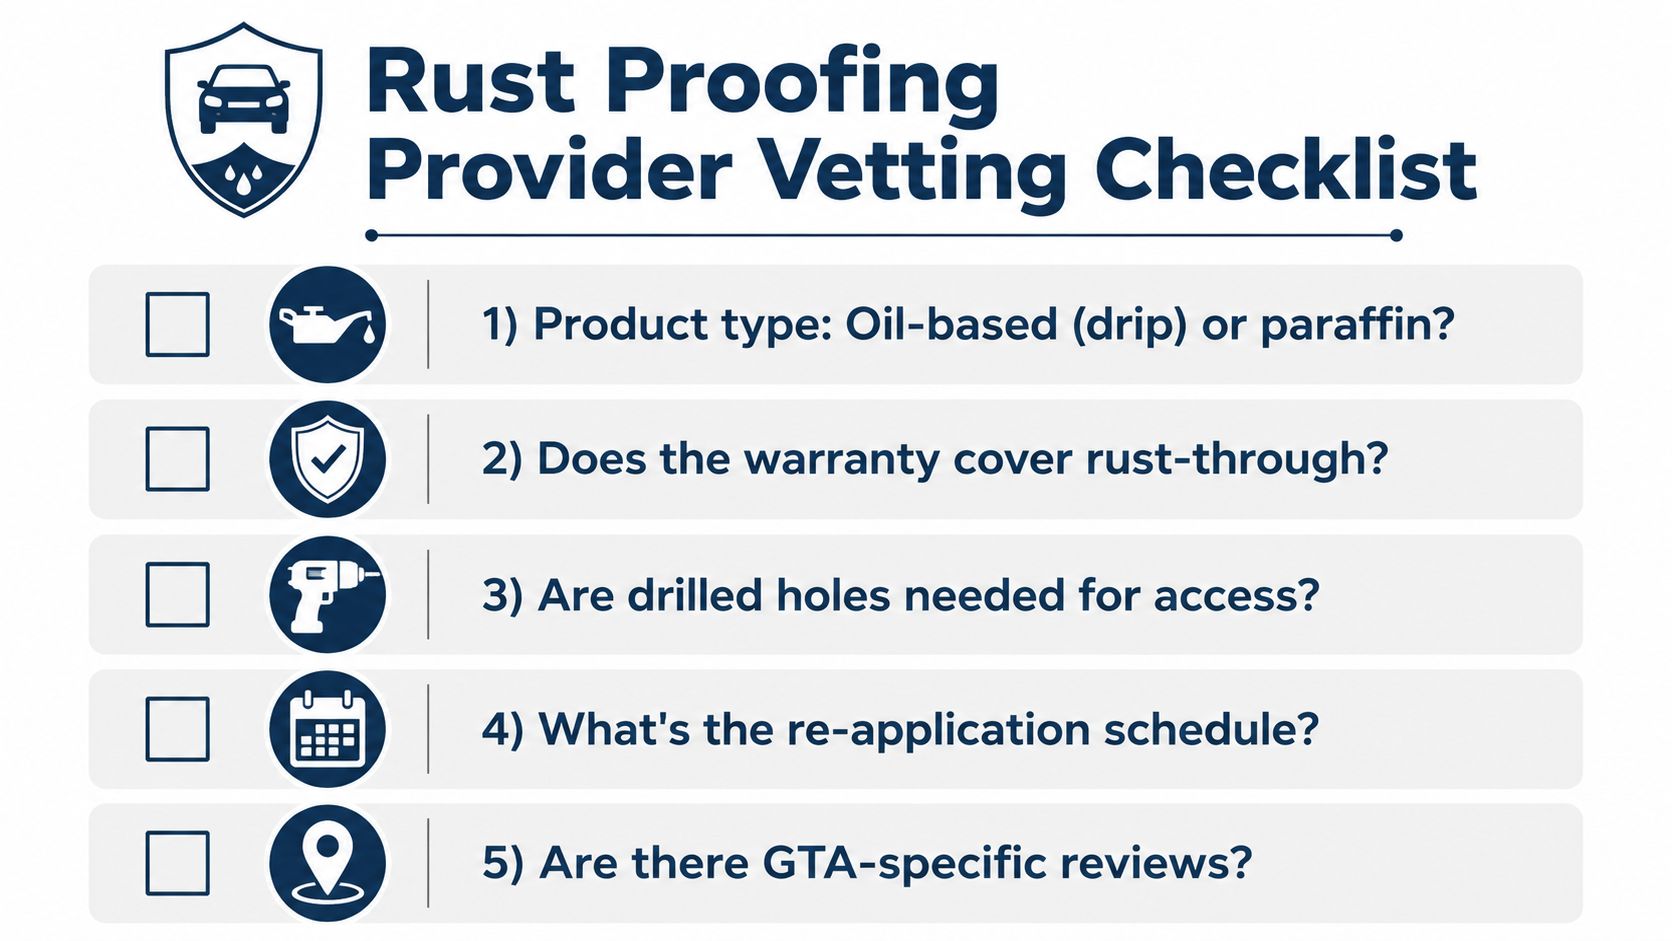
- Which product are you applying? Ask whether it's an oil-based drip, a no-drip oil, paraffin wax, petroleum sealant, or an electronic device.
- How do you access cavities? Find out whether the technician uses existing drain plugs or drills access holes in factory panels. Drilling shouldn't be treated casually.
- What does the written warranty cover? Ask specifically about rust-through, exclusions for road salt, inspection requirements, and reapplication conditions.
- Is the underbody wash included? A rinse before application can be more valuable than a glossy finish after it.
- How will you document coverage? Photos or a report card can reveal whether the technician treated both sides and the rear structure.
A quality appointment starts with an inspection, not a sales pitch. The technician should identify existing rust, remove loose contamination, protect brake and exhaust components from overspray, and apply the product to relevant cavity areas. Look for attention around rocker panels, frame rails, wheel arches, tow-hitch areas, and exposed line runs.
What the work should look like
You should be able to see evidence of preparation and coverage. The shop doesn't need to make the underside look freshly painted, but it should be able to explain what was treated and what was deliberately left untreated. Ask for before-and-after photographs if the vehicle is lifted.
Be wary of a lifetime warranty that excludes the exact salt exposure causing the problem. Be equally cautious with a bargain service that offers no cavity treatment, no preparation, and no written terms. Low pricing isn't automatically bad, but an incomplete process is poor value at any price.
For shop owners and other local service businesses, a clear description of services and municipality-specific customer feedback also matters online. These local visibility strategies for tradesmen are useful when you're assessing whether a provider presents its work transparently and serves your area consistently.
Confirm that the business is registered, ask neighbours who drive similar routes, and request the product's Canadian-approved MSDS sheet. A serious provider should answer without defensiveness.
Keeping the Protection Working All Year
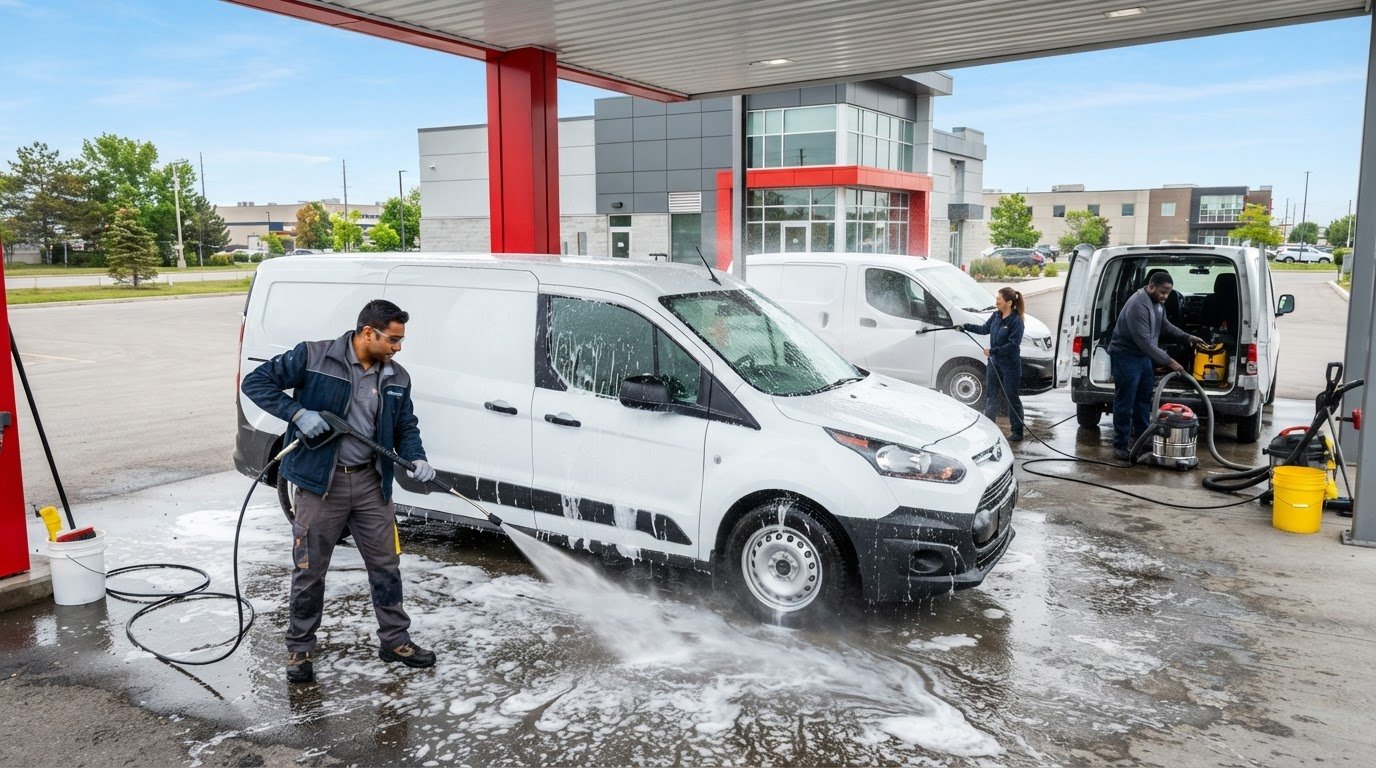
Rust proofing works best as a rhythm, not an annual appointment you forget about five minutes after leaving the shop. A treated vehicle can still collect brine on the Gardiner, lake-effect slush near the waterfront, and wet mud in frame rails. Regular rinsing removes the contamination that keeps restarting the corrosion process.
The simple rule is: apply in fall, rinse in winter, inspect in spring, and touch up in summer. It gives you a repeatable routine without pretending every vehicle faces the same exposure.
Winter requires removal, not just appearance care
From January through March, rinse the underbody regularly, with extra attention to wheel wells, frame rails, and the rear underside. You don't need to polish the chassis. You need to remove salt before it dries into a persistent film.
A wash with an underbody option is useful, but don't attack freshly applied wax with maximum pressure at close range. Aim to flush rather than gouge. If you drive the 401 daily or park outdoors near Lake Ontario, wash more deliberately after wet brine events instead of relying on a quick surface rinse.
Spring reveals what winter concealed
Once the thaw arrives, inspect rocker-panel drains, tailgate cavities, brake-line clips, subframe edges, and areas where plastic shields rub against metal. Look for bubbling paint, flaking scale, damaged coating, and blocked drains. Early surface damage is easier to evaluate than corrosion hidden under a thick layer of mud.
Summer is the right time to repair scrapes from off-roading, snowbanks, or curb impacts. Add a wax or oil touch-up where the protective film has been chipped, but don't apply a new coating over loose rust without cleaning and inspection.
Two habits undo otherwise sensible protection:
- Letting mud build up: A thick layer holds moisture and salt against the metal.
- Power-washing too aggressively: Close, forceful blasting can strip wax from exposed surfaces and drive contamination into seams.
- Ignoring new damage: A scraped coating becomes an entry point, particularly around brackets and wheel arches.
The durable approach is straightforward. Choose a product that suits the vehicle, use a provider that reaches hidden areas, remove salt throughout the season, and inspect after winter. For GTA drivers ready to protect the underside before the next salt cycle, visit Nanak Car Wash to ask about its vehicle-size-based rust proofing service and pair the treatment with underbody cleaning. Bring up your vehicle type, driving route, and existing corrosion so the team can recommend the appropriate coverage.

 6600 Finch Ave W, Etobicoke, ON M9V 3Z6
 647-703-8515
 MON – SUN 8 AM to 7 PM