
You climb into your GTA vehicle after a wet commute and immediately see the evidence: salt-crusted mats, damp boots, a stale dog smell, and a coffee lid that gave up somewhere near the centre console. The 401 has thrown road spray onto the doors, a mall parking lot has added muddy puddles, and March slush is now drying into the seat seams.
That combination makes cleaning upholstery in car interiors different from a routine vacuum-and-shampoo job. Salt, moisture, and grit keep returning through the Ontario winter, so the right method must remove contamination without trapping more water inside the cabin. Handle fresh spills and light maintenance at home, but send soaked padding, embedded odours, and damaged surfaces to a detailing shop.
Table of Contents
- Why GTA Upholstery Gets Dirty Faster Than You Think
- Know What You're Sitting On Before You Clean It
- The Fabric Upholstery Cleaning Workflow That Actually Works
- Leather and Vinyl Seats Need a Different Playbook
- Matching the Right Method to Common Car Stains
- Drying, Odor Control, and Prevention in Ontario Winters
- When to Book Interior Detailing at Nanak Car Wash
Why GTA Upholstery Gets Dirty Faster Than You Think
Ontario's winter maintenance creates a steady supply of interior grime. Local summaries report that the province applies roughly 1.5 to 3 million tonnes of road salt each winter, while Toronto is often estimated at about 130,000 to 150,000 tonnes annually. Municipalities used 2,218,609 tonnes of salt in 2019, which helps explain why salt removal around GTA vehicles is a recurring seasonal task, not an occasional spring chore. (Regional winter detailing guide)
You track that salt inside on boots, trousers, grocery bags, and wet dogs. Meltwater settles into carpets, floor mats, seat seams, and fabric fibres. Once the surface dries, white residue remains behind, while the damp layer beneath can hold onto musty odours. Calcium chloride road salt also attracts moisture, so a seemingly dry seat or carpet can keep feeling clammy in its padding.
Three problems arrive together
The first problem is salt residue. It leaves pale marks and can make fabric feel stiff. The second is the freeze-thaw cycle. A wet seat gets cold overnight, warms when you start the vehicle, then cools again when the car sits outside. That repeated change gives moisture plenty of opportunities to migrate deeper into foam.
The third is tracked-in grit. Fine sand and road debris work into the weave each time someone slides across a seat. Scrubbing that dry grit around only increases abrasion, much like rubbing sandpaper over interior fabric.
GTA rule: If the cabin smells damp after the surface looks clean, the problem is probably moisture or contamination below the visible stain.
Toronto's documented atmospheric corrosion exposure reached 5,108 mg/dm² over a 19-month study period, a benchmark often cited in discussions of Ontario's harsh salt-driven environment. The measurement concerns corrosion rather than upholstery, but it illustrates the conditions vehicles face when chloride-laden moisture is part of the daily drive. (Toronto interior cleaning guidance)
Recognising this pattern changes your approach. A quick wipe can handle a fresh coffee splash. It won't solve a salt-loaded carpet, damp seat foam, or grit embedded in a high-traffic bolster.
Know What You're Sitting On Before You Clean It
Product choice starts with material identification. Spend a short moment checking the seat before spraying anything, because fabric, leather, and vinyl react differently to water, heat, and cleaners.
A quick material check
Look at the texture first. Cloth usually has a woven or fuzzy surface. Leather feels smoother, may show natural grain, and often reveals a suede-like underside at an exposed edge. Vinyl feels more uniform and plastic-like, with a backing that can separate or peel if it has aged.
If you're unsure, test a tiny drop of water in a hidden area, such as beneath the seat edge. A drop that beads on top usually points toward leather or vinyl, while fabric tends to absorb it. Don't treat this as a complete diagnosis. Coated leather, bonded leather, and heavily protected fabric can all change how water behaves, so inspect the backing and seams as well.
Perforated seats need extra caution. The small holes can let cleaner and moisture reach the foam, where it may travel and reappear around a seam later. Alcantara-style microsuede also needs a gentle, controlled approach. Its nap can flatten, darken, or develop uneven texture when scrubbed aggressively.
| Surface | How to confirm in 30 seconds | Most common DIY mistake |
|---|---|---|
| Cloth fabric | Woven or fuzzy texture, water usually absorbs | Saturating the padding and leaving soap behind |
| Leather | Natural grain, smooth finish, suede-like underside at an edge | Using household degreaser or excessive water |
| Vinyl | Uniform plastic feel, synthetic backing may show at an edge | Applying silicone dressing that leaves a slippery shine |
| Bonded leather | Smooth coated surface with a uniform appearance, often peeling at damaged edges | Treating peeling areas like intact leather |
| Microsuede | Soft nap that changes direction when brushed | Scrubbing hard and flattening the fibres |
| Perforated upholstery | Small holes across the seating panel | Flooding the surface and wicking liquid into foam |
Test every new cleaner in a hidden spot first. A product that looks safe on one seat can stain another.
The most expensive mistake is cleaning before identifying the material. Over-wet cloth padding, soaked perforations, harsh soap on vinyl, and strong degreasers on leather can create a larger repair problem than the original stain.
The Fabric Upholstery Cleaning Workflow That Actually Works
For cloth seats, sequence matters more than brute force. Professional guidance for Ontario upholstery cleaning starts with dry vacuuming, targeted treatment, controlled steam or extraction, and deliberate drying. It also warns that dry grit can abrade fibres during agitation and that old stains may only lighten rather than disappear. (Ontario fabric seat cleaning guide)
Start dry, then treat the problem
Remove rubbish and slide the seats forward and back so you can reach the rails and edges. Use a vacuum with a crevice tool along seams, then use a soft upholstery brush attachment across the seat face. Pull out pet hair, salt crystals, crumbs, and loose grit before adding moisture.
Pre-treat by chemistry rather than spraying everything with the same shampoo. Use a suitable upholstery or enzyme cleaner for organic contamination, and use a dedicated product for grease or dye. Spray the cleaner onto a brush or microfibre cloth when possible, not directly into perforations, stitching, or nearby electronics.
Agitate gently with a soft upholstery brush. Work the cleaner into the pile with short strokes, but don't grind the fabric in circles. The purpose is to loosen the bond between the contamination and the fibres, not to force liquid through the seat.
Extract instead of redistributing
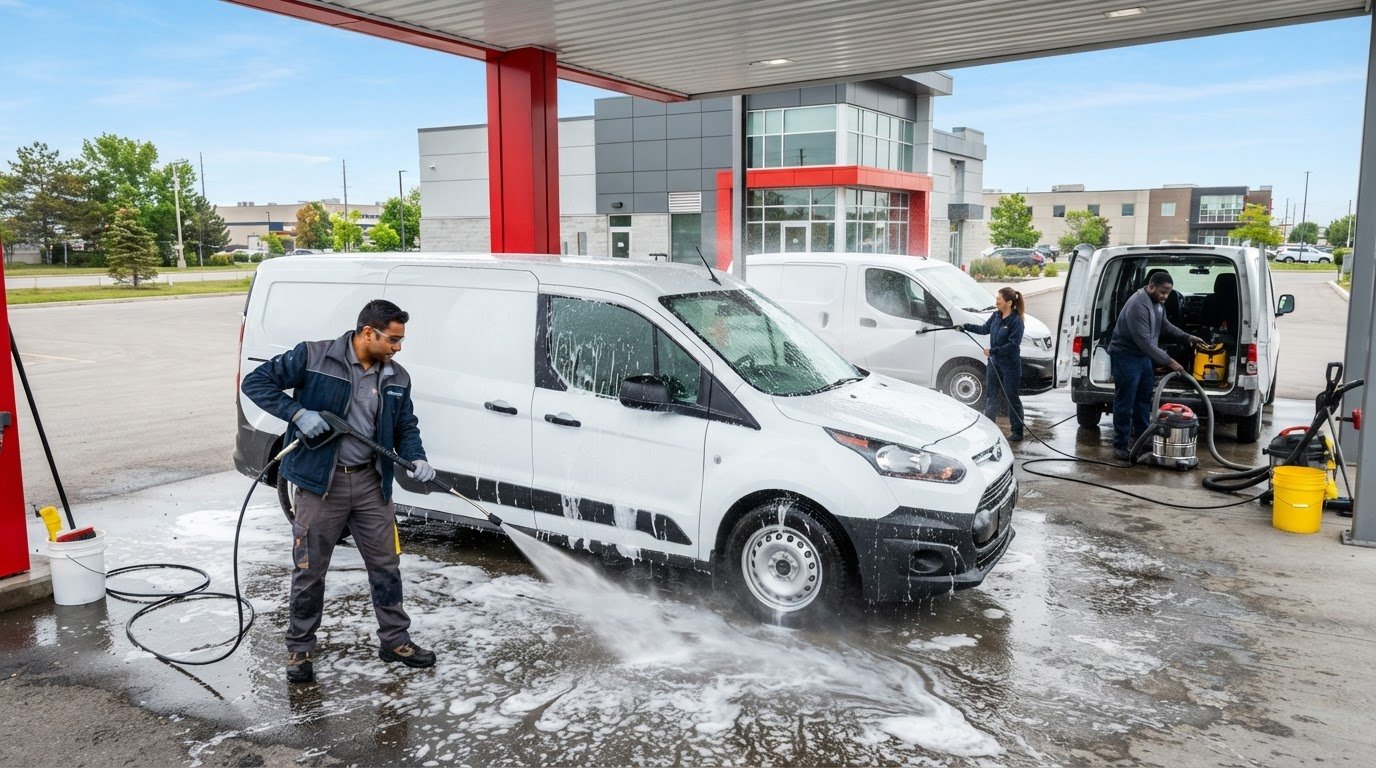
Use a wet/dry shop vacuum or upholstery extractor with clean water. Make slow passes and overlap them so the machine can recover loosened soil and cleaning solution. Repeated scrubbing without extraction often moves dirty liquid around and leaves salty residue that later wicks back to the surface.
Keep the seat damp, not saturated. Too much soap leaves a sticky film that attracts fresh dirt, while excess water can remain in foam and create a musty winter interior. Finish with dry towel blotting and strong airflow.
For a broader visual explanation of the sequence, this guide to cleaning car upholstery the right way is a useful companion.
A small spot may take only a short session. A full cloth interior with salt, pet hair, and several stains demands equipment setup, treatment, extraction, and drying time. If you can't provide airflow afterward, don't start a wet clean on a cold day.
Leather and Vinyl Seats Need a Different Playbook
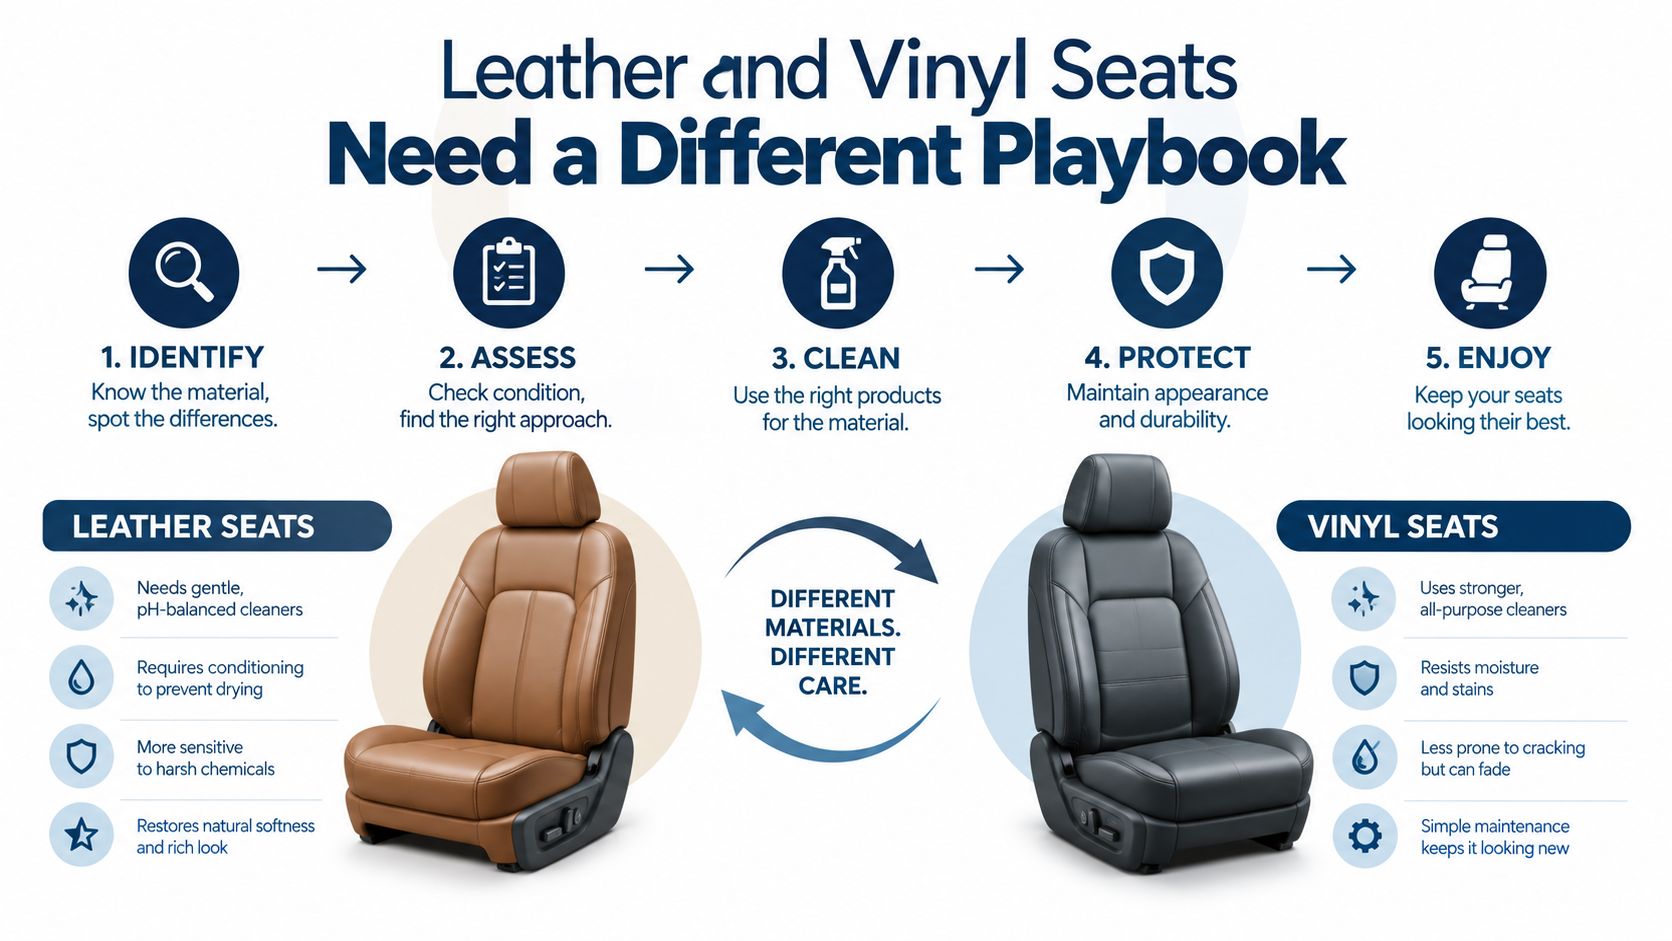
Leather and vinyl don't belong in the same workflow as cloth. Neither material benefits from being soaked, and both can show marks when cleaner dries unevenly across the surface.
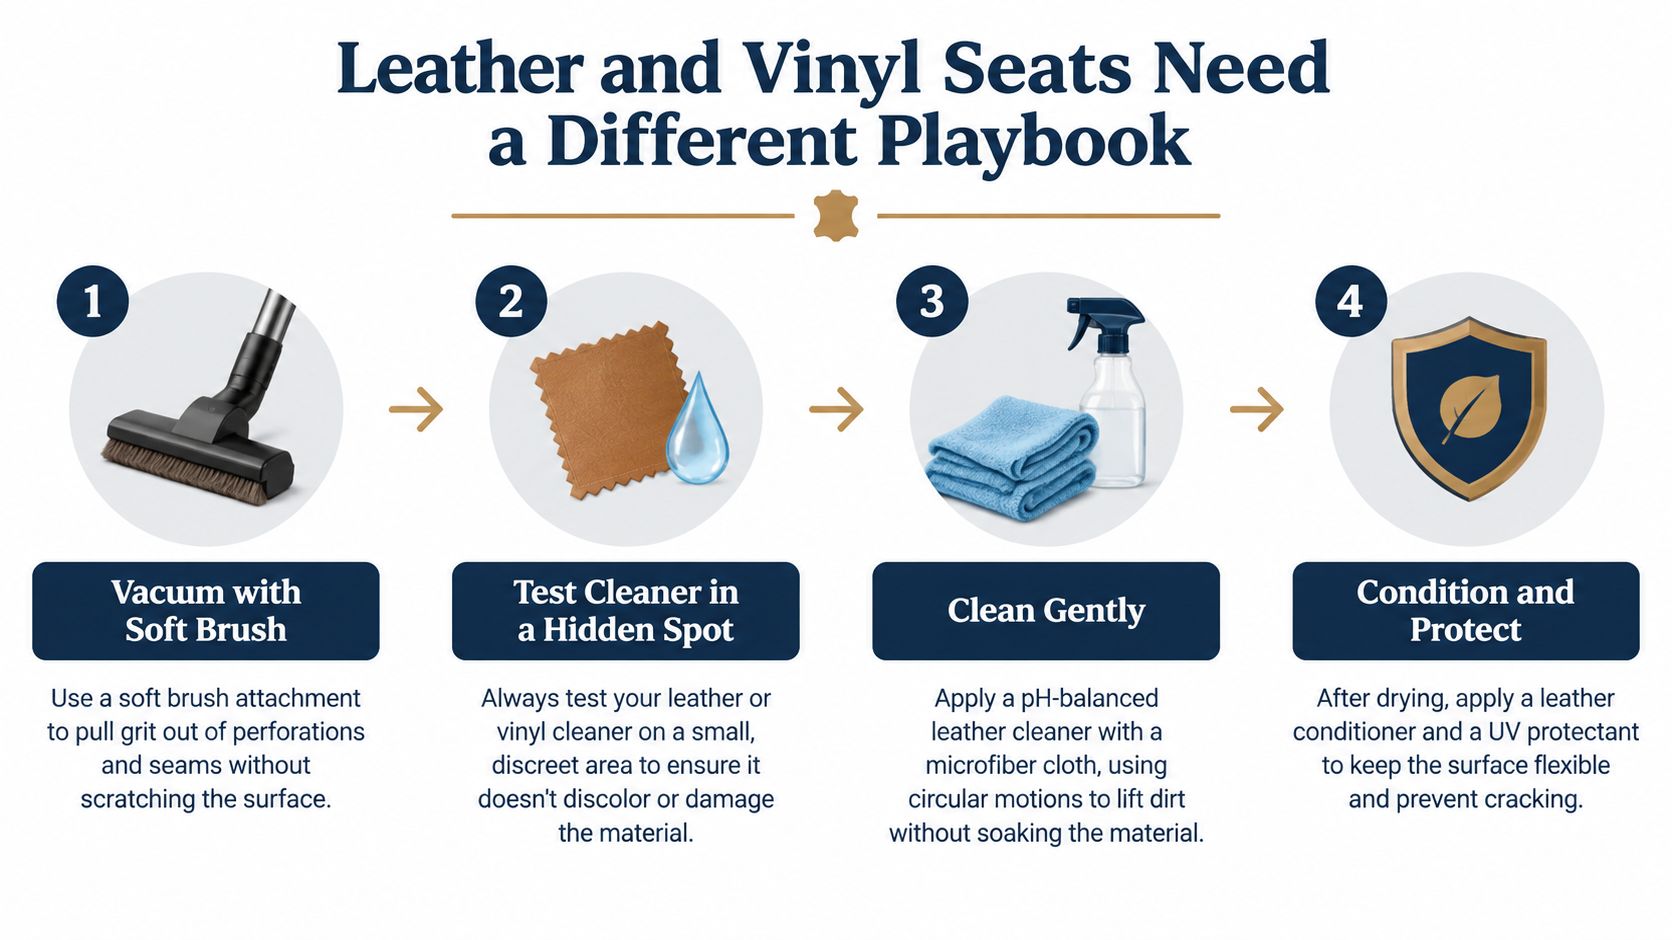
Begin with a soft brush vacuum attachment. Work through seams, bolsters, and perforations without dragging a hard nozzle across the finish. If salt or grit sits in a perforated panel, lift it out dry before using any liquid.
Next, test a pH-balanced leather cleaner in a hidden spot. Apply a small amount to a microfibre cloth rather than flooding the seat. Clean a manageable area, then wipe with a barely damp cloth and dry it immediately. The cloth should carry the product, not the seat.
Leather needs controlled conditioning
Leather cleaners remove surface soil, body oils, and winter residue. Household sprays, kitchen degreasers, and strong solvents can strip or dull the finish. Excess water can also enter stitching and perforations, where it may reach the foam.
Once the surface is dry, apply a small amount of leather conditioner with a clean cloth. Work it in gently, allow it to settle according to the product directions, then buff away excess. Too much conditioner leaves a greasy surface that attracts dust and makes the seat slippery.
Vinyl gets a separate treatment. Use a mild cleaner, wipe it away completely, and skip leather conditioner. Silicone-heavy dressings can create an artificial shine and a slick driving surface, especially on bolsters and steering-adjacent areas.
Heat doesn't replace caution
Controlled steam can loosen grime, but don't hold heat in one place and don't direct steam into perforations or stitching. A damp cloth and patient wiping are safer for routine vinyl maintenance. If the surface is peeling, cracked, or showing dye transfer, stop before your cleaning attempt spreads the damage.
Matching the Right Method to Common Car Stains
Stop guessing based on colour alone. Coffee, pet accidents, grease, and ink attach to upholstery through different chemistry, so the same cleaner won't perform equally on all of them.
Blot a fresh spill before applying a product. Rubbing spreads the mark across the weave and pushes liquid into the padding. Work from the outside toward the centre, using a clean section of cloth as the stain transfers.
Use the stain type as your starting point
Coffee, tea, and many soft drinks behave like tannin stains. After blotting, use a mild upholstery-safe acidic cleaner or carefully diluted white vinegar, then blot and rinse lightly. Don't leave an acidic product sitting on leather or vinyl without a hidden-spot test.
Blood, sweat, and pet accidents are protein-based. Use cold water and an enzymatic cleaner. Heat can set protein contamination, so skip hot treatment until the residue has been properly addressed.
Grease, body oil, and lotion require a different move. Blot excess oil, then use a fabric-safe solvent or diluted degreaser sparingly. Follow with extraction or careful blotting so the cleaning product doesn't remain in the pile.
Ink, jean dye transfer, and food colouring are dye stains. A small amount of isopropyl alcohol on a cloth may help with fabric, but it can affect coatings and colour on leather or vinyl. Test first, and use a dedicated dye remover when the material requires it.
| Stain Type | Examples | Recommended Product | Technique | Avoid |
|---|---|---|---|---|
| Tannin | Coffee, tea, soft drinks | Mild upholstery-safe acidic cleaner or diluted white vinegar | Blot, treat lightly, then rinse and blot | Rubbing outward or leaving residue |
| Protein | Blood, sweat, pet accidents | Cold water and enzyme cleaner | Blot, allow controlled dwell time, then extract | Heat before treatment |
| Oil | Grease, body oil, lotion | Fabric-safe solvent or diluted degreaser | Absorb excess, apply sparingly, then extract | Flooding the padding |
| Dye | Ink, jean transfer, food colouring | Isopropyl alcohol for suitable fabric or dedicated dye remover | Dab from outside inward after testing | Using alcohol on untested leather or vinyl |
Old stains may only lighten. That's a normal limitation, especially when a previous product has set the colour or damaged the finish. Broad staining across a seat should move beyond spot cleaning, because isolated treatment can leave a clean-looking patch surrounded by dirty fabric.
Drying, Odor Control, and Prevention in Ontario Winters
A wet seat isn't finished just because the stain has faded. Drying determines whether the vehicle smells clean tomorrow or develops the musty odour you were trying to remove.
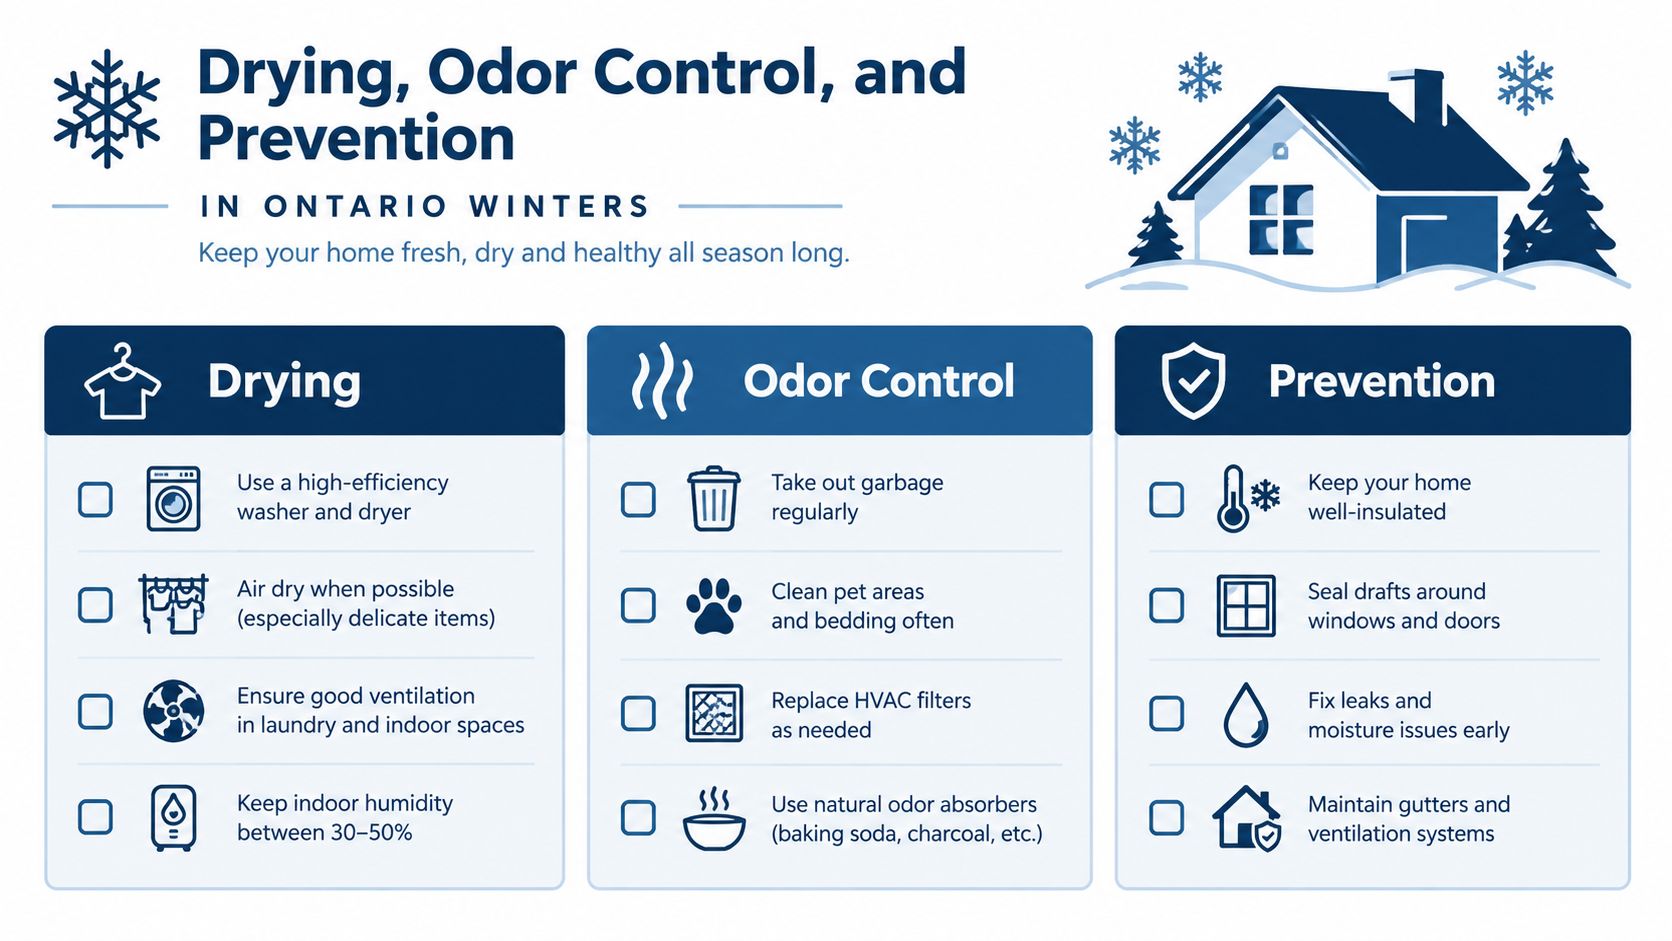
Park in a heated garage when you can. Otherwise, create airflow with doors or windows open, use a fan across the seats, and allow the cabin to exchange damp air instead of sealing it shut immediately. A cracked window can help during a controlled drying session, but don't leave the vehicle unsecured or exposed to weather.
Running the vehicle's defroster can assist with airflow, but it doesn't make over-wetting acceptable. Blot surface moisture with dry towels, move seats to expose hidden areas, and check seams and carpet edges by hand. A damp cabin closed up in January traps humidity inside foam and carpet backing.
Treat odour at the source
Baking soda can help absorb odours from dry fabric. Leave it on the dry seat or carpet for several hours, then vacuum it thoroughly. For pet, food, or other organic smells, an enzyme spray is more useful than a fragrance that simply covers the problem.
Professional deodorising, including ozone treatment, belongs at the end of the process, not the beginning. Don't use it to mask a wet seat, unresolved spill, or contaminated padding. Remove the source, extract what you can, dry the interior, and then decide whether additional odour treatment is necessary.
Prevent the next salt cycle
Use all-weather mats and remove them for rinsing before salt slurry dries into the cabin. Keep a rubber boot tray in the vehicle if wet footwear or pets are regular passengers. Vacuum routinely during salt season, paying attention to seat seams and carpet edges rather than only the visible floor.
Leather benefits from light, regular wiping before winter heat dries its surface. Cloth benefits from immediate spill blotting and restraint. The more often you remove loose salt and grit, the less likely you are to need aggressive wet cleaning later.
When to Book Interior Detailing at Nanak Car Wash
DIY cleaning works for a fresh coffee spill, light dust, and routine salt removal from removable mats. It stops making sense when the contamination has travelled into padding, seams, or headliners.
Book professional interior detailing when salt has soaked through carpet after a full winter. A shop can combine deep upholstery cleaning, carpet and seat shampooing, salt and stain removal, vent and crevice cleaning, and leather care. Nanak Car Wash lists appointment-based interior and exterior detailing with steam cleaning and upholstery treatment as part of its service offering.
Pet hair is another clear boundary. Hair packed into seat seams, carpet edges, and headliner fabric usually needs more than a household vacuum. The same applies to a set-in stain that has already been scrubbed with the wrong product. Further experimentation can spread the mark, bleach the surface, or leave a sticky residue that attracts more dirt.
If the seat still smells after dry vacuuming, stop adding cleaner. The contamination is probably deeper than a spot-cleaning job.
| Situation | Handle at Home | Book Nanak Car Wash |
|---|---|---|
| Fresh coffee or juice spill | Blot quickly, use the correct stain treatment, and dry fully | If colour remains or liquid reached padding |
| Loose salt on mats | Remove mats, vacuum dry, and rinse separately | If salt has spread through carpet backing |
| Light dust and crumbs | Use a crevice tool and soft brush | If seams remain packed after vacuuming |
| Embedded pet hair | Try careful dry removal on accessible areas | When hair is deep in seams, carpet, or headliner |
| Leather surface dust | Wipe with a suitable cleaner and condition lightly | When dye transfer, peeling, or cracking is present |
| Persistent odour | Dry the cabin and use an enzyme product | When the smell returns after cleaning and drying |
| Broad or old staining | Treat one small area cautiously | When the entire seat needs extraction |
A useful rule is simple: fresh spills and routine maintenance stay at home. Anything older than a few weeks, anything that still smells after vacuuming, and any leather dye transfer should go to a shop with extraction equipment, steam capability, targeted chemistry, and proper drying airflow.
Late winter is a practical time to pair an interior detail with an undercarriage wash. Flushing salt from the cabin floor and the vehicle's underside addresses the same seasonal contamination cycle from both directions. Nanak Car Wash serves GTA communities with wash, interior cleaning, detailing, and rust-proofing options, so you can ask about combining the services for your vehicle.
Nanak Car Wash can handle upholstery stains, salt removal, carpet and seat shampooing, leather cleaning, crevice work, and steam-based interior detailing by appointment. Visit Nanak Car Wash to arrange an interior detail before the next GTA thaw turns yesterday's slush into tomorrow's odour.


 6600 Finch Ave W, Etobicoke, ON M9V 3Z6
 647-703-8515
 MON – SUN 8 AM to 7 PM