
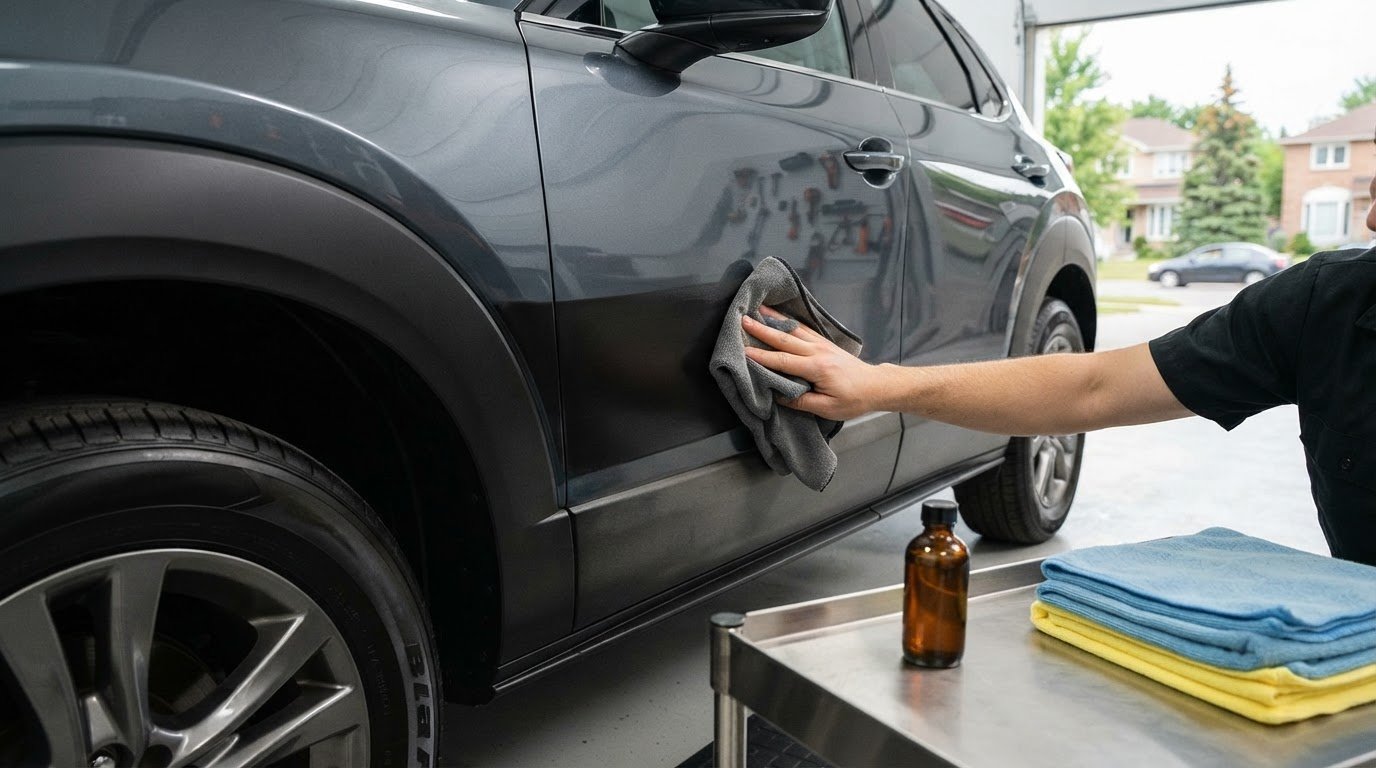
Mild car wash soap is the simplest place to start when cleaning exterior plastic and rubber trim. To learn how to clean a car’s exterior plastic trim, wash it gently with soap and a mitt, then rinse and dry it before applying protectant. Use the same dressing on rubber and plastic only if its label says it is suitable for both.
Faded trim can make a clean vehicle look worn, but a greasy shine is not the answer. The right process removes dirt first, then adds a suitable protectant without leaving excess product behind.
This guide explains how to wash and dry trim, treat faded areas, apply protectant, and choose a dressing for rubber and plastic. You’ll also learn to avoid common application mistakes and care for trim with straightforward steps.
Key Takeaways
- Match the dressing to the trim material and follow its label; applying it to a cloth first helps keep product off nearby surfaces.
- Clean textured and smooth trim with an approach suited to the surface, so dirt comes away without leaving residue behind.
- For faded or discoloured trim, identify the material and clean it thoroughly before choosing a restoration treatment.
- Give protectant time to work, then wipe away excess for a more even finish.
- Learn when Nanak Car Wash’s Car Detailing Packages can help with a more complete vehicle clean.
Can I use the same dressing on both rubber and plastic trim?
Sometimes. Use one dressing on both materials only when its label says it suits rubber and plastic. After cleaning, apply it carefully and follow the label’s directions for dwell time and removal.
- Choose a dressing for both materials. Check the product label before applying it to mixed trim. If it names plastic and rubber, one product can suit both. If it names only one material, use it only on that surface. For example, apply a plastic-only dressing to plastic trim, not rubber seals.
- Start with clean, dry trim. Dirt beneath protectant can spread as you apply it and leave uneven marks. Wash and dry each surface first, checking edges, seams, and textured grooves for water or residue. Let damp areas dry before continuing, and keep the applicator separate from wash mitts.
- Control overspray before applying. Spraying directly onto a bumper or window edge can send dressing onto paint or glass. Spray it onto a clean applicator rag first, or use a gel or wipes. Work beside painted panels with small, controlled strokes to keep product on the trim.
- Use a small amount. Apply 2-5 sprays or a few drops of trim dressing to an applicator pad. Spread the product in thin, overlapping passes instead of soaking one spot. Add more only when the pad no longer transfers dressing. A light, even coat is easier to control than a heavy layer.
- Let the protectant work before wiping. Follow the product label and allow the dressing to penetrate the rubber or plastic. After applying trim protectant, wait 10 to 20 seconds before removing excess. Use a clean cloth and wipe gently across the treated area. Pay attention to seams where product can collect.
- Buff the surface evenly. Use a fresh, dry part of the cloth to remove streaks and excess product. On broad trim, such as a bumper strip, work section by section for even coverage. On narrow rubber seals, guide the cloth along the edge without transferring dressing to nearby paint.
- Assess the finish before adding another layer. Let the first coat settle, then check the trim from several angles for glossy patches or missed areas. After buffing, wait 5-10 minutes before considering another layer. Add only a light second coat if the surface still looks uneven, then buff it again.
Restoring faded or discoloured plastic and rubber
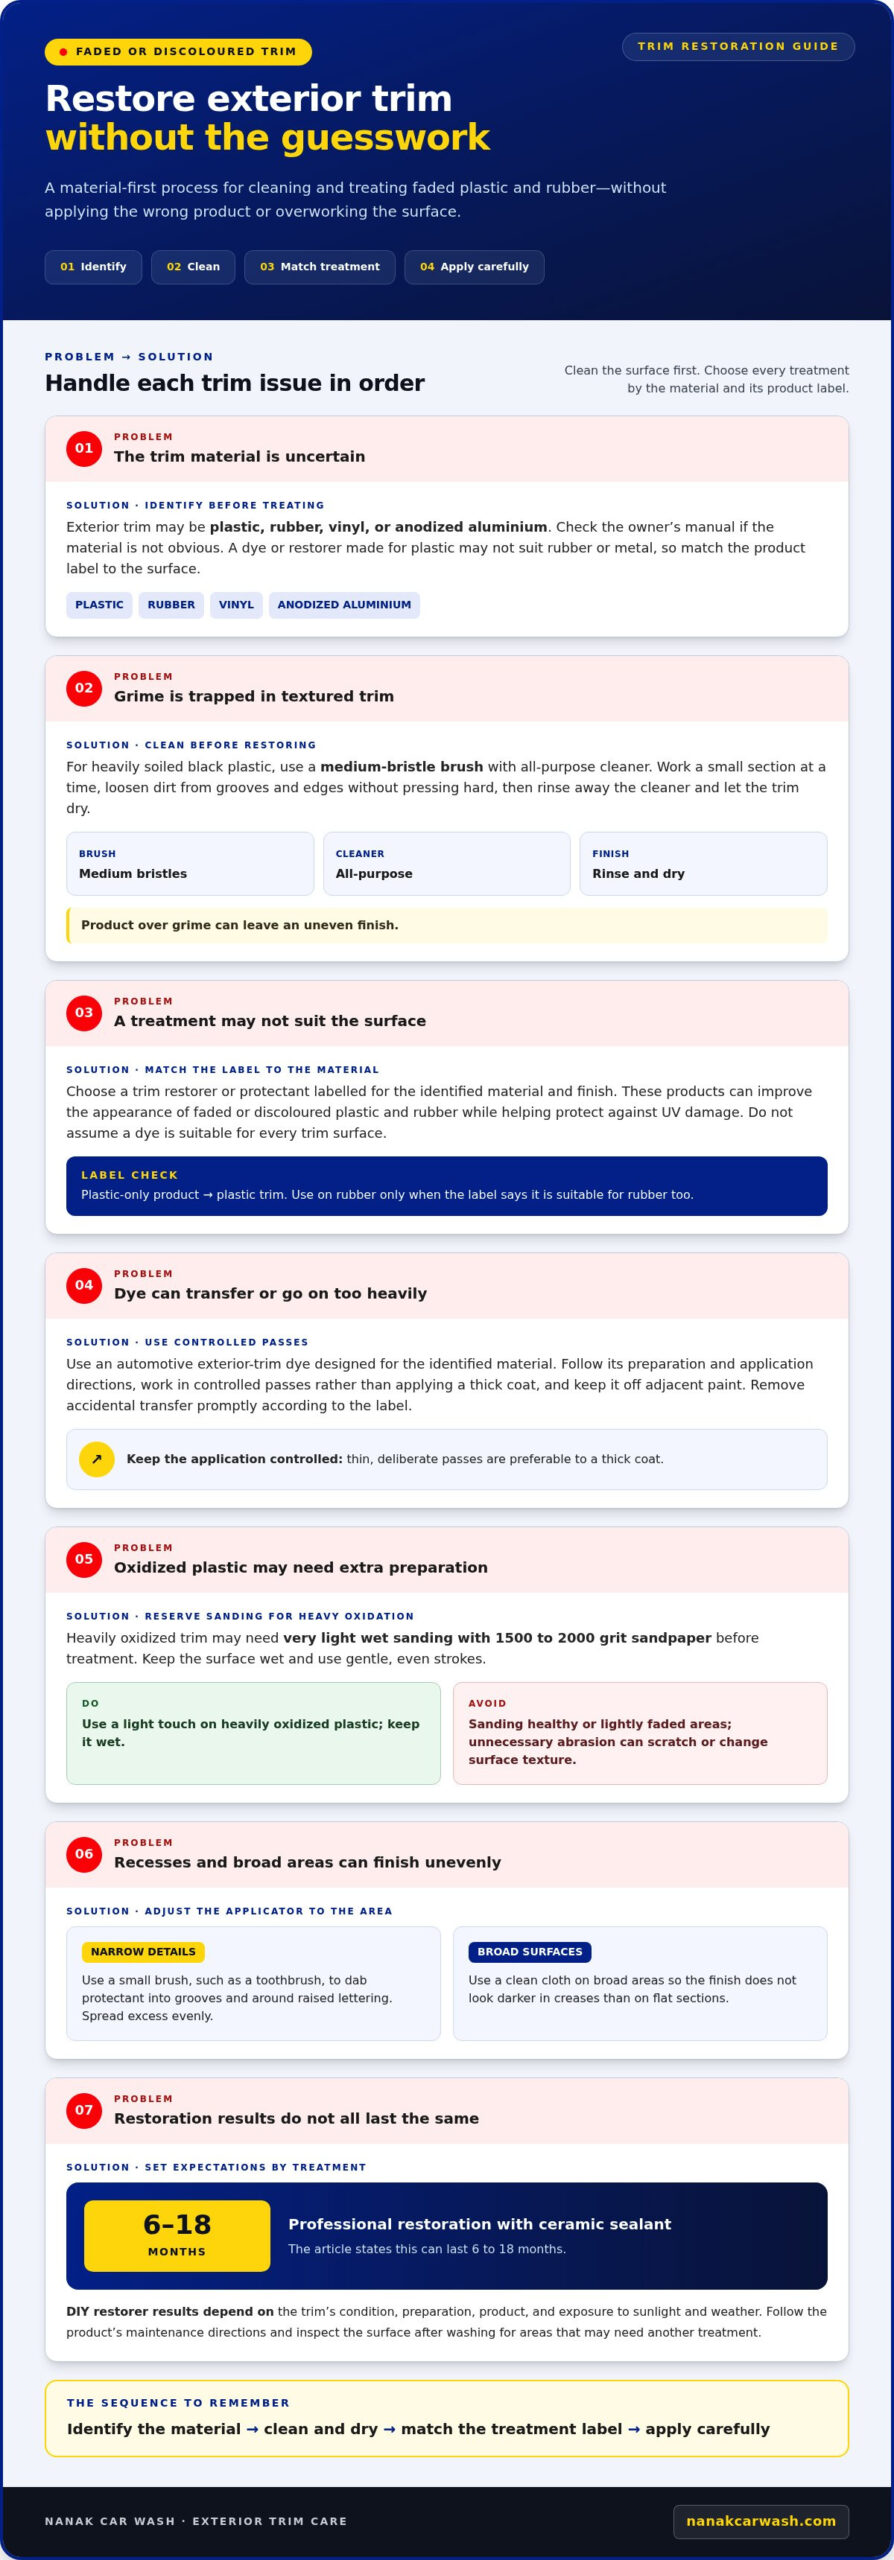
To restore faded black plastic, clean it with a medium-bristle brush and all-purpose cleaner, then apply an exterior trim restorer. A professional restoration with ceramic sealant can last 6 to 18 months.
- Identify the trim material. Black exterior trim can be plastic, rubber, vinyl, or anodized aluminium. Check the owner’s manual if the material is not obvious. A dye or restorer designed for plastic may not suit rubber or metal, so treat each material according to the product label.
- Clean neglected trim before restoring it. Use a medium-bristle brush and all-purpose cleaner on heavily soiled black plastic. Work on a small section, loosening dirt from grooves and edges without pressing hard. Rinse away the cleaner and let the trim dry. Product applied over grime can leave an uneven finish.
- Choose a treatment for the material and finish. A trim restorer or protectant can improve the appearance of faded or discoloured plastic and rubber while helping protect against UV damage. For example, use a product labelled for exterior plastic on a plastic bumper strip. Do not assume a dye suits every trim surface.
- Apply dye only when its label matches the trim. Choose an automotive exterior-trim dye designed for the identified material, and follow its preparation and application directions. Work in controlled passes instead of applying a thick coat. Keep it off adjacent paint, and promptly remove accidental transfer according to the label.
- Use a light touch on oxidized plastic. Heavily oxidized trim may need very light wet sanding with 1500 to 2000 grit sandpaper before treatment. Keep the surface wet and use gentle, even strokes. Avoid sanding healthy or lightly faded areas, since unnecessary abrasion can create scratches or change the surface texture.
- Restore small recessed areas carefully. A small brush, such as a toothbrush, can help apply protectant to faded plastic details. Dab it into narrow grooves and around raised lettering, then spread excess evenly. Use a clean cloth on broad surfaces so the finish does not look darker in creases than on flat sections.
- Set realistic expectations for durability. Ceramic-sealant professional trim restoration can last 6 to 18 months. A DIY restorer’s result depends on the trim’s condition, preparation, product, and exposure to sunlight and weather. Follow the label’s maintenance directions, and inspect the surface after washing for areas needing another treatment.
Using protectant on plastic and rubber trim
Apply protectant after washing to help maintain trim colour and quality. Choose a product suited to the surface and follow its label.
Apply Protectant to Trim
Apply an exterior protectant to clean, dry plastic or rubber, following the product label. Spread a thin coat over one section at a time, and avoid leaving pools around seams. Protectant can help maintain trim appearance, but too much may leave a greasy or uneven finish that collects dirt.
- Check the label. Confirm that the protectant is intended for exterior plastic, rubber, or both. Rubber seals and plastic bumper trim may need different products, so match the label to each surface rather than assuming one formula suits everything.
- Work in manageable sections. Apply product to one trim piece at a time, such as a door moulding or bumper insert. This helps control coverage and makes it easier to spot missed areas before the product dries.
- Use a light coat. Spread protectant evenly with an applicator, following the product directions. Wipe away excess from edges and grooves, where residue can build up. Let the treatment bond for 15 to 30 minutes before exposing the trim to water or road grime.
- Plan regular upkeep. Standard trim dressings last 4 to 8 weeks, depending on weather exposure and washing frequency. Reapply standard dressings every 6 to 8 weeks, and use the label’s directions to guide care between applications.
Protect and Seal Plastic Trim
Protect new exterior plastic early to help stave off oxidation. Choose a trim restorer, protectant, or dressing suited to the material, and cover the surface evenly. UV protection can help limit sun-related fading, while a ceramic-based trim sealant lasts longer between applications than a standard dressing.
- Choose a protection schedule. Treat exterior plastic trim with a restorer and protectant or dressing 2-3 times a year. Ceramic-based trim sealants should be reapplied every 6 to 12 months. Weather exposure and frequent washing affect how long a dressing lasts.
- Avoid household substitutes. WD-40 can give plastic trim temporary shine, but it evaporates quickly, attracts dust, and leaves greasy residue. Use an exterior trim product instead, and remove leftover product according to its label.
- Inspect after washing. Look for faded patches, uneven sheen, or residue along trim edges. Reapply the appropriate product when needed, rather than layering fresh dressing over buildup.
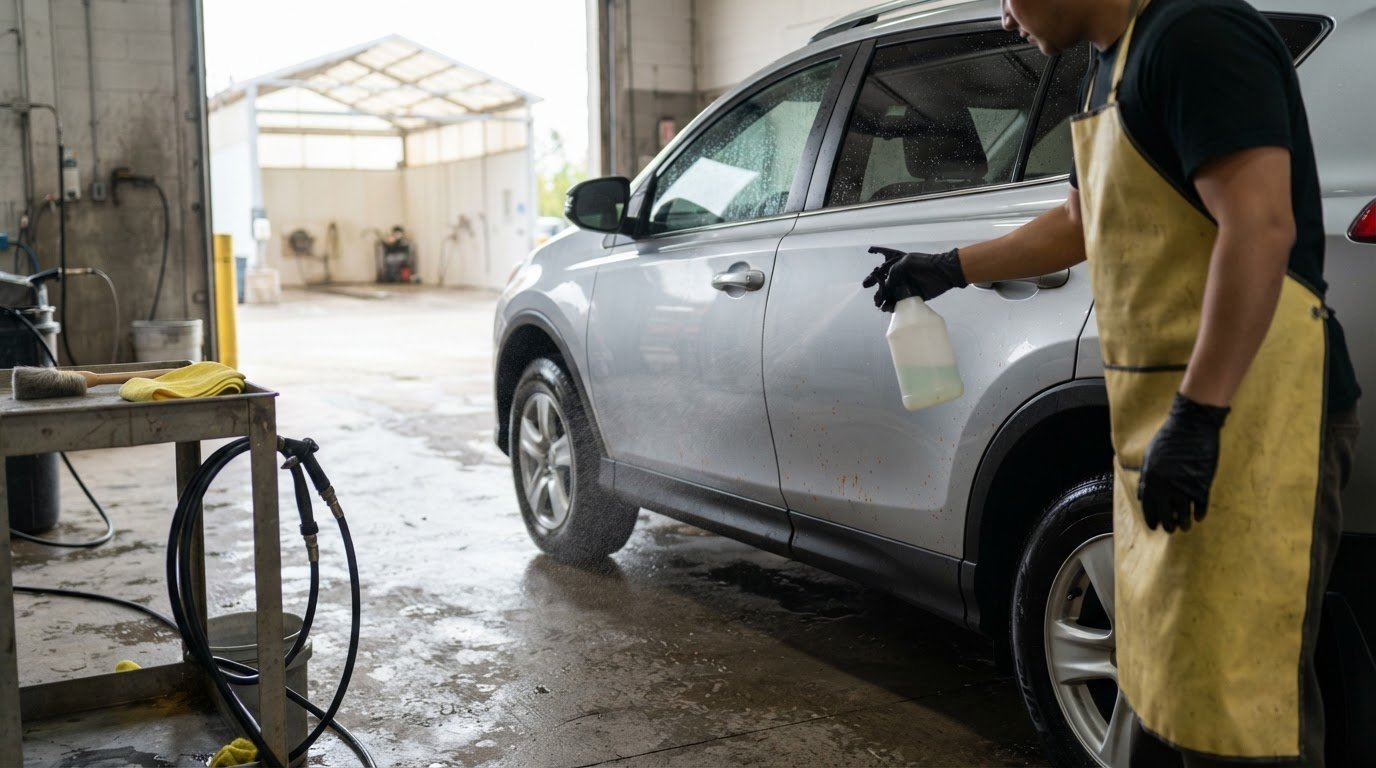
Cleaning exterior plastic and rubber trim with mild car wash soap
Use mild car wash soap to clean exterior plastic and rubber trim. For new or like-new black trim, choose pH-balanced car wash soap and a car wash mitt.
Household cleaners, dish soap, and isopropyl alcohol are not the first choice for routine trim washing. Use car wash soap instead, and consult your vehicle manual or the cleaner label before trying another product.
- Separate the trim from dirtier cleaning tools. Set aside a clean car wash mitt for the trim. A mitt used on wheels or heavily soiled lower panels can carry grit to black plastic. Remove loose debris before washing, especially around mouldings, seams, and textured edges where dirt collects.
- Mix mild car wash soap as directed. Follow the soap label instead of guessing at a dilution. pH-balanced car wash soap is a suitable choice for new or like-new black plastic trim. Keep a separate container of clean rinse water nearby so you can rinse the mitt when it picks up grime.
- Wash one trim section at a time. Dip the mitt in the wash solution and glide it gently over a door moulding or bumper strip. Use short, overlapping passes instead of pressing hard. This lifts ordinary road film without dragging grit across the surface or leaving skipped patches.
- Pay attention to seams and edges. Run the mitt carefully along the boundary between trim and painted panels. For a narrow groove, fold a clean section of the mitt over a fingertip and wipe along the channel. Do not force the mitt under loose edges or scrub trim that appears damaged.
- Rinse the mitt as it gets dirty. After cleaning a section, check the mitt for visible grit. Rinse it before returning to the soap solution. This helps prevent debris from being dragged over the next area, such as trim around another door or the rear bumper.
- Rinse soap from the trim. Use clean water to remove suds from the entire surface, including edges and recesses. Check the lower side of a bumper strip, where soap can remain after a quick rinse. Do not let cleaner dry on plastic or rubber.
- Dry and inspect each section. Use a clean, soft drying towel, then check the trim in good light for suds or missed dirt. If a patch remains, repeat the mild-soap wash with the clean mitt. Make sure the trim is fully rinsed before applying any separate treatment.
How to clean textured versus smooth car plastic trim
- Identify the surface before choosing a tool. Textured trim has grooves that can hold road film, while smooth trim makes streaks and missed spots easier to see. Check a bumper corner and a flat door moulding separately. Use a soft mitt or cloth on both, then use a soft detailing brush for dirt caught in textured areas.
- Rinse loose grit from the trim. Direct clean water over a textured bumper insert and smooth door strip before wiping. Rinsing first helps lift particles that could scratch the surface. Pay attention to lower panels, wheel-arch edges, and grooves where splashback can leave dust and road residue.
- Wash smooth trim with straight, light passes. Use a clean, soft mitt with mild car wash soap. Move along a door moulding rather than scrubbing in circles. Smooth plastic makes residue easy to spot, so overlap each pass and check the surface from different angles as you work.
- Work soap into textured grooves gently. Dip a soft detailing brush in the wash solution, then move it across the grain of textured bumper or step trim. Use light strokes to loosen dirt from recesses. Avoid a stiff brush or heavy pressure, which can mark the surface or push grit against the plastic.
- Use separate tools for tight details. Narrow seams around a grille or door handle can collect grime that a mitt misses. Guide a clean, soft brush along the edge, then wipe away loosened dirt with a fresh cloth. Do not use the same dirty brush on a broad, smooth trim panel.
- Rinse and inspect each texture differently. On smooth trim, look for soap streaks and water spots. On textured trim, check the bottom of grooves for trapped suds or loosened dirt. Rinse again if residue remains, then dry with a clean towel that will not leave lint in the pattern.
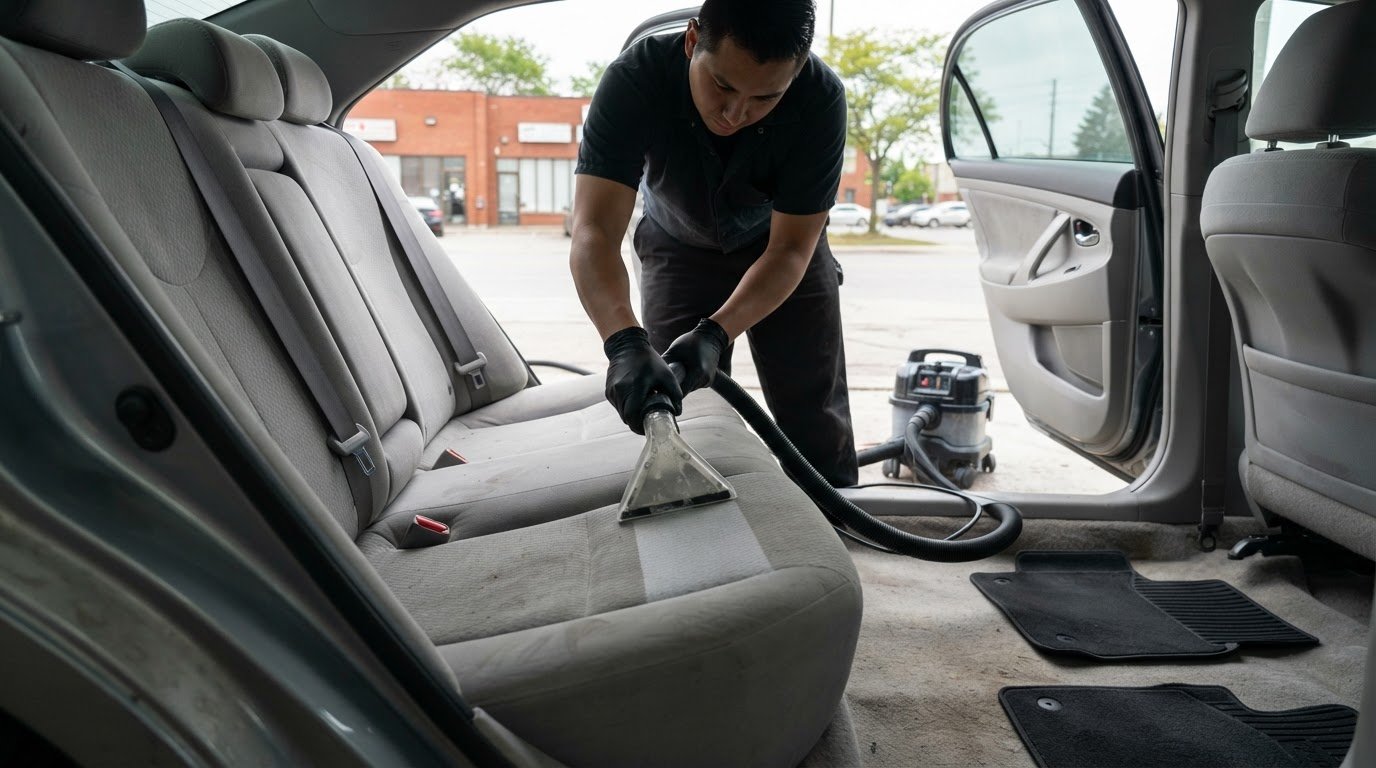
- Choose a professional clean for a full-vehicle refresh. If textured inserts, smooth mouldings, and trim seams need attention across the vehicle, explore car detailing packages as a practical next step. A detailing clean can address multiple areas in one visit, while your own maintenance routine can keep trim presentable between washes.
Nanak Car Wash: Car Detailing Packages
Nanak Car Wash offers Car Detailing Packages for a more complete vehicle clean when trim care is part of a broader refresh. They’re a practical next step if you’d rather have the vehicle cleaned as a whole instead of handling every area yourself. For routine exterior washing, choose a Full-Service Car Wash or Express Car Wash. Frequent visitors can also consider the Unlimited Wash Club.
Keep the trim-care steps in mind: clean the surface first, use products suited to the material, and follow each label. For a vehicle-wide clean that complements your exterior trim upkeep, explore Nanak Car Wash’s Car Detailing Packages.
Contact Nanak Car Wash to learn more.
Make trim care part of your next clean
Build exterior trim care into your vehicle routine. A quick visual check during regular washing can help you spot changes early, such as a dull patch, residue along an edge, or uneven colour. Note which areas need attention and focus your next cleaning session on those spots. A simple routine makes buildup easier to catch before it becomes harder to remove.
If you’re still deciding how to clean a car’s exterior plastic trim, use the material and its condition to guide your next step. For a broader vehicle clean, Nanak Car Wash offers Car Detailing Packages, a Full-Service Car Wash, and an Express Car Wash. Choose the option that fits the kind of clean you need.
Contact Nanak Car Wash today to plan your next vehicle clean. A steady routine can help keep your vehicle looking cared for, one wash at a time.
Frequently Asked Questions
How Do I Remove Wax, Polish or Overspray Paint from Plastic Trim?
Start with a dedicated plastic trim cleaner, especially for wax or polish caught in textured grooves. Apply it according to the label, allow 30 to 60 seconds before gentle agitation, then wipe and rinse as directed. For paint overspray, avoid scraping with a blade or abrasive pad, which can scratch the trim. Use a cleaner suitable for the material and follow its removal instructions.
How often should I reapply the dressing?
Reapply standard trim dressing about every 6 to 8 weeks, adjusting for frequent washing and exposure to weather. Check the surface after a wash: if it looks patchy or has lost its finish, clean it before applying more. Ceramic-based trim sealants follow a longer schedule, with reapplication every 6 to 12 months. Use the product label to guide care between treatments.
Should I use a heat gun to restore my faded trim?
A heat gun can be used as a first step before applying trim protectant, but keep it moving continuously and hold it 15 to 20 centimetres from the plastic. Don’t concentrate heat on one spot. Work carefully across a small area, then assess the appearance before continuing. A trim protectant is another option for faded plastic and rubber, without using heat.
What if I accidentally get dressing on paint or glass?
Wipe fresh dressing from paint or glass promptly with a clean, soft cloth. Use a separate section of cloth for each surface to avoid spreading residue. If the dressing has dried, choose a cleaner labelled as suitable for the affected surface and follow its directions. Avoid abrasive pads or forceful scraping, which could mark paint or glass.
Why Does Black Plastic Trim Fade?
Sunlight and ultraviolet exposure can damage exterior plastic over time, leaving black trim dull or discoloured. Heat and weather can also affect the surface. For example, trim on a vehicle often parked in direct sun may fade sooner in exposed areas. The material and its condition influence how the trim responds to cleaning and restoration products.
Will the dressing prevent future fading?
Protectant can help protect plastic and rubber from UV damage and maintain their colour and quality. It does not replace cleaning or ongoing care. Washing frequency, weather exposure, and the product used all affect how the finish holds up. Choose a dressing labelled for the trim material, then follow its maintenance directions instead of layering fresh product over residue.
What cleaners are safe for automotive exterior plastic trim?
Mild, pH-balanced car wash soap is suitable for routine cleaning, especially on new or like-new black plastic trim. Use a clean mitt and rinse the surface thoroughly. For stubborn marks, choose a dedicated plastic trim cleaner and follow its label. Avoid household cleaners, dish soap, or isopropyl alcohol unless the vehicle manual or product directions allow them.
How to protect car exterior trim from UV damage and winter road salt
Wash the trim with mild car wash soap, then rinse and dry it before applying a protectant labelled for that material. A protectant with UV protection can help limit sun-related fading. Remove excess and follow the product label.


 6600 Finch Ave W, Etobicoke, ON M9V 3Z6

 647-703-8515
 MON – SUN 8 AM to 7 PM