
You open the driver's door and get hit by the smell before you see the mess. Meltwater has darkened the carpet, white salt rings outline the floor mats, yesterday's coffee has dried into the console, and a few crumbs have disappeared beneath the seat rails. A quick pass with a household vacuum might improve the appearance, but it won't necessarily remove what has worked into the carpet backing, seat seams, vents, and low points where moisture collects.
In the Greater Toronto Area, a car interior cleaned properly means more than vacuuming and wiping. Ontario's winter salt, freeze–thaw cycles, summer dust, food spills, pet hair, and daily commuting all create different cleaning problems. The finish should look better, but it should also be dry, odour-free, material-safe, and practical for the next season.
Table of Contents
- Why Professional Interior Cleaning Matters in Ontario
- The Vacuuming and Debris Removal Phase
- Tackling Salt, Stains, and Spills
- Deep Cleaning Fabrics, Leather, and Plastics
- Air Filtration and Moisture Management
- DIY vs. Professional Detailing, What's the Difference?
- Maintaining a Clean Interior Year-Round
Why Professional Interior Cleaning Matters in Ontario
A neglected cabin tells its story through texture and smell. The driver's mat feels gritty underfoot, the seatbelt has a grey film from repeated handling, pet hair clings to the upholstery, and the cupholder has become a sticky storage bin. Underneath those obvious signs, loose soil can settle into seams and carpet fibres while spilled drinks leave residue that attracts more dirt.
Ontario's vehicle base makes this a recurring maintenance issue, not a niche concern. Statistics Canada recorded 8.8 million light-duty vehicles registered in Ontario in 2024, representing 35.9% of Canada's light-duty-vehicle registrations. The national dataset recorded 26.8 million road motor vehicles, so Ontario accounted for roughly one in three light-duty vehicles in the country. The figure also reflects improved registration continuity after Ontario introduced automatic renewal for several vehicle categories in July 2024. Statistics Canada's vehicle-registration data provides useful context for the scale of recurring maintenance demand across the GTA.
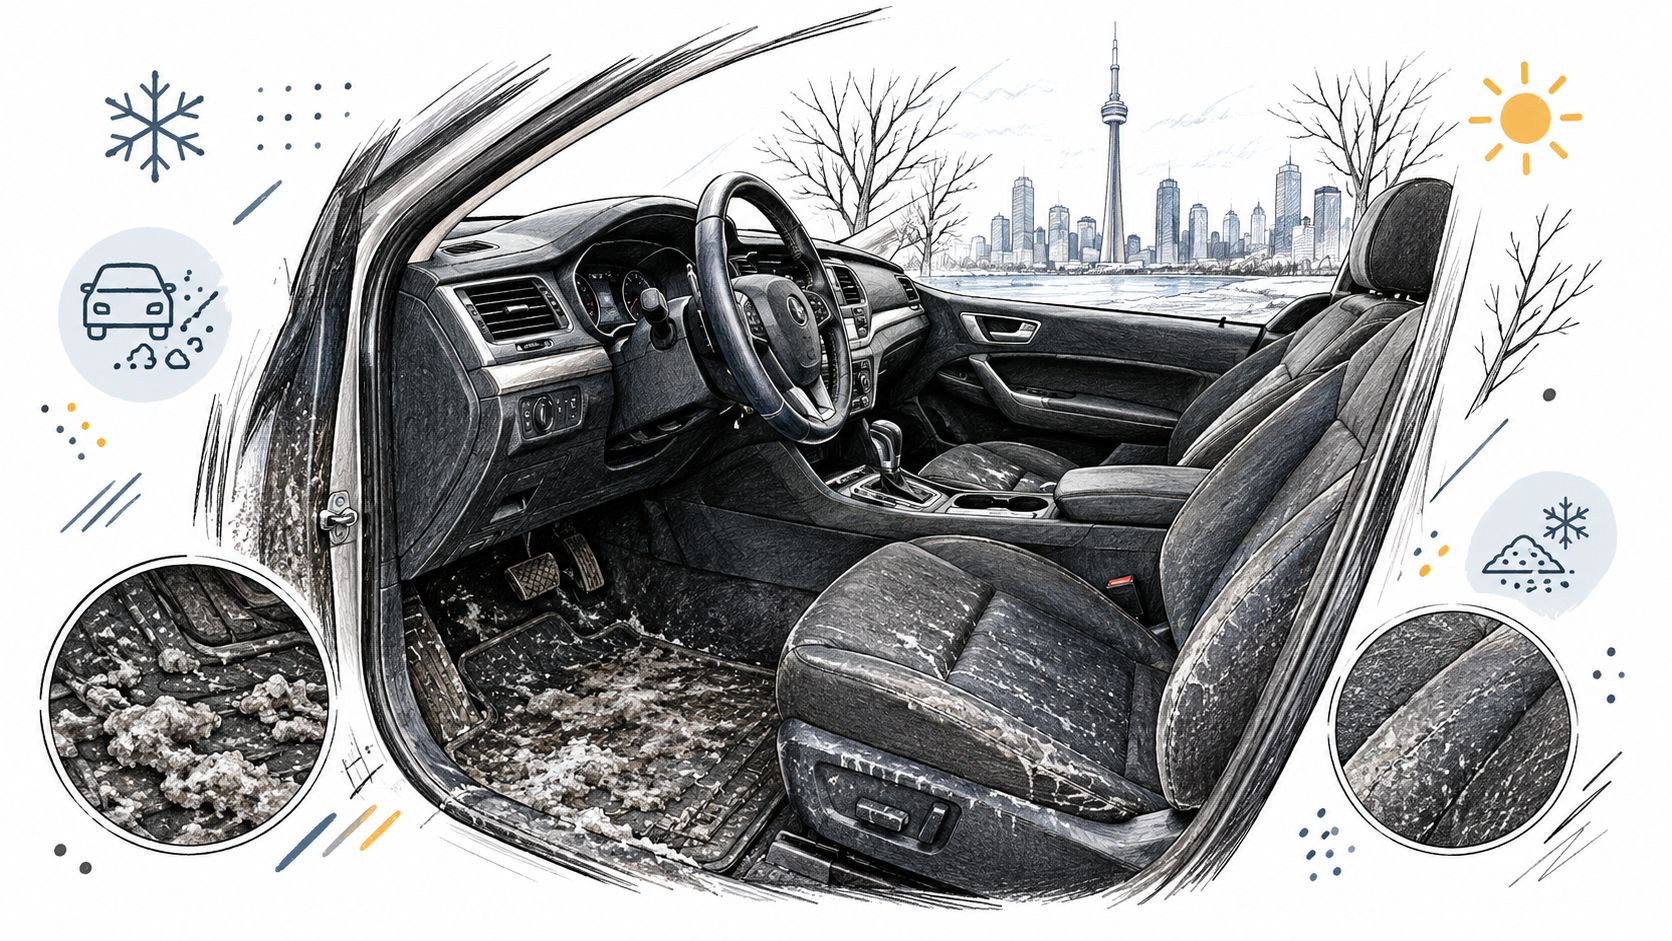
Clean changes with the season
Winter dirt is often a moisture problem disguised as a cosmetic one. Road residue enters on boots, floor mats, clothing, and work equipment. In summer, dust, pollen, sunscreen, food, and pet hair create a different combination of odour and surface buildup.
Professional cleaning earns its place when contamination has moved beyond the surface. A technician can remove mats, work through seat seams and rails, agitate fabric, extract dissolved residue, clean vents and crevices, and manage drying rather than merely spreading dampness around.
Practical rule: A cabin isn't finished because the white marks disappeared. It's finished when the residue has been removed and the materials are dry.
A strong result also respects the vehicle's purpose. A family SUV needs a different strategy from a commuter sedan, a contractor's pickup, or a rideshare vehicle carrying passengers all day. The right process targets the source of the mess instead of masking it with fragrance.
The Vacuuming and Debris Removal Phase
Vacuuming is the foundation of every interior detail, but sequence matters. If loose grit remains while you shampoo or wipe, you'll turn removable debris into wet mud and push it farther into the fibres.
Start by removing everything that doesn't belong in the cabin. Empty cupholders, door pockets, the centre console, the glove compartment, and the cargo area. Pick up larger debris by hand before bringing out the vacuum. Small stones, leaves, food wrappers, and toy parts can clog a narrow nozzle or scratch delicate surfaces when dragged across them.
A disciplined order prevents rework
Remove the floor mats first and clean them outside the vehicle. Carpet mats need thorough vacuuming and controlled washing, while rubber or vinyl mats can be scrubbed and rinsed separately. Don't reinstall either type until it's completely dry.
Work from high surfaces to low ones, and from the front of the cabin toward the rear:
- Clear the upper cabin. Brush dust from the dashboard, seat shoulders, door tops, and accessible trim so it falls toward the floor.
- Use the wide nozzle first. Pick up loose dirt from carpets, seats, and the cargo area before switching tools.
- Change to the crevice tool. Follow seat rails, console edges, door pockets, pedal surrounds, and the gaps between cushions.
- Open fabric seams gently. A soft brush or careful hand pressure can expose crumbs and grit without damaging stitching.
- Finish with detailing brushes. Use a soft brush around vents, switches, speaker grilles, and narrow trim joints, then vacuum loosened dust.
The trunk belongs near the end because debris often travels from cargo areas into the cabin during unloading. After the main pass, inspect under the front seats and around the seat mounts with a light. Those shadowed zones frequently hold the material a quick home clean misses.
Avoid spraying cleaner before this stage. A dry removal pass is faster, safer for electronics, and gives later products a clean surface to work on.
Tackling Salt, Stains, and Spills
Ontario used 1,679,395 tonnes of road salt during the 2023–2024 winter season, across 104,187 kilometres of salted roads reported by 135 Ontario organizations. The same report recorded 36,198,084 litres of liquid materials and 791,365 tonnes of abrasives. Those figures describe roadway treatment, not cabin contamination, but they explain why salt exposure reaches vehicles throughout the region rather than only a few heavily travelled streets. Environment and Climate Change Canada's road-salt data gives the environmental context.
Salt enters the cabin as crystals and grit. Once slush wets it, the residue dissolves into brine that can move through carpet fibres and mat edges. It may settle near door sills, seat mounts, carpet backing, and other low areas where drying is slow. A vacuum removes loose crystals, but it won't remove dissolved residue already inside the textile.
Why surface wiping fails
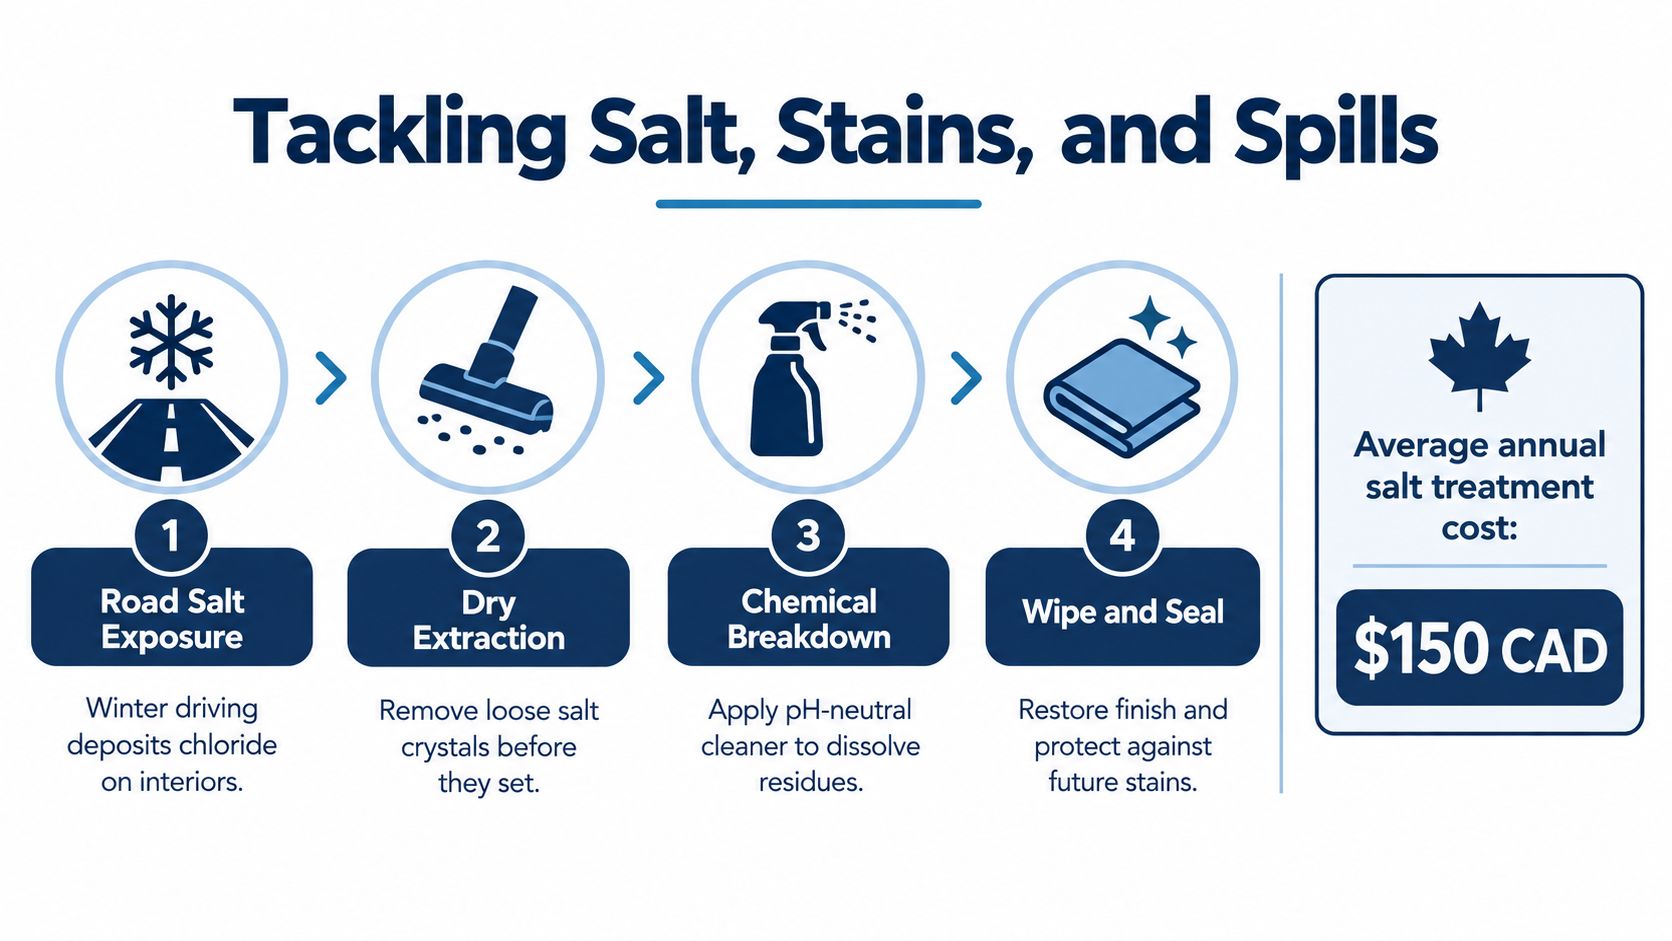
The practical sequence is straightforward, but each stage has a job:
- Dry extraction first. Remove loose salt and embedded grit before adding moisture.
- Pre-treat selectively. Identify whether the mark comes from coffee, mud, grease, pet contamination, or salt before choosing a product.
- Agitate with control. Use a suitable brush to lift residue from fibres without roughing up the fabric.
- Extract thoroughly. Pull dissolved soil and cleaner back out instead of leaving it in the backing.
- Dry before closing. Reinstall mats only after the underlying carpet and surrounding surfaces have reached a safe, dry condition.
Ontario salt removal is therefore a moisture-management task, not just a stain-treatment exercise. Toronto atmospheric-corrosion testing recorded 5,108 mg/dm² over a 19-month exposure period, illustrating the severity of the regional salt environment. Nanak Car Wash's salt and stain guidance explains why dry vacuuming, controlled shampooing, extraction, and drying belong in the same workflow.
Hot-water extraction can work well on suitable carpets and upholstery, but “more water” isn't automatically better. Excess moisture can travel beneath carpet, into padding, or toward electrical components. A trained operator adjusts solution, agitation, extraction, and drying to the material and the level of contamination.
Coffee often needs rapid blotting and repeated controlled extraction. Mud should dry enough to remove loose soil before wet treatment. Pet accidents require a different level of caution, especially if the odour returns after cleaning. Persistent dampness, visible mould, or biological contamination calls for remediation expertise rather than routine detailing.
Deep Cleaning Fabrics, Leather, and Plastics
Interior materials don't respond well to a one-product-fits-all approach. Fabric upholstery can tolerate controlled agitation and extraction when the process matches the textile. Leather needs restraint, compatible cleaning, and conditioning where appropriate. Plastic and coated trim often look worse after aggressive products leave a greasy shine or strip the intended finish.
Fabric needs agitation, extraction, and patience
Begin with dry vacuuming, including seams and the junction between the seat cushion and backrest. Apply an automotive upholstery cleaner to the cloth or a towel according to its instructions, work a small area with a soft or medium brush, and extract rather than saturate. Always test an inconspicuous area first, particularly on light fabric or older upholstery.
A machine extractor is useful because it removes suspended soil and liquid together. Steam can help loosen grime on compatible hard surfaces and selected textiles, but it isn't a substitute for extraction when the material has absorbed a spill. Steam also demands care around adhesives, electronics, screens, and delicate trim.
Leather rewards a lighter touch
Leather should be vacuumed with a soft attachment before cleaning. Use a leather-safe product on a cloth or applicator, work panel by panel, and wipe away residue. Conditioning may support the material's finish, but over-application can leave a slippery surface that attracts dust and affects steering wheels or seat bolsters.
For plastic, vinyl, and dashboards, apply product to a microfiber cloth instead of spraying directly toward switches, screens, vents, or seams. Use a separate dry towel to remove residue. A low-gloss, clean finish is usually more practical than a reflective one that creates glare and feels oily.
The details determine the result. Soft brushes reach vent fins and stitching, cotton swabs can lift debris from narrow switch gaps, and a dedicated glass towel prevents interior cleaner from leaving film on windows. For a broader overview of material-sensitive methods, achieving a spotless car cabin is a useful reference, especially when deciding which surfaces need cleaning, conditioning, or simple dry dusting.
Nanak Car Wash offers interior detailing that includes carpet and seat shampooing, salt and stain removal, vent and crevice blowout, and leather deep cleaning. That kind of service is appropriate when a vehicle needs coordinated treatment rather than separate attempts on each visible mark.
Air Filtration and Moisture Management
A clean dashboard doesn't mean the cabin air pathway is clean. Dust can remain in vents, and a loaded cabin filter can restrict or compromise filtration. A professional interior appointment should therefore include a visual inspection of the filter where access allows, along with careful cleaning around reachable vent openings.
A Canadian randomized cross-over study involving 48 adults compared commutes with and without cabin air filtration. Filtration reduced ultrafine-particle concentrations by 26,232 particles/cm³, PM2.5 by 6 µg/m³, and black carbon by 1,348 ng/m³, corresponding to approximate reductions of 28%, 30%, and 32%. The study indexed by PubMed supports pairing surface cleaning with attention to the cabin's air pathway, particularly for people who spend extended time commuting or working in traffic.
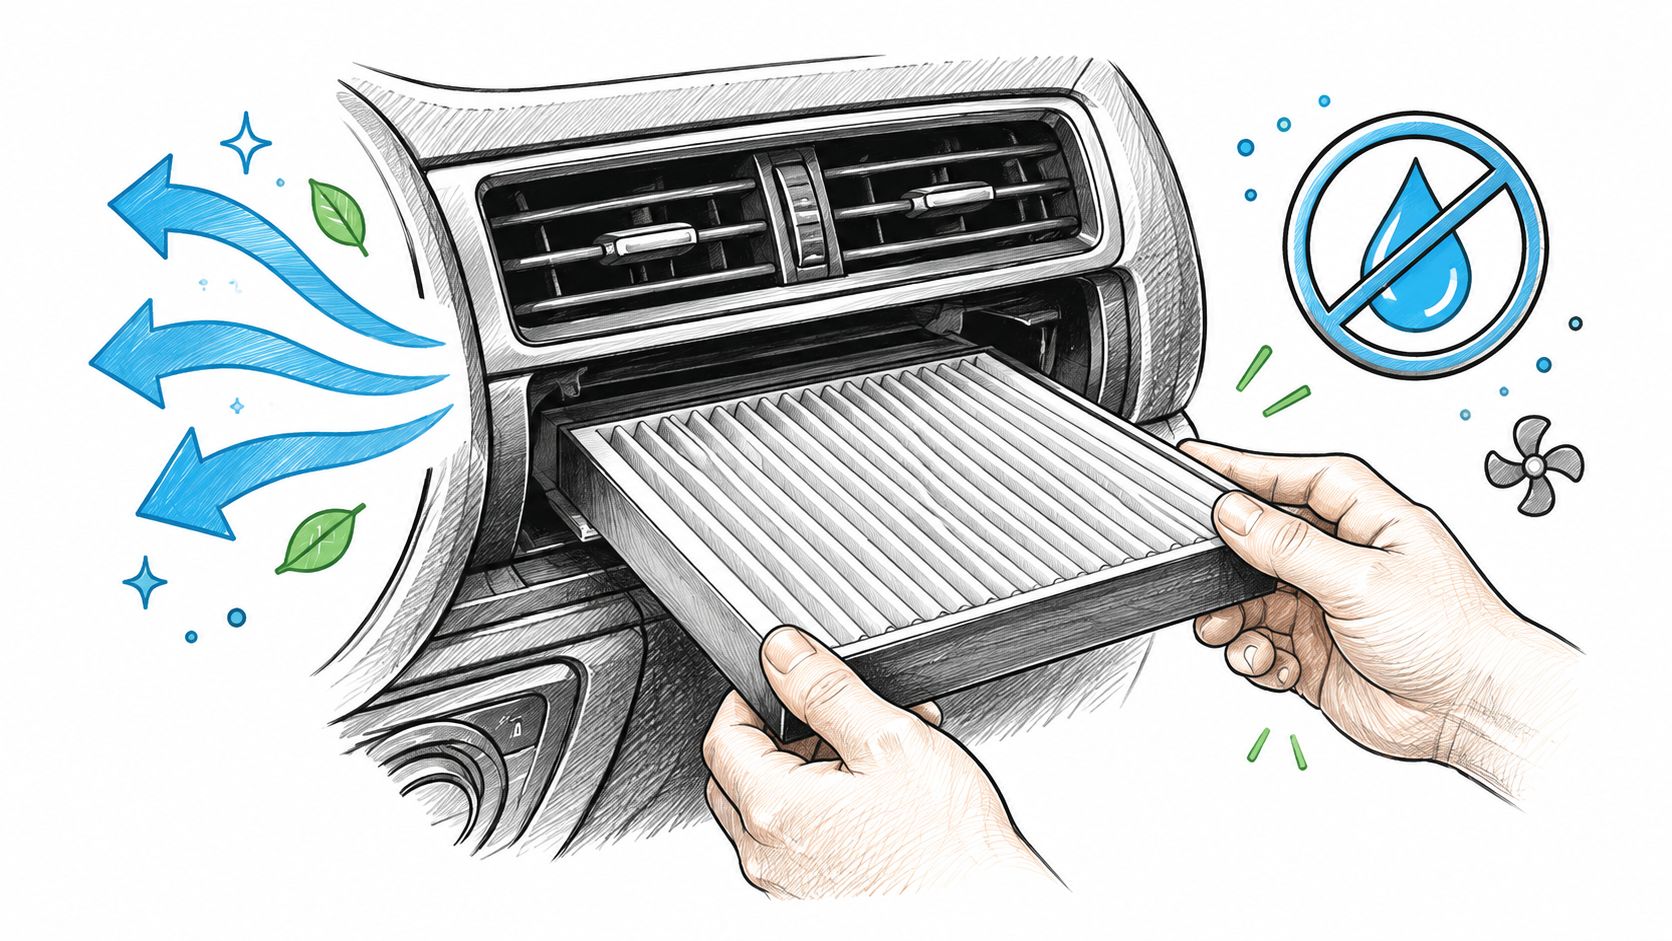
Drying is part of cleaning
The most common technical mistake after upholstery work is closing the vehicle too soon. Wet fabric, damp padding, and salt-laden mats create a poor combination, especially during Ontario's wet and snowy seasons.
A sound post-cleaning protocol should include:
- Controlled extraction. Remove as much dissolved soil and cleaning solution as the textile allows.
- Air movement. Use open doors, ventilation, and appropriate air movers to move moisture out of the cabin.
- Touch and humidity checks. A surface can feel nearly dry while padding beneath it remains damp, so check seat edges, carpet borders, and mat contact points.
- A cautious handover. Keep windows open or cracked when conditions permit, and don't store the vehicle closed if the interior still feels cool, wet, or heavy with odour.
- A clear escalation point. Persistent moisture, visible mould, or biological contamination needs professional remediation rather than another routine shampoo.
Canadian public-health sanitation guidance stresses following the manufacturer's dilution, contact-time, and use instructions instead of assuming more chemical creates a cleaner result. That guidance on environmental sanitation also reinforces the importance of prompt moisture control.
The visual result can be deceptive. A cabin may look spotless while dampness remains below the carpet surface. Good detailing treats dryness as a completion test, not an optional finishing touch.
DIY vs. Professional Detailing, What's the Difference?
DIY cleaning is useful for maintenance. Remove rubbish, vacuum the mats and seats, wipe high-touch surfaces with a material-safe product, and deal with a fresh spill before it sets. A careful owner can keep a regularly maintained vehicle presentable without professional equipment.
The gap appears when contamination is embedded. A household vacuum generally lacks the reach and extraction control needed for deep carpet soil, salt brine, pet hair in fabric, or moisture trapped beneath upholstery. Generic cleaners can also create trouble when they aren't compatible with leather, screens, coatings, or dyed textiles.
| DIY approach | Professional approach |
|---|---|
| Household vacuum and basic brushes | Commercial vacuuming, crevice tools, and controlled debris removal |
| Spot treatment on visible marks | Material-specific pre-treatment, agitation, and extraction |
| Wipe-down of accessible surfaces | Vents, seams, rails, mats, consoles, and low areas treated systematically |
| Air drying by convenience | Deliberate extraction and drying checks |
| Suitable for routine upkeep | Better suited to heavy salt, stains, odours, pet hair, and neglected cabins |
The useful dividing line: DIY keeps a clean vehicle clean. Professional detailing is most valuable when the problem has moved beneath the surface.
For rideshare and delivery vehicles, speed adds another consideration. Canadian occupational guidance recommends frequent cleaning and disinfection of high-touch areas such as door handles, armrests, seatbelts, seats, window controls, touchscreens, dashboards, steering wheels, and gear shifts. It also recommends increasing outside air when weather permits and using disinfectants with a Canadian Drug Identification Number while following label directions. The Canadian Centre for Occupational Health and Safety guidance is a useful reference for building a safer, repeatable workflow.
Maintaining a Clean Interior Year-Round
Use washable floor mats, remove wet footwear debris promptly, and keep food and drinks under control. Vacuum before grit becomes embedded, wipe spills before they dry, and inspect the cabin after major winter salting or freeze–thaw periods. For high-mileage vehicles, regular professional service is more practical than waiting until odour and staining become difficult to reverse.
A professionally cleaned interior isn't just a cosmetic upgrade. In Ontario, it protects materials from recurring salt and moisture while making the cabin more comfortable to use.
Nanak Car Wash provides full-service interior cleaning and appointment-based detailing, including vacuuming, carpet and seat shampooing, salt and stain removal, vent and crevice cleaning, and leather care. If your GTA vehicle has damp mats, embedded winter residue, stubborn odours, or a cabin that needs more than a quick wipe, visit Nanak Car Wash to arrange the appropriate service.


 6600 Finch Ave W, Etobicoke, ON M9V 3Z6

 647-703-8515
 MON – SUN 8 AM to 7 PM