
You've just driven home through a GTA slush pool. The exterior looks respectable after a quick rinse, but underneath, salty brown water is dripping from the exhaust hangers and collecting in the wheel wells. That residue doesn't need to look dramatic to cause trouble.
Learning how to wash the undercarriage of a car at home is less about making the underside look perfect and more about removing chloride before it stays wet against vulnerable metal. The routine below is designed for a salt-caked daily driver, with realistic limits on pressure washers and a proper look at where the wastewater goes.
Table of Contents
- Why the Underside of Your Car Matters More Than You Think
- Tools and Supplies You Actually Need
- Washing the Undercarriage at Home the Right Way
- Handling the Wastewater Without Running Afoul of Local Rules
- How Often and When to Wash in Ontario
- When a Professional Underbody Service Is the Smarter Move
- Quick Recap and Easy Wins to Lock In
Why the Underside of Your Car Matters More Than You Think
Undercarriage washing is preventive maintenance. On a winter commute through the GTA, brine reaches frame rails, suspension links, brake components, fuel lines, exhaust shields, and the seams around mounting points. Those surfaces stay dirty because road film collects where airflow is poor and drainage is limited.
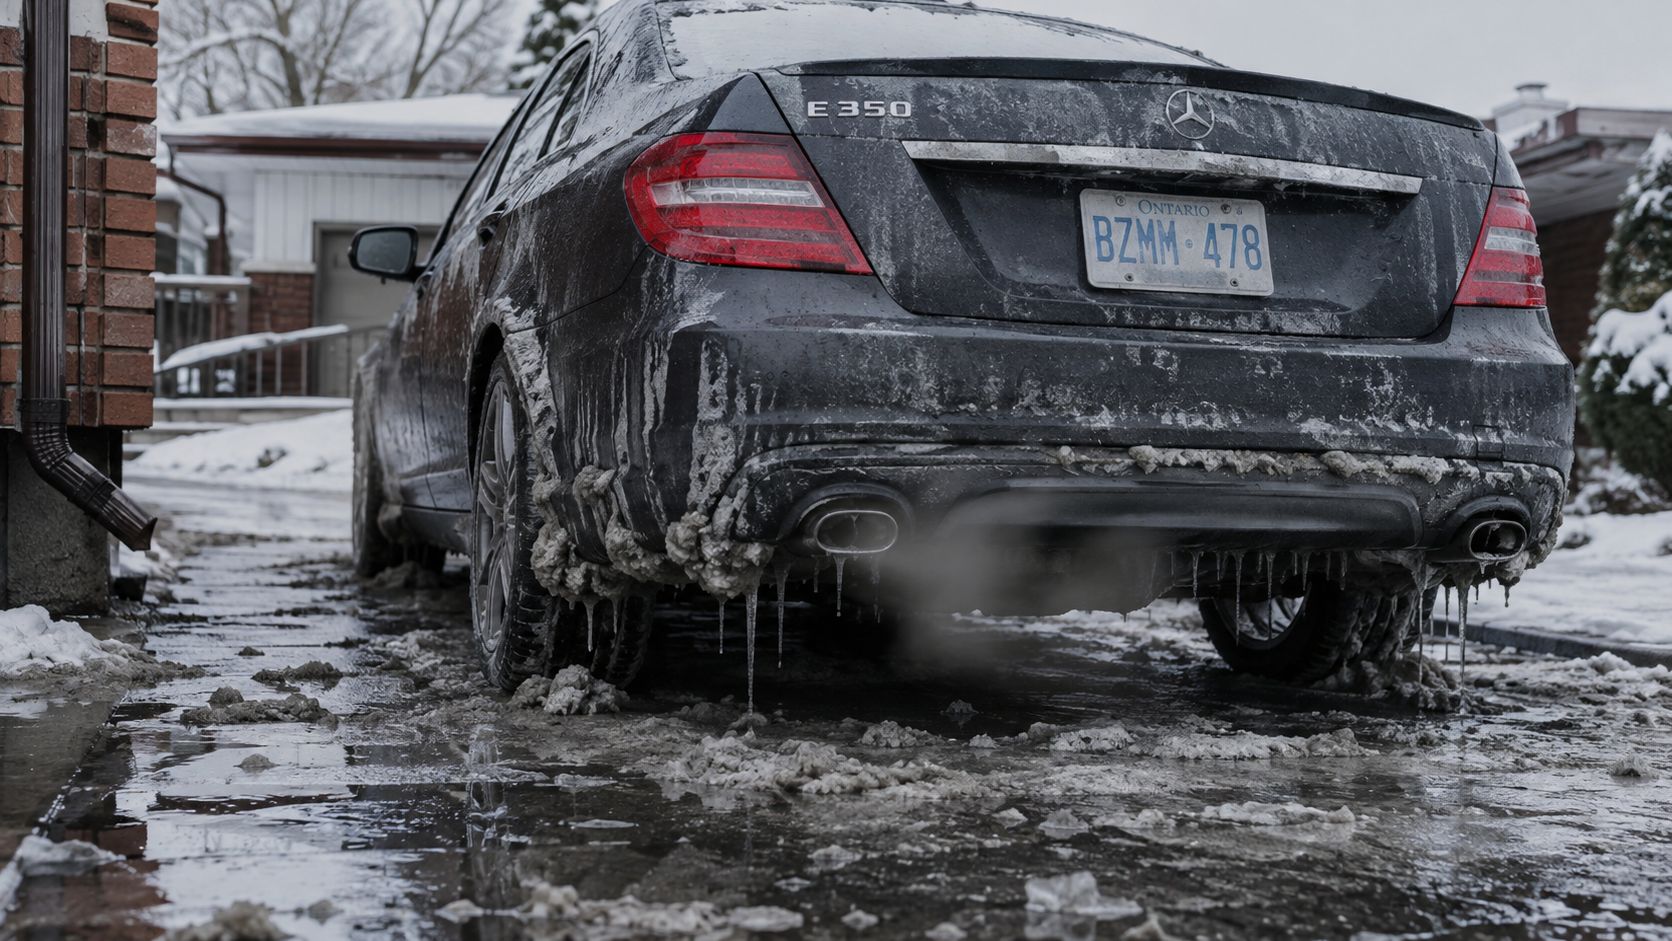
Ontario applies roughly 1.5 to 3 million tonnes of road salt each winter, and chloride exposure lasts about five to six months a year in major corridors such as the GTA, according to this Canadian summary of Ontario road-salt corrosion. The underside is where salty slush and brine settle in seams, joints, brake lines, and rocker areas, so a clean exterior alone leaves the main corrosive residue behind.
Salt doesn't need visible rust to be active
Road salt can accelerate rust formation by up to ten times compared with freshwater exposure, and corrosion on bare or chipped metal can begin within 48 hours of contact, as described in the same Canadian corrosion reference. That's why thaw periods matter. The salt becomes wet again, moves into cracks, and keeps attacking exposed steel.
Visible undercarriage rust can appear within three to five years for vehicles driven year-round in Southern Ontario, according to that source. The warning isn't that every car follows the same timetable. It's that corrosion often starts long before the owner notices a serious problem.
Shop-floor rule: A rinse that removes salt today is cheaper and safer than waiting for rust to become a brake-line, subframe, or exhaust repair.
A home wash won't reverse pitting or repair weakened metal. It can, however, remove the chloride residue that keeps corrosion active after winter driving. That makes underbody washing a practical defence for brake hardware, suspension components, exhaust fittings, and resale condition, not a cosmetic extra.
Tools and Supplies You Actually Need
You don't need a detailing trailer to clean a car's underside. You need enough reach, a controlled spray pattern, safe access, and a plan for the runoff.
The essential kit
A pressure washer in the 1,800 to 2,800 PSI range gives a homeowner useful cleaning power without requiring an industrial setup. Pair it with an undercarriage attachment or angled wand that directs water upward into wheel wells, pinch welds, lower-frame pockets, and suspension-adjacent areas.
Keep a garden hose available as a backup. A hose won't remove every hardened deposit quickly, but it's safer for delicate areas and useful for a broad final rinse.
Your basic wash supplies should include:
- Cleaning solution: Use pH-neutral vehicle soap or a dedicated salt-neutralizing detergent. Clean lukewarm water is useful for dissolving stubborn salt crystals, while aggressive chemicals can damage finishes and protective coatings.
- Brushes: A stiff-bristle wheel-well brush reaches plastic liners and packed road film without requiring you to place your hands near moving parts.
- Protection: Safety glasses, nitrile gloves, waterproof footwear, and clothing that can handle dirty splashback are practical necessities.
- Runoff control: A containment mat, tarp, or absorbent barrier can help keep salty water away from catch basins, although you still need to follow local drainage rules.
If you're considering bleach or any chemical cleaner, read the product documentation first. A material safety data sheet for bleach AU is a useful reference for handling, storage, and exposure precautions, but bleach isn't a sensible default for an automotive underbody.
Useful upgrades, and products to skip
An underbody wand is the most valuable upgrade because it improves coverage without forcing you to crawl beneath the car. A creeper helps on a dry, level surface, and a foam cannon can pre-soak grime before the rinse. A floor jack and properly rated jack stands can add clearance, but never rely on a jack alone while working underneath a vehicle.
Skip strong acids near brake components, petroleum-heavy solvents, and harsh degreasers that can strip undercoating or attack sensitive finishes. Avoid narrow high-impact tips. A broad fan pattern and sensible stand-off distance clean more evenly and reduce the chance of driving water into seals, electrical connectors, or undercoating edges.
Before starting, check the pressure-washer fittings, test the wand for leaks, locate the shutoff, clear the driveway, and decide where the wastewater will go. Hunting for an adapter with a vehicle already wet is how rushed shortcuts begin.
Washing the Undercarriage at Home the Right Way
Start on a cool, shaded driveway, not on hot metal or frozen pavement. If the weather is cold enough for water to freeze in seams, wait for a safer window or use a self-serve wash bay where the vehicle can drain properly. Before reaching underneath, rinse the body from the fenders downward so loose salt comes off the paint, glass, and wheel arches instead of being dragged across the vehicle later.
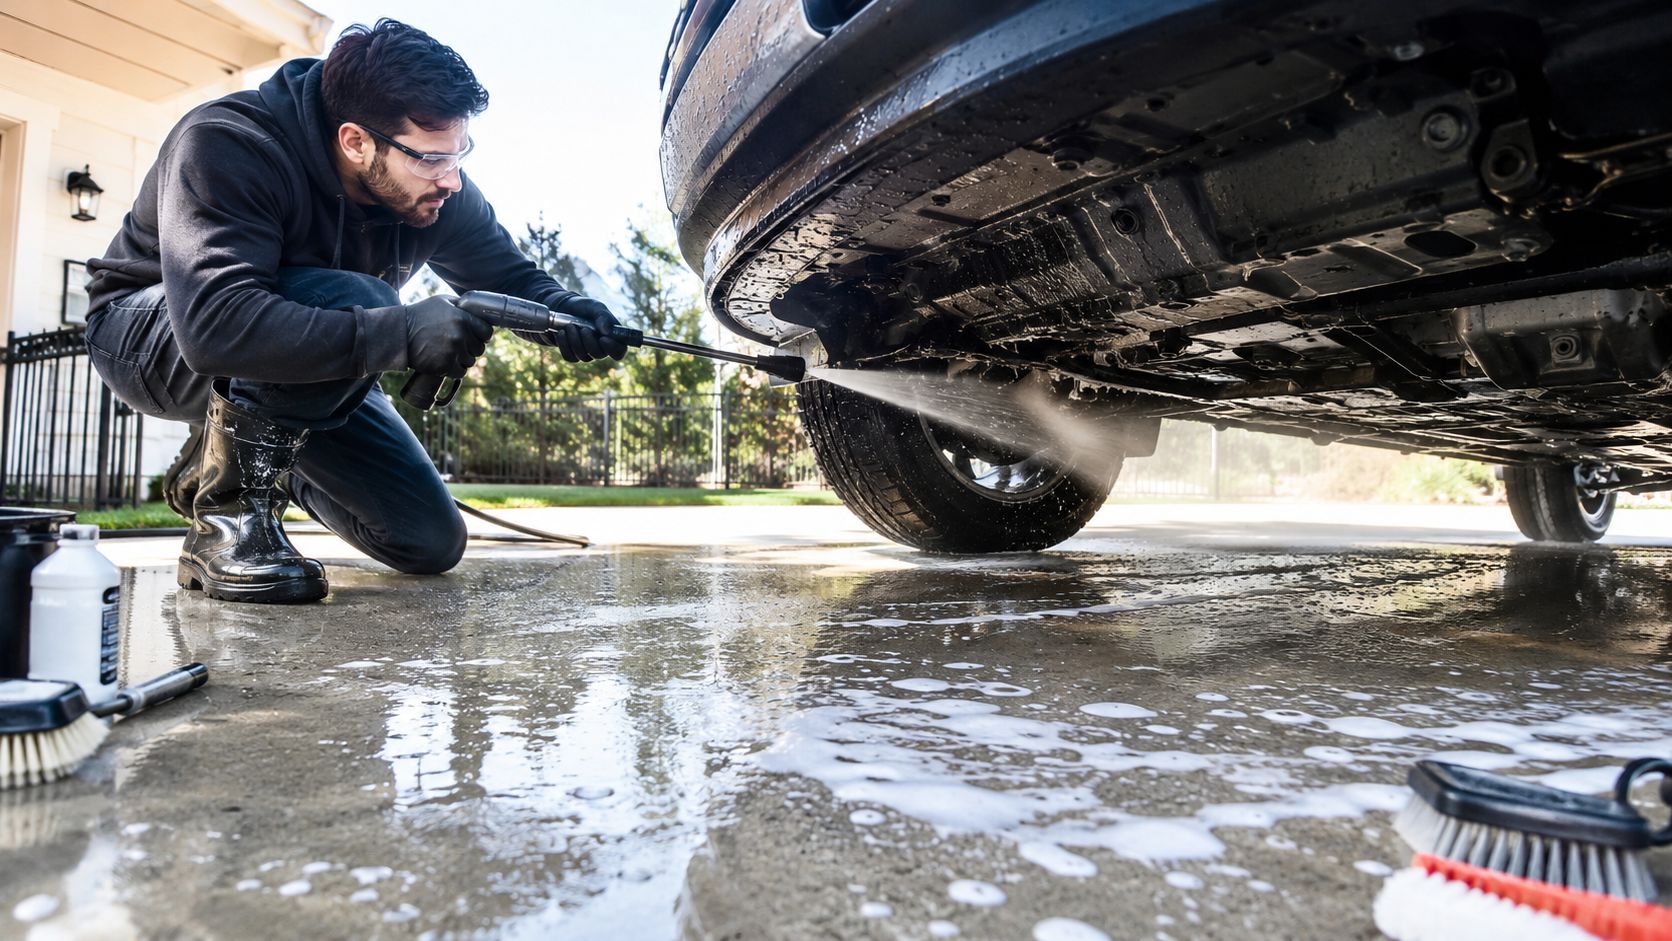
A practical starting point is 1,500 to 2,000 PSI with a 25-degree fan nozzle, held roughly 6 to 10 inches from the surface. Keep the spray moving. Begin at the rear bumper and work forward so dirty runoff travels away from sections you've already cleaned. An undercarriage wand is safer and more consistent than kneeling beside the vehicle with a narrow tip aimed blindly into the chassis.
Work in a deliberate pattern
Trace the suspension arms and control arms first, then move across steering linkages, brake calipers, backing plates, and the inner wheel wells. When a patch is heavily caked, apply pH-neutral soap and let it dwell for 30 to 60 seconds before rinsing. Dwell time softens the deposit. Holding the nozzle closer and blasting harder usually creates more risk than cleaning power.
Move to the floor pans, fuel-line areas, exhaust hangers, and lower shields with a gentler pass. Don't aim directly into rubber boots, bearing seals, open electrical connectors, or damaged undercoating. Use a broad sweep that lets water carry loosened material away rather than forcing it deeper into a joint.
A good underbody pass takes at least five minutes, according to Canadian detailing guidance in this federal anticorrosion publication. That isn't a target to hit mechanically. It's a reminder that a quick spray across the visible centre of the car doesn't provide meaningful coverage.
Pressure-washer habit: Coverage beats force. Keep the fan broad, maintain distance, and revisit hidden pockets instead of attacking one crusted spot with a tight jet.
Finish the wheel wells with a stiff brush where your hands can safely reach, then rinse from the inner fender outward. Complete the job with a low-pressure rinse across the entire underside. Afterward, idle briefly and use a short, careful drive to help dry the brakes, then inspect for fresh leaks, cracked lines, loose shields, or damaged boots.
For general outdoor surface-cleaning preparation, advice from Premier Gardens also reinforces the value of checking the work area and equipment before using pressurized water. The vehicle-specific rule remains simple: never trade control for impact.
Handling the Wastewater Without Running Afoul of Local Rules
A driveway wash can protect your car and still create a local compliance problem. Toronto says outdoor car-wash wastewater should go into the sanitary sewer, and discharge into storm grates isn't permitted because stormwater flows untreated to waterways, as explained in the city's outdoor car-washing wastewater guidance.
The storm grate at the end of the driveway isn't a convenient drain for salty, oily water. It leads toward the stormwater system, not a treatment route intended for household wash residue. Don't point the wand at the grate, sweep contaminated water toward it, or assume that a small amount is harmless.
Choose the washing surface before the soap
A compliant setup depends on your municipality and property. Toronto's guidance supports routing wastewater to the sanitary sewer and warns against storm-drain discharge. If local rules permit ground infiltration, grass or bare soil can be preferable to a hard surface, provided water won't pool near a catch basin or run onto a neighbouring property.
Use a mild, biodegradable, phosphate-free vehicle soap when a product is appropriate. Skip strong acids, petroleum solvents, and heavy degreasers. If you must wash on a hard surface, capture the runoff and dispose of it through an approved sanitary connection, not a storm drain.
A coin-operated self-serve bay is often the cleaner practical choice when your driveway setup can't control runoff. These facilities are designed around vehicle washing and wastewater routing, while a home hose leaves those responsibilities with you.
How Often and When to Wash in Ontario
Ontario's salt season is long enough that occasional spring cleaning isn't a maintenance plan. A practical home cadence is every two to three weeks from roughly November through April, based on Canadian winter-maintenance guidance in this Ontario road-salt vehicle-care reference. Another Canadian winter guide recommends washing at least every ten days, particularly when treated roads keep the underside wet and contaminated, as discussed in this winter rust-proofing guide.
The right interval depends on exposure. A driver who stays on residential streets has a different burden from someone commuting daily on the 400-series highways behind plows. Move the next rinse forward after a heavy salt application, a slush pool that leaves a white film, or a thaw that turns road residue into wet brine.
| Period | Mild commuter, residential streets | Heavy commuter, highways and plowed routes | Parked outside |
|---|---|---|---|
| November to April | Rinse every 2 to 3 weeks | Rinse more often after treated-road exposure | Rinse promptly after slush and thaw periods |
| After a visible salt event | Don't wait for the usual date | Prioritize the underbody at the next safe wash window | Check seams and wheel wells before parking |
| May inspection | Look over the underside after winter | Check suspension, brake-line areas, and shields | Inspect drainage points and trapped residue |
Parking outside increases the importance of timing because the underside can remain exposed to repeated wetting and freezing. A heated garage changes the drying environment, but it doesn't remove the salt already attached to the car.
Seasonal marker: Treat late October as the time to inspect and apply a suitable rust inhibitor, then inspect again in May after winter operations and spring cleanup have passed.
Technique matters, but consistency matters more. Chloride that remains in seams and cavities can continue working while the vehicle looks clean from above.
When a Professional Underbody Service Is the Smarter Move
Home washing is effective for surface salt, slush, and road film that your wand can reach. It isn't a substitute for access to boxed frame rails, the rear sides of brackets, subframe crevices, or the hidden faces of suspension mounts. A pressure washer on a driveway also can't give you the same inspection angle as a vehicle on a lift.
Know what your equipment cannot reach
Stop the DIY session and arrange an inspection if you see orange flash rust on suspension arms, flaking undercoating, white crust around a brake caliper, persistent salt drips after rinsing, or a line that looks damaged. A used vehicle from a salt-belt region also deserves a proper underbody inspection before purchase.
Professional equipment can combine lift access, high-volume rinsing, hot water, swivelling nozzles, and angled wands. The advantage isn't merely higher pressure. It's the ability to direct water into seams and inspect the result from below without balancing on a driveway or guessing where the spray is landing.
The trade-off is straightforward. DIY washing costs time and demands controlled wastewater handling, but it works well for routine salt removal. A professional service costs more per visit, yet it can expose corrosion and reach areas your home wand misses. If you're comparing local service formats, use this guide to compare Georgetown car wash options as a starting point, then confirm that the specific service includes underbody access and wastewater control.
Don't rely on unverified repair prices to make the decision. The important comparison is between a manageable preventive wash and a potentially extensive repair once corrosion compromises structural or braking components. If you can't safely access the underside, can't route runoff correctly, or see signs of active damage, the professional option is the sensible one.
Quick Recap and Easy Wins to Lock In
A workable Ontario routine has three parts. Rinse fresh salt from the underside after major treated-road exposure, perform a more deliberate wash during the salt season, and inspect rather than blindly spraying when you notice rust, leaks, or damaged protective coatings.
Use the home method for what it does well. Start with a broad fan pattern, keep the nozzle controlled, allow soap to dwell for 30 to 60 seconds on stubborn deposits, and spend at least five minutes covering the underside rather than concentrating on one visible patch. The Canadian guidance behind those benchmarks is summarised in this federal underbody-corrosion publication.
Keep the routine uncomplicated
- Flush after exposure: Rinse the underbody after salty slush, treated highways, and thaw periods whenever conditions allow safe drying.
- Use controlled pressure: Choose a broad fan pattern and moderate stand-off distance instead of a narrow blast against seals, connectors, or undercoating edges.
- Reach the neglected zones: Sweep through wheel wells, rocker areas, pinch welds, suspension pockets, exhaust hangers, and lower-frame sections.
- Log the date: Put the wash date in your phone or on the dash so winter maintenance doesn't disappear into the commute.
- Watch the drainage: Toronto requires outdoor car-wash wastewater to be routed to the sanitary sewer and prohibits discharge to storm grates, according to its car-washing and wastewater rules.
- Stop for damage: If a brake line looks compromised, a shield is loose, or metal is flaking, stop washing and arrange an inspection.
A driveway rinse is a valuable habit, not a licence to crawl under an unsupported car or flood the stormwater system. When access, weather, corrosion, or runoff makes the job questionable, use a proper wash bay or professional underbody service.
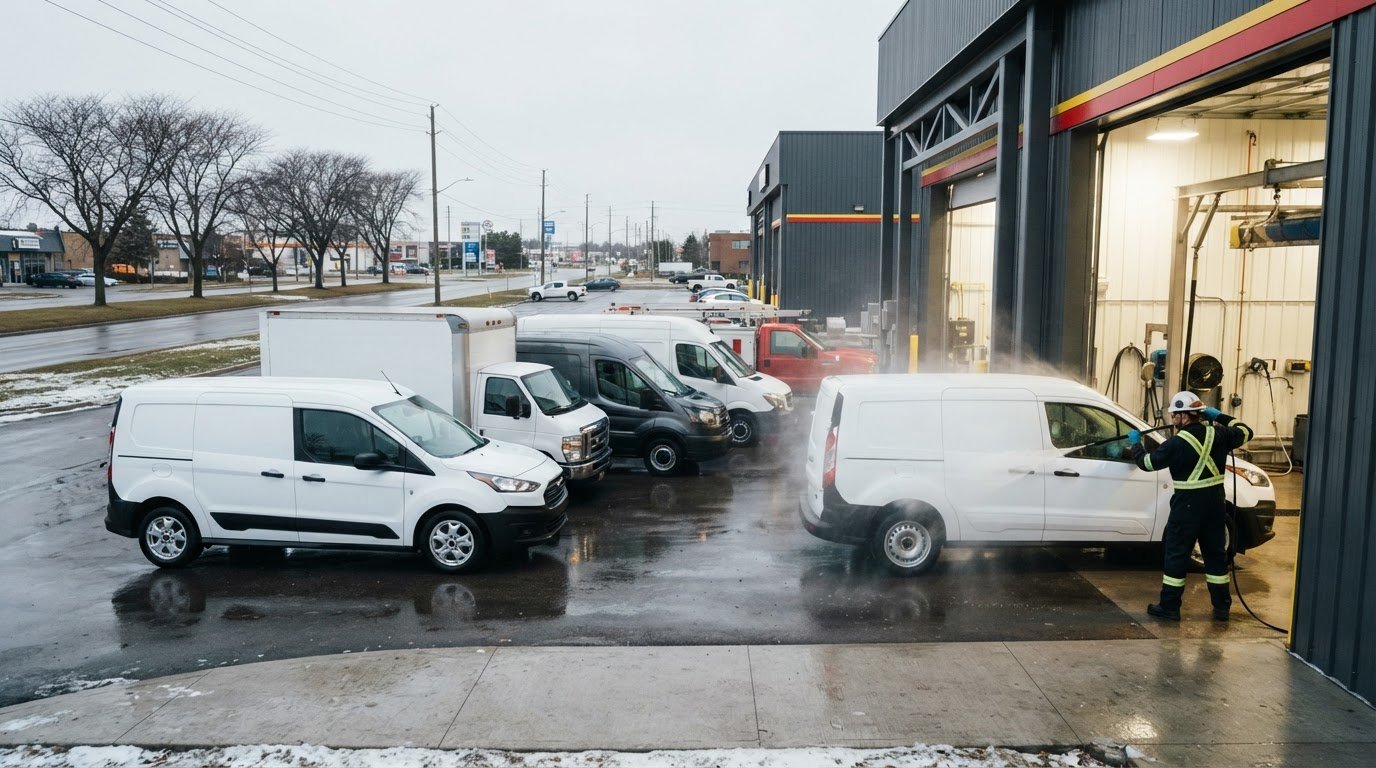
For a controlled GTA alternative, Nanak Car Wash offers wash packages with an underbody rinse option, along with detailing and rust proofing services for vehicles exposed to Ontario road salt. Visit Nanak Car Wash to choose a location and arrange an underbody-focused wash before the next thaw.


 6600 Finch Ave W, Etobicoke, ON M9V 3Z6
 647-703-8515
 MON – SUN 8 AM to 7 PM